Test Cases
Create Test Steps in Testsigma
In Testsigma terminology, each automated action executed by the test script is a test step. For example, in a login form, Enter <username> in the <username> field is a test step. This article discusses creating test steps for web, mobile web, Android, and iOS applications using Testsigma recorder & simple English (NLPs).
Prerequisites
- Before you begin, ensure you’re familiar with concepts of Features and Scenarios, Test Step Types, have installed the Test Recorder, and have a Web/Android/iOS app to test.
Creating Test Steps Manually
Section titled “Creating Test Steps Manually”Web & Mobile Web
Section titled “Web & Mobile Web”-
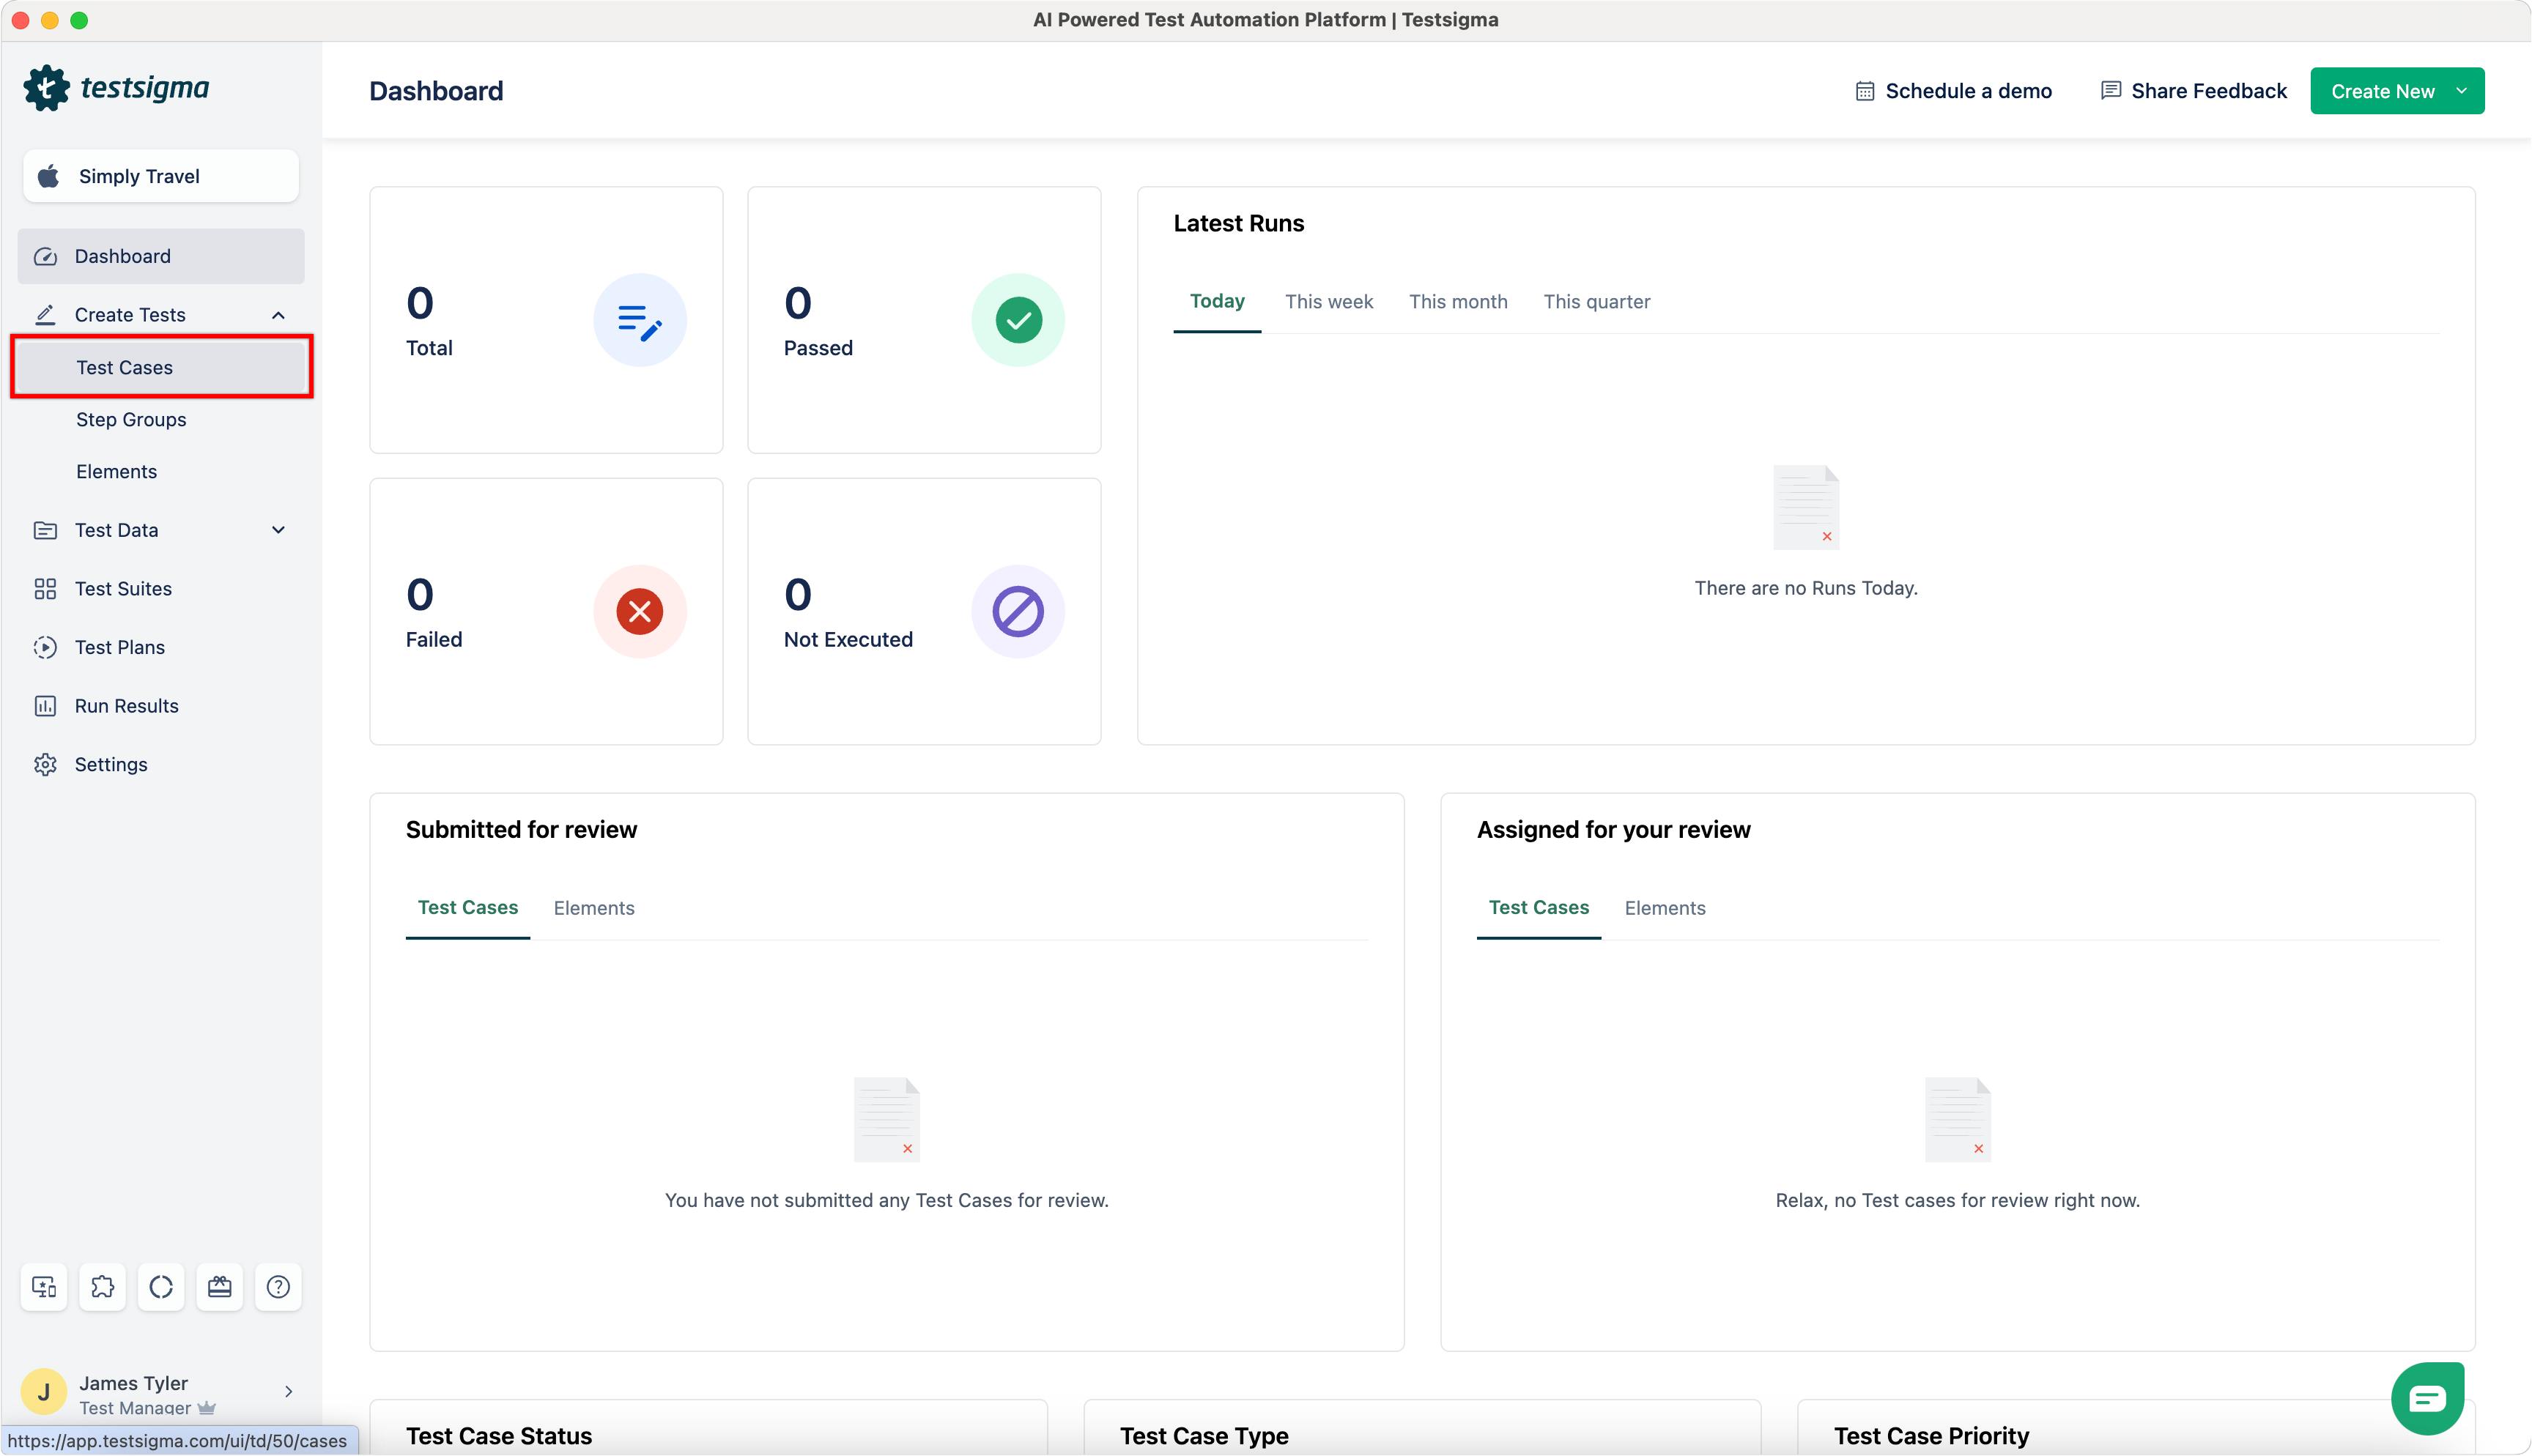
From the left navigation bar, go to Create Tests > Test Cases.

-
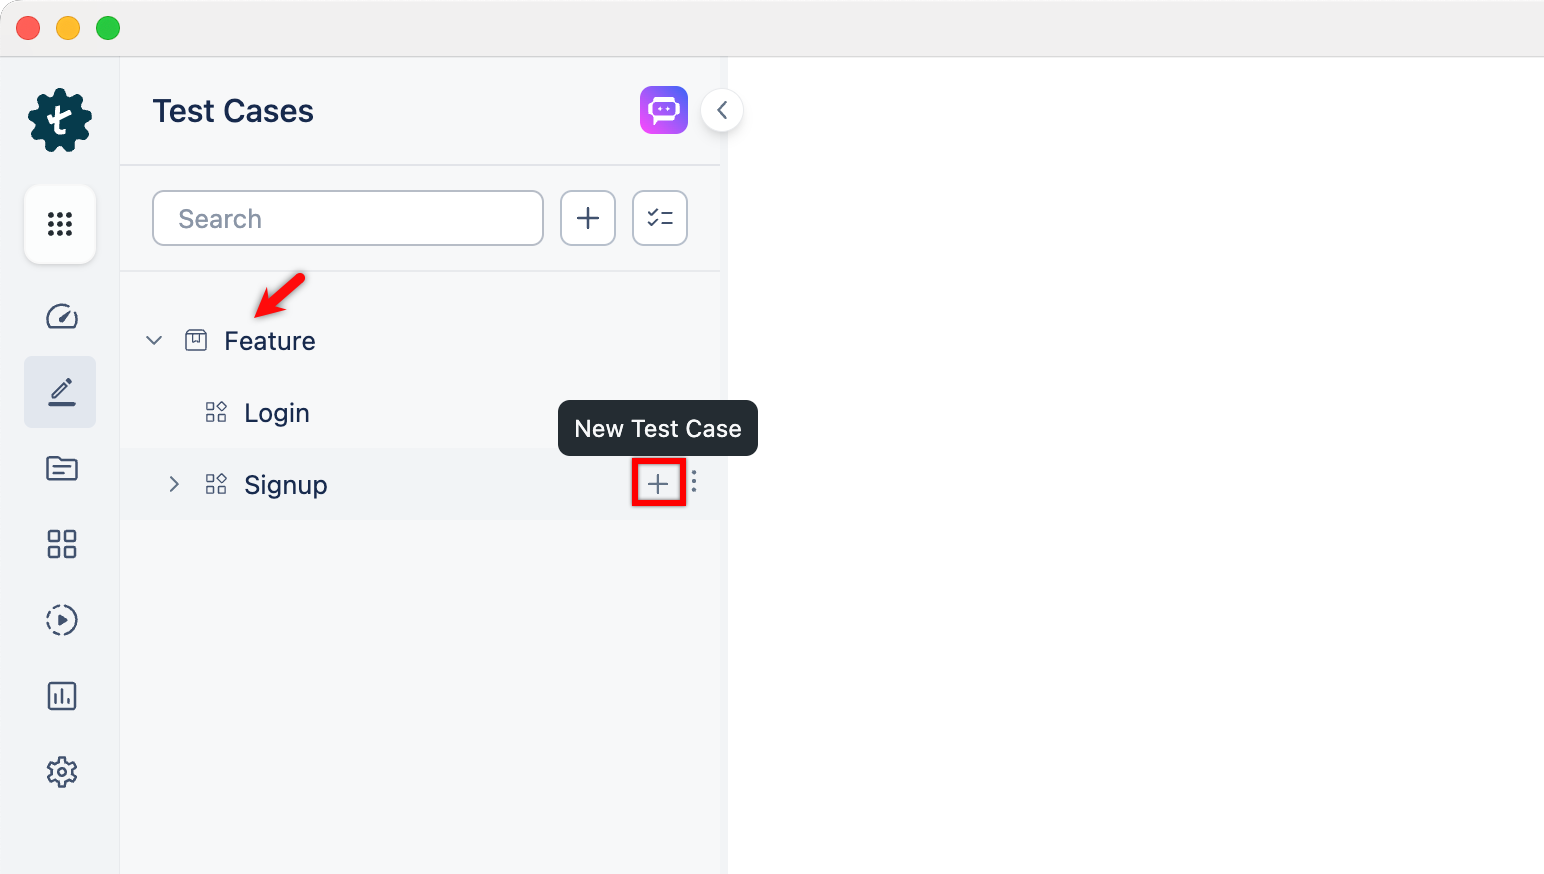
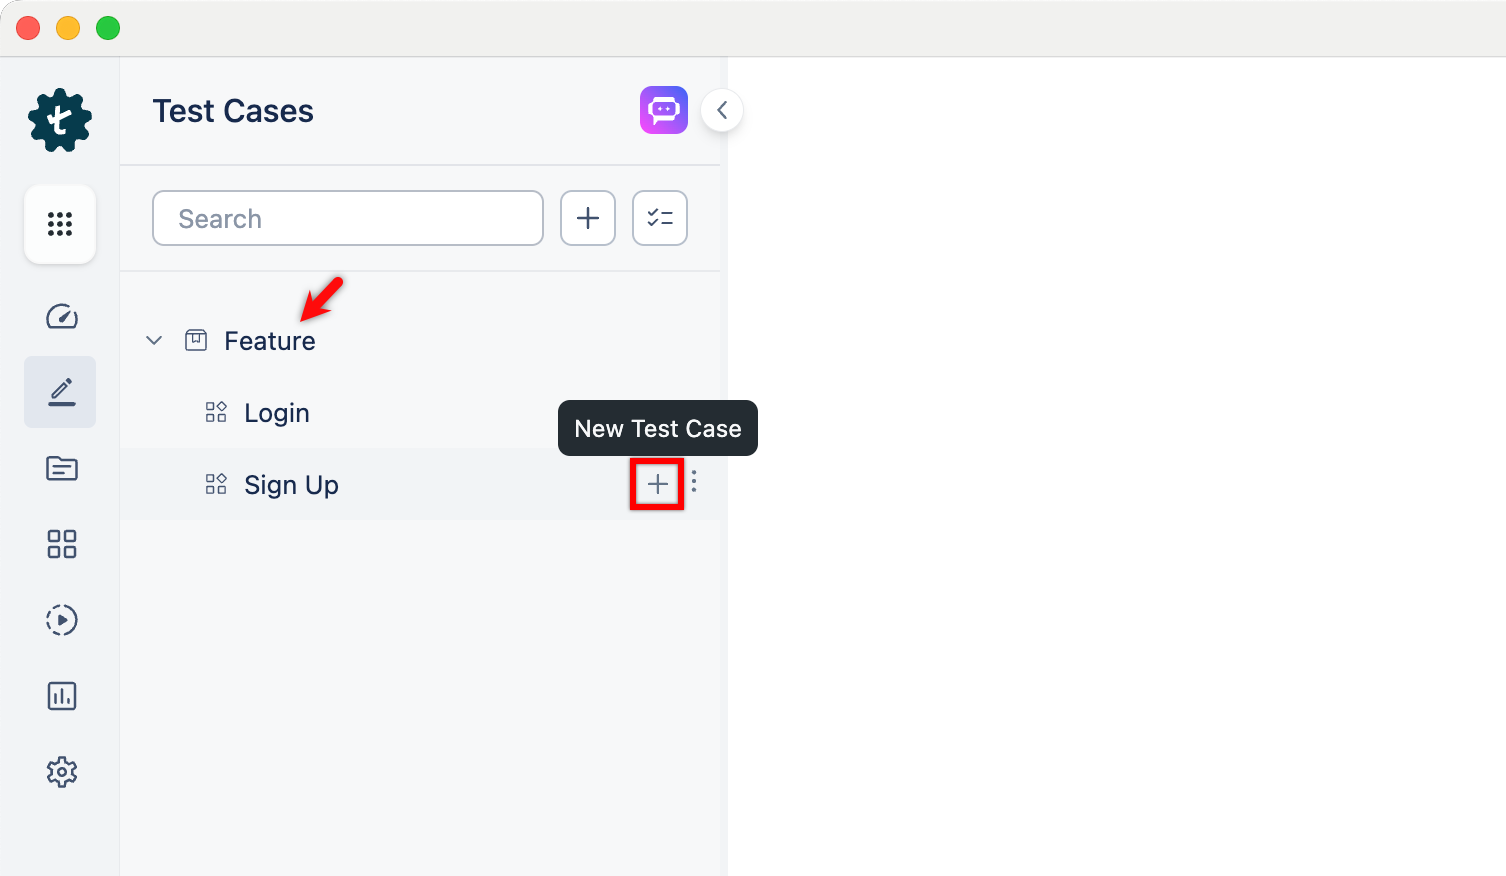
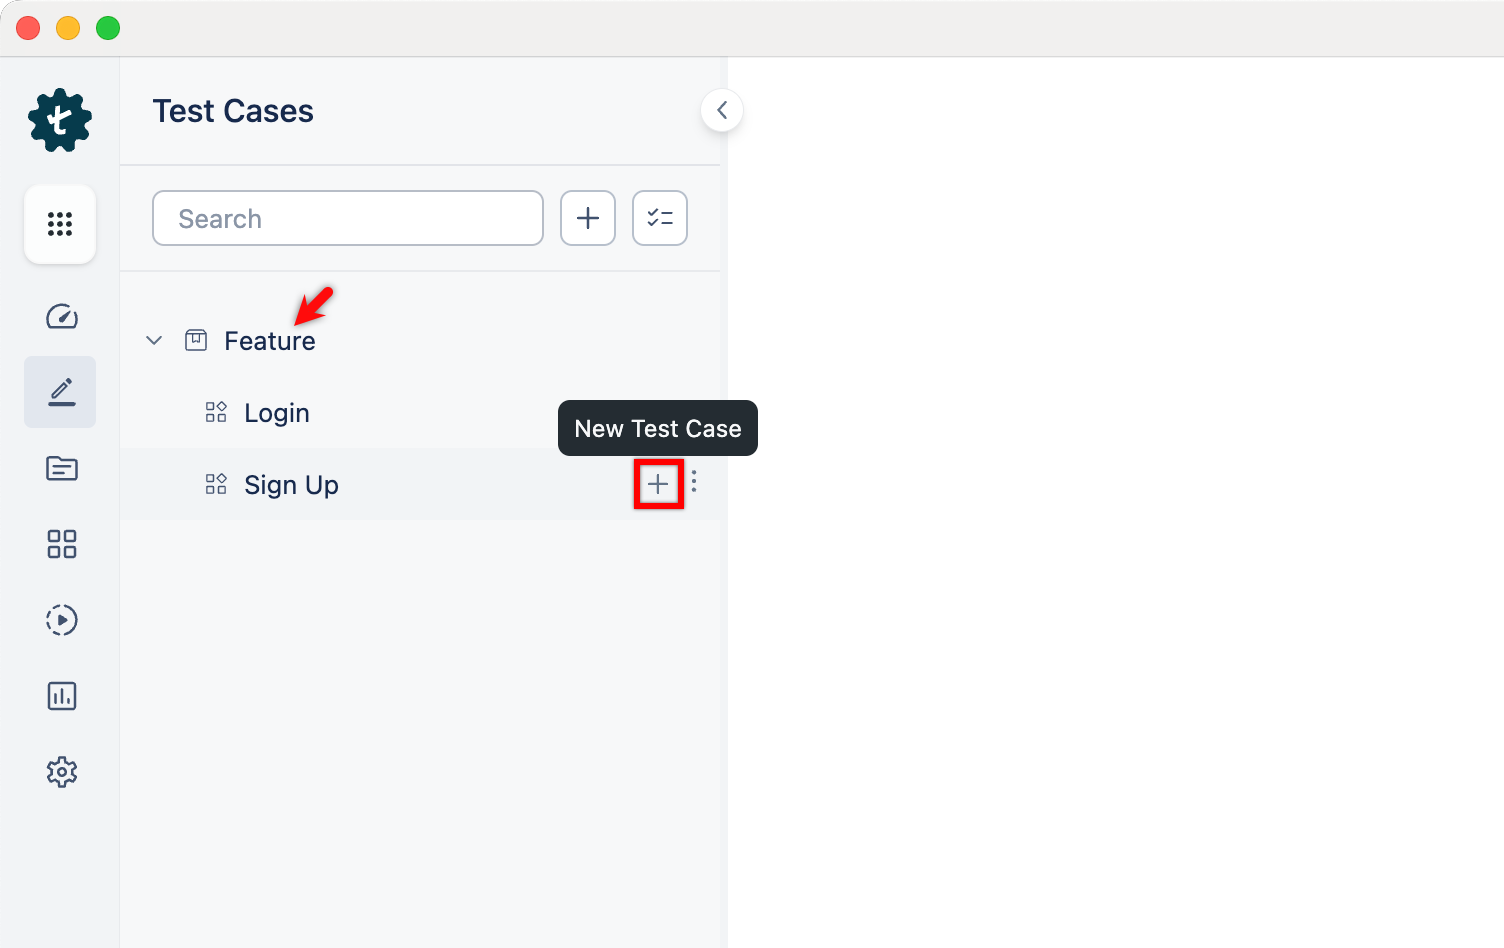
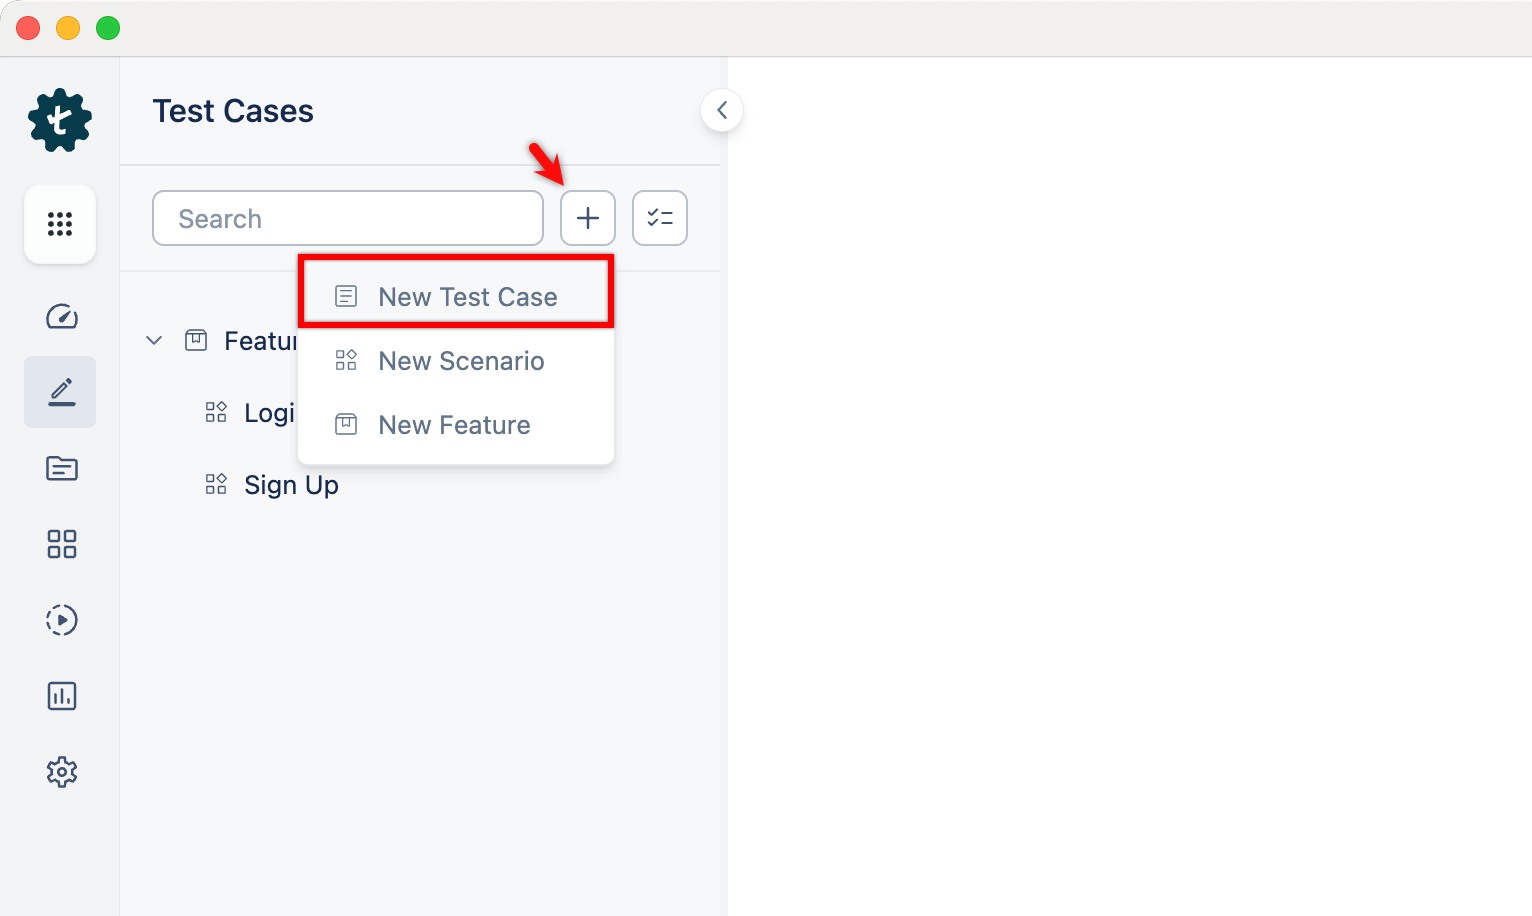
In the Test Case Explorer section, expand the required feature and click the + icon next to the target scenario. This will open a dialog box.
-
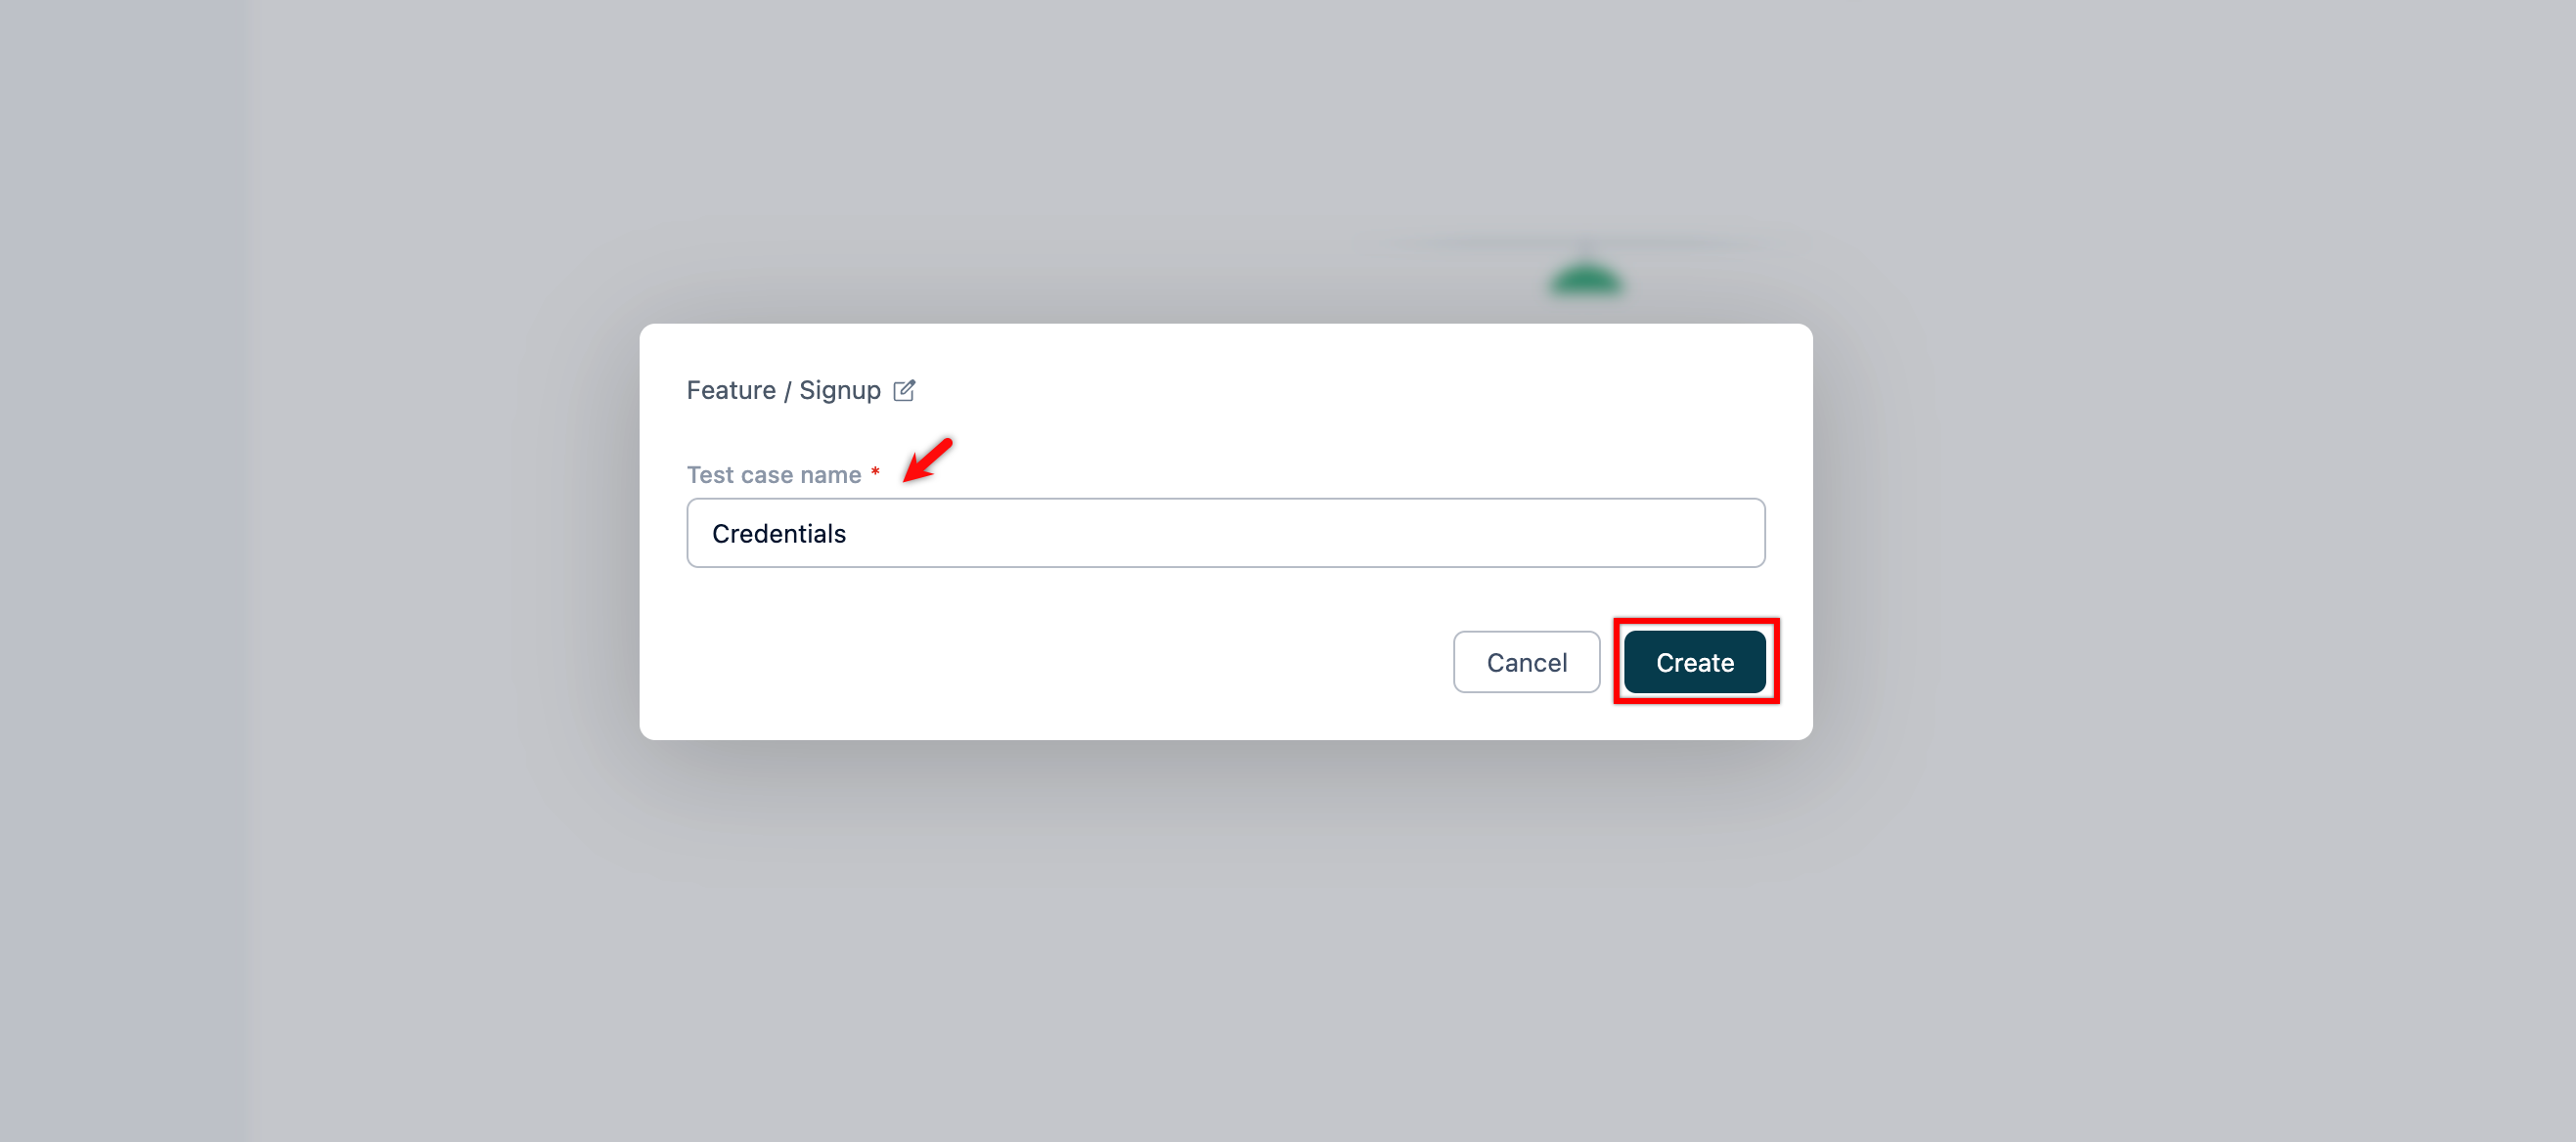
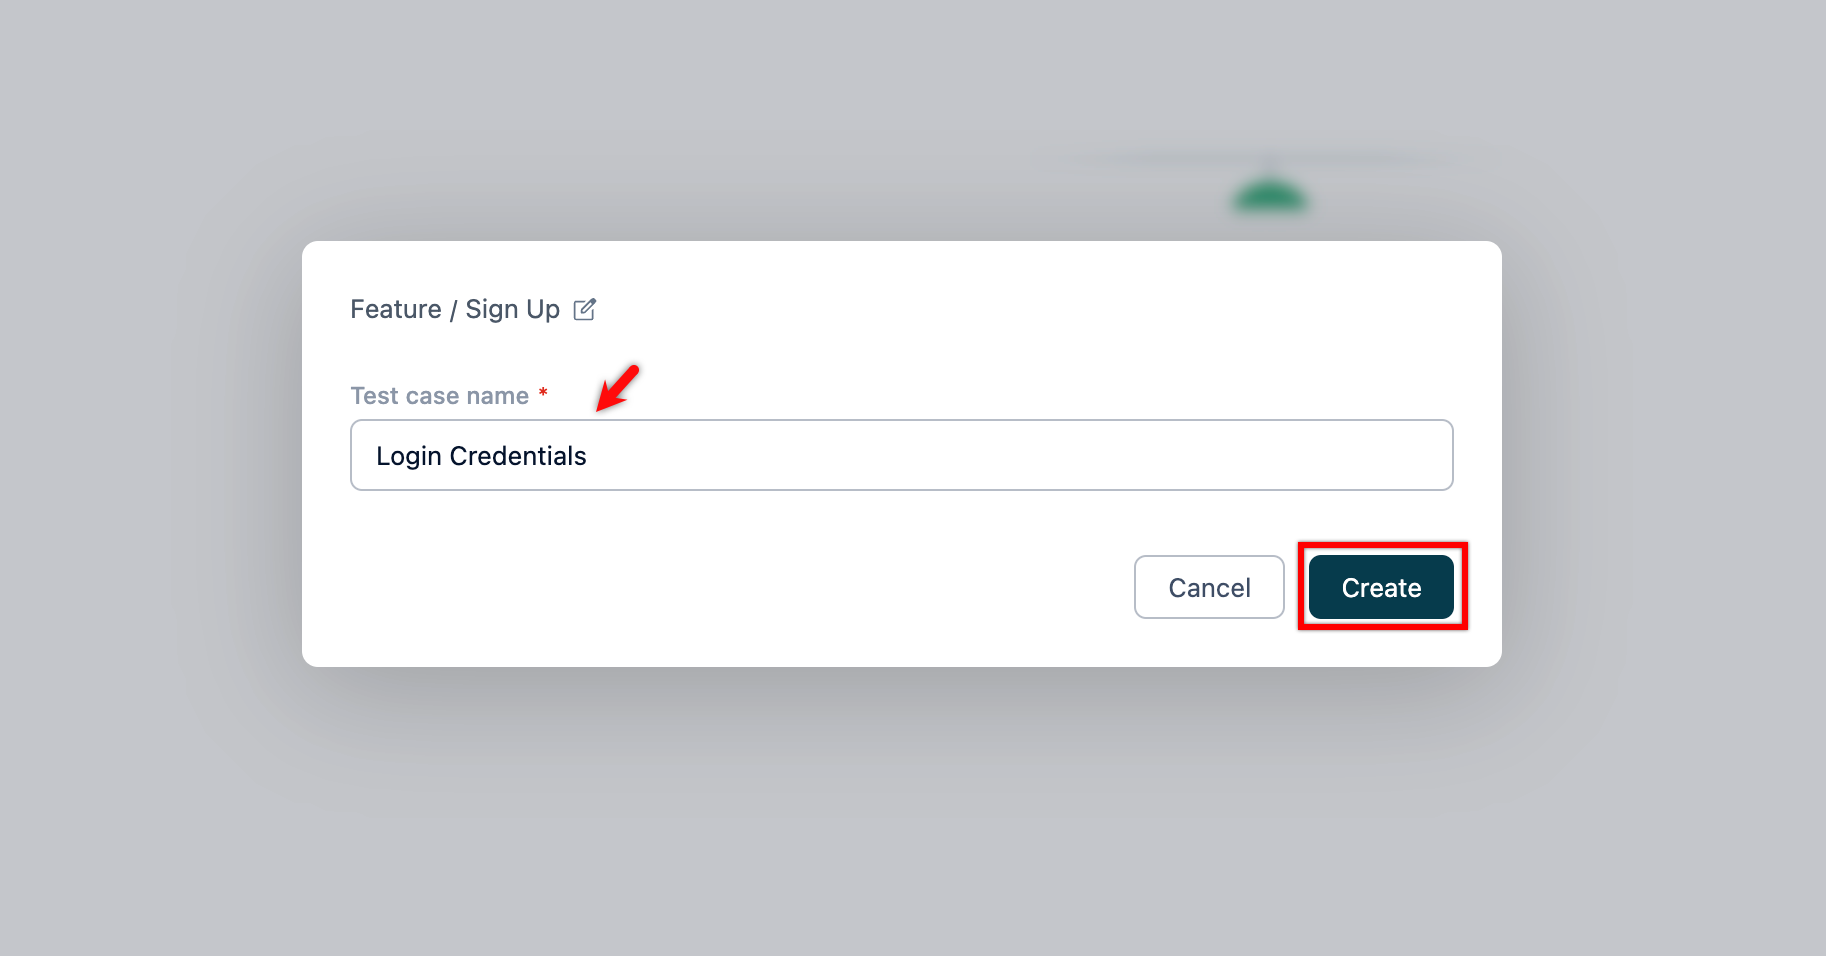
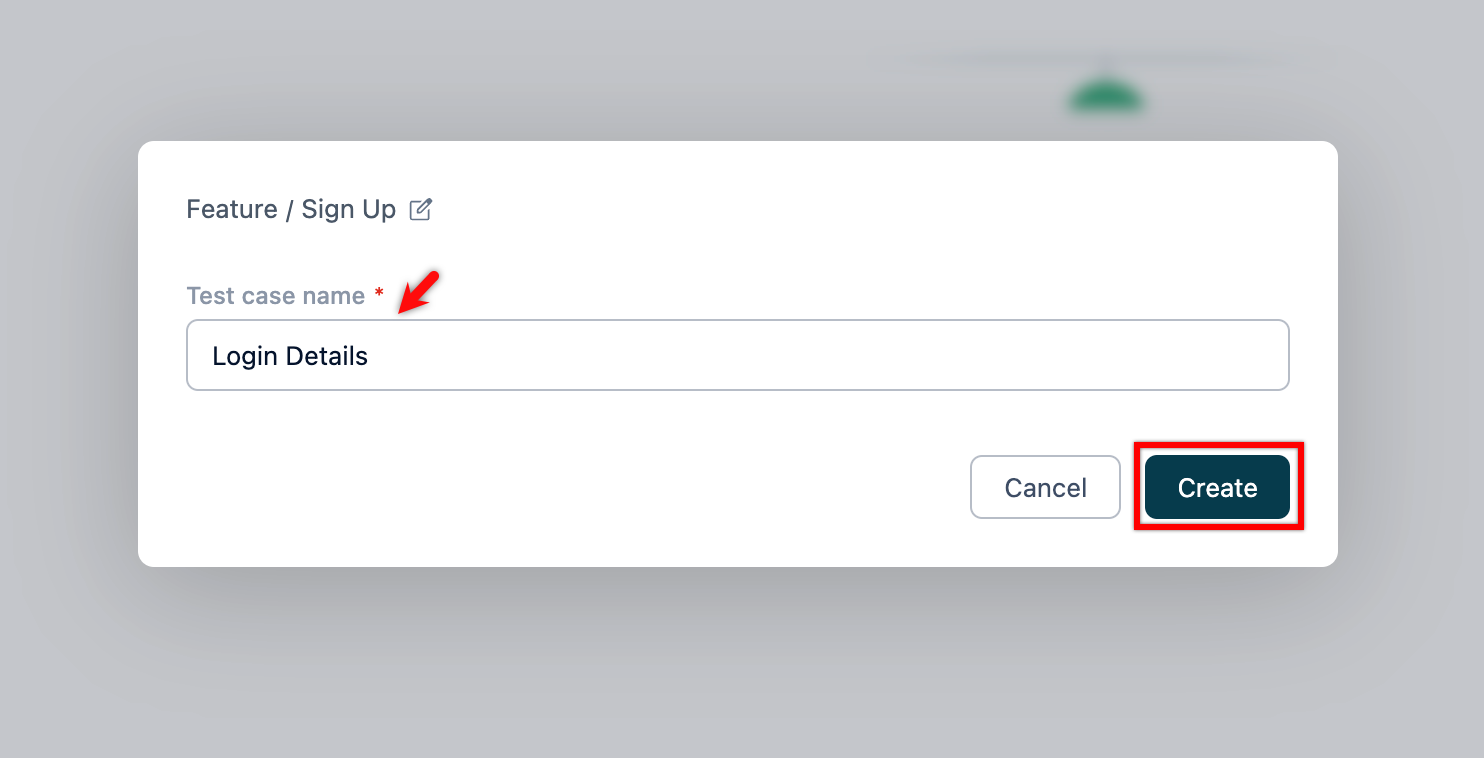
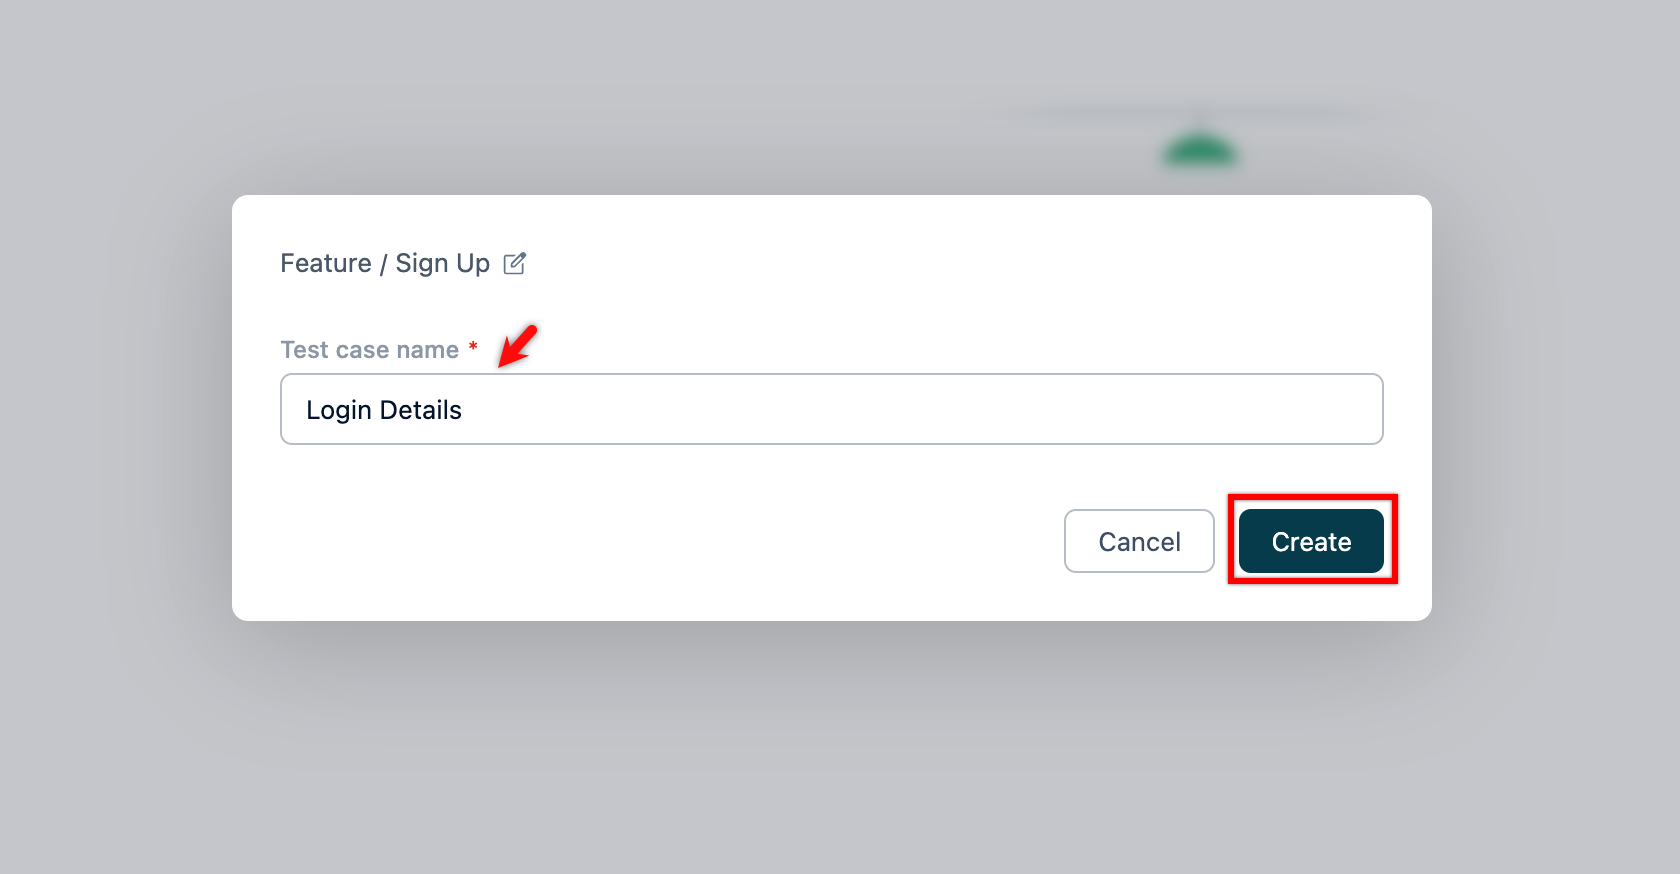
On the dialog box, validate the target feature and scenario, enter the name, and click Create.
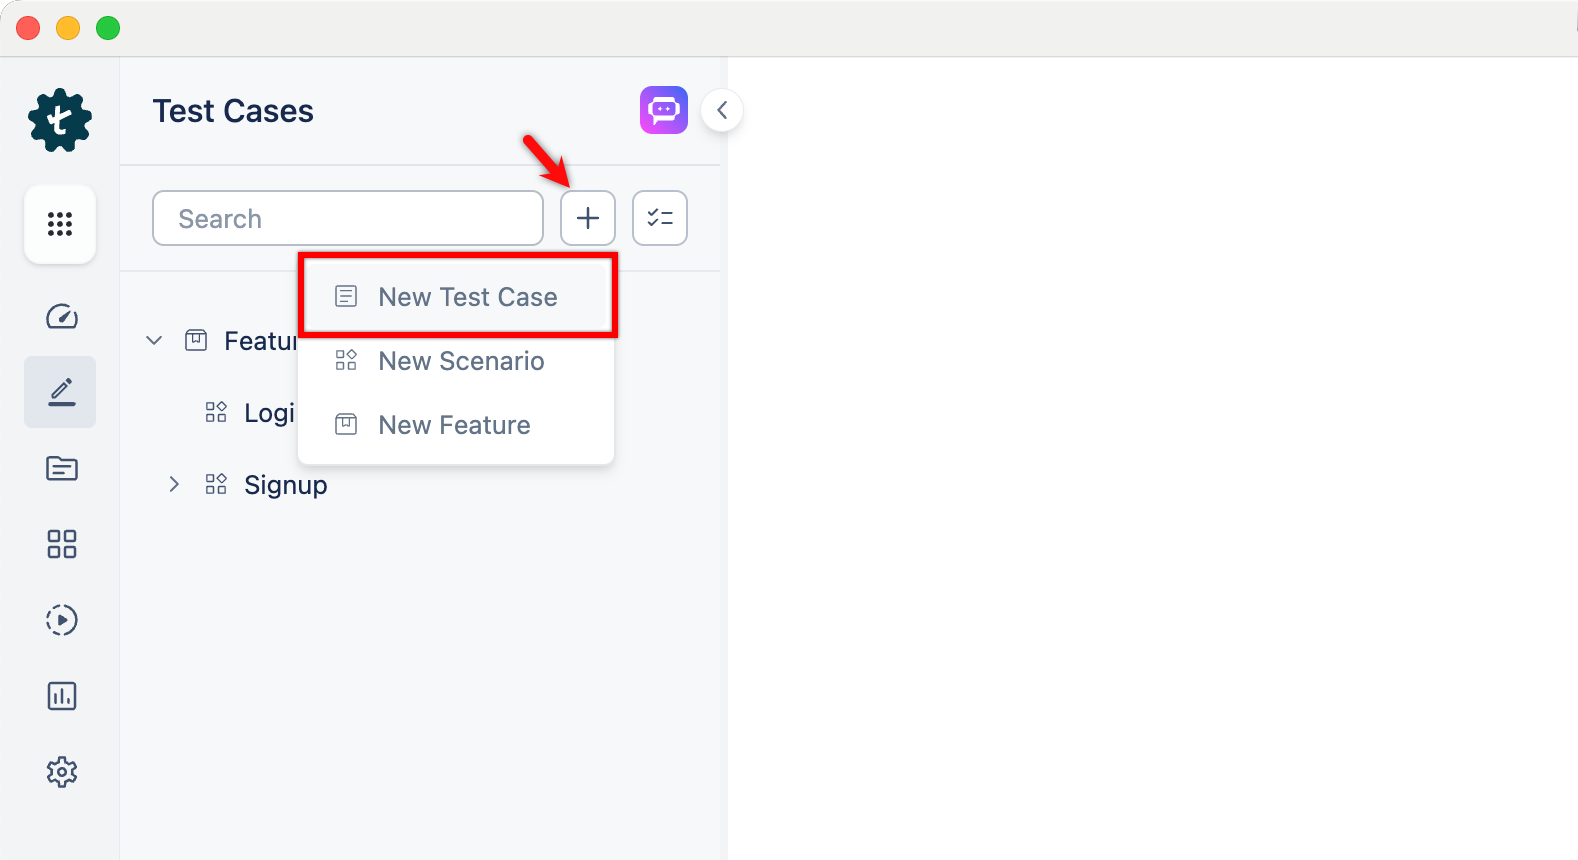
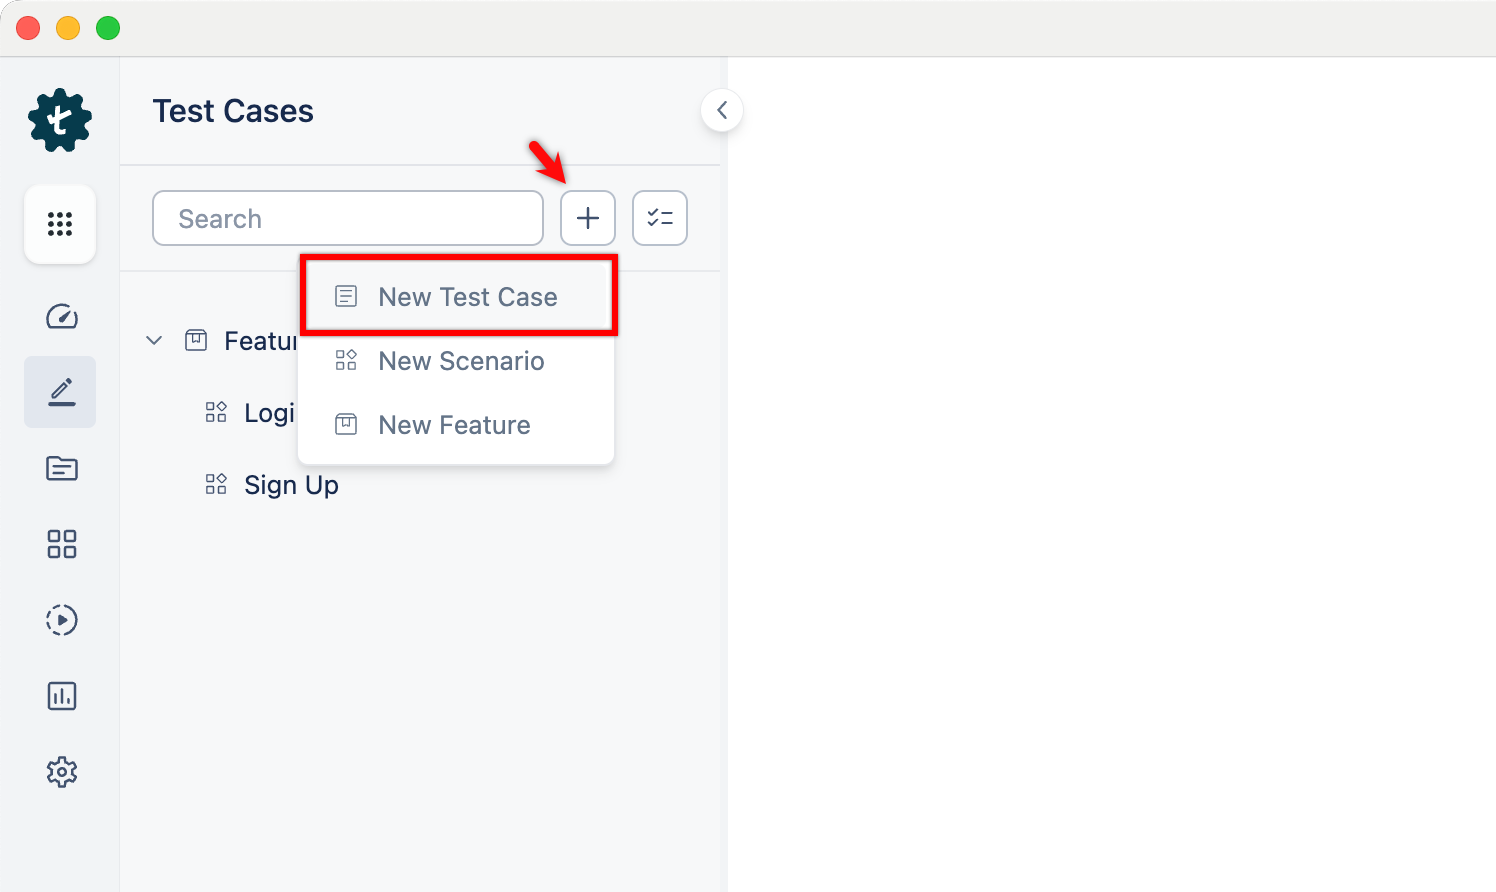
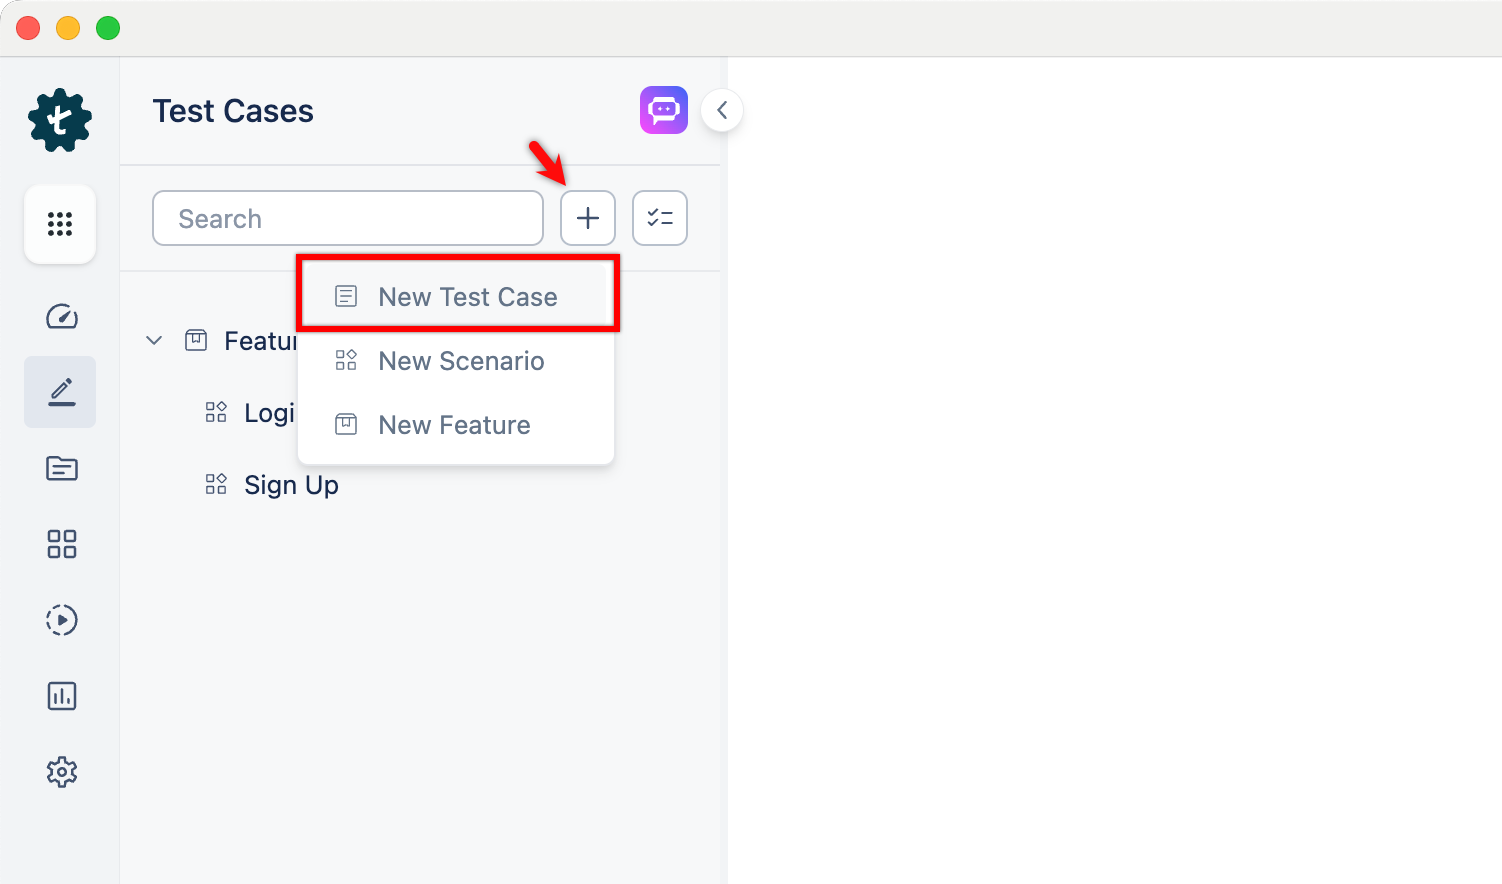
Alternatively, click the + icon next to the search bar and select New Test Case from the drop-down menu. Follow the same steps as above.
-
Use NLPs to create test steps as per the test case scenario.
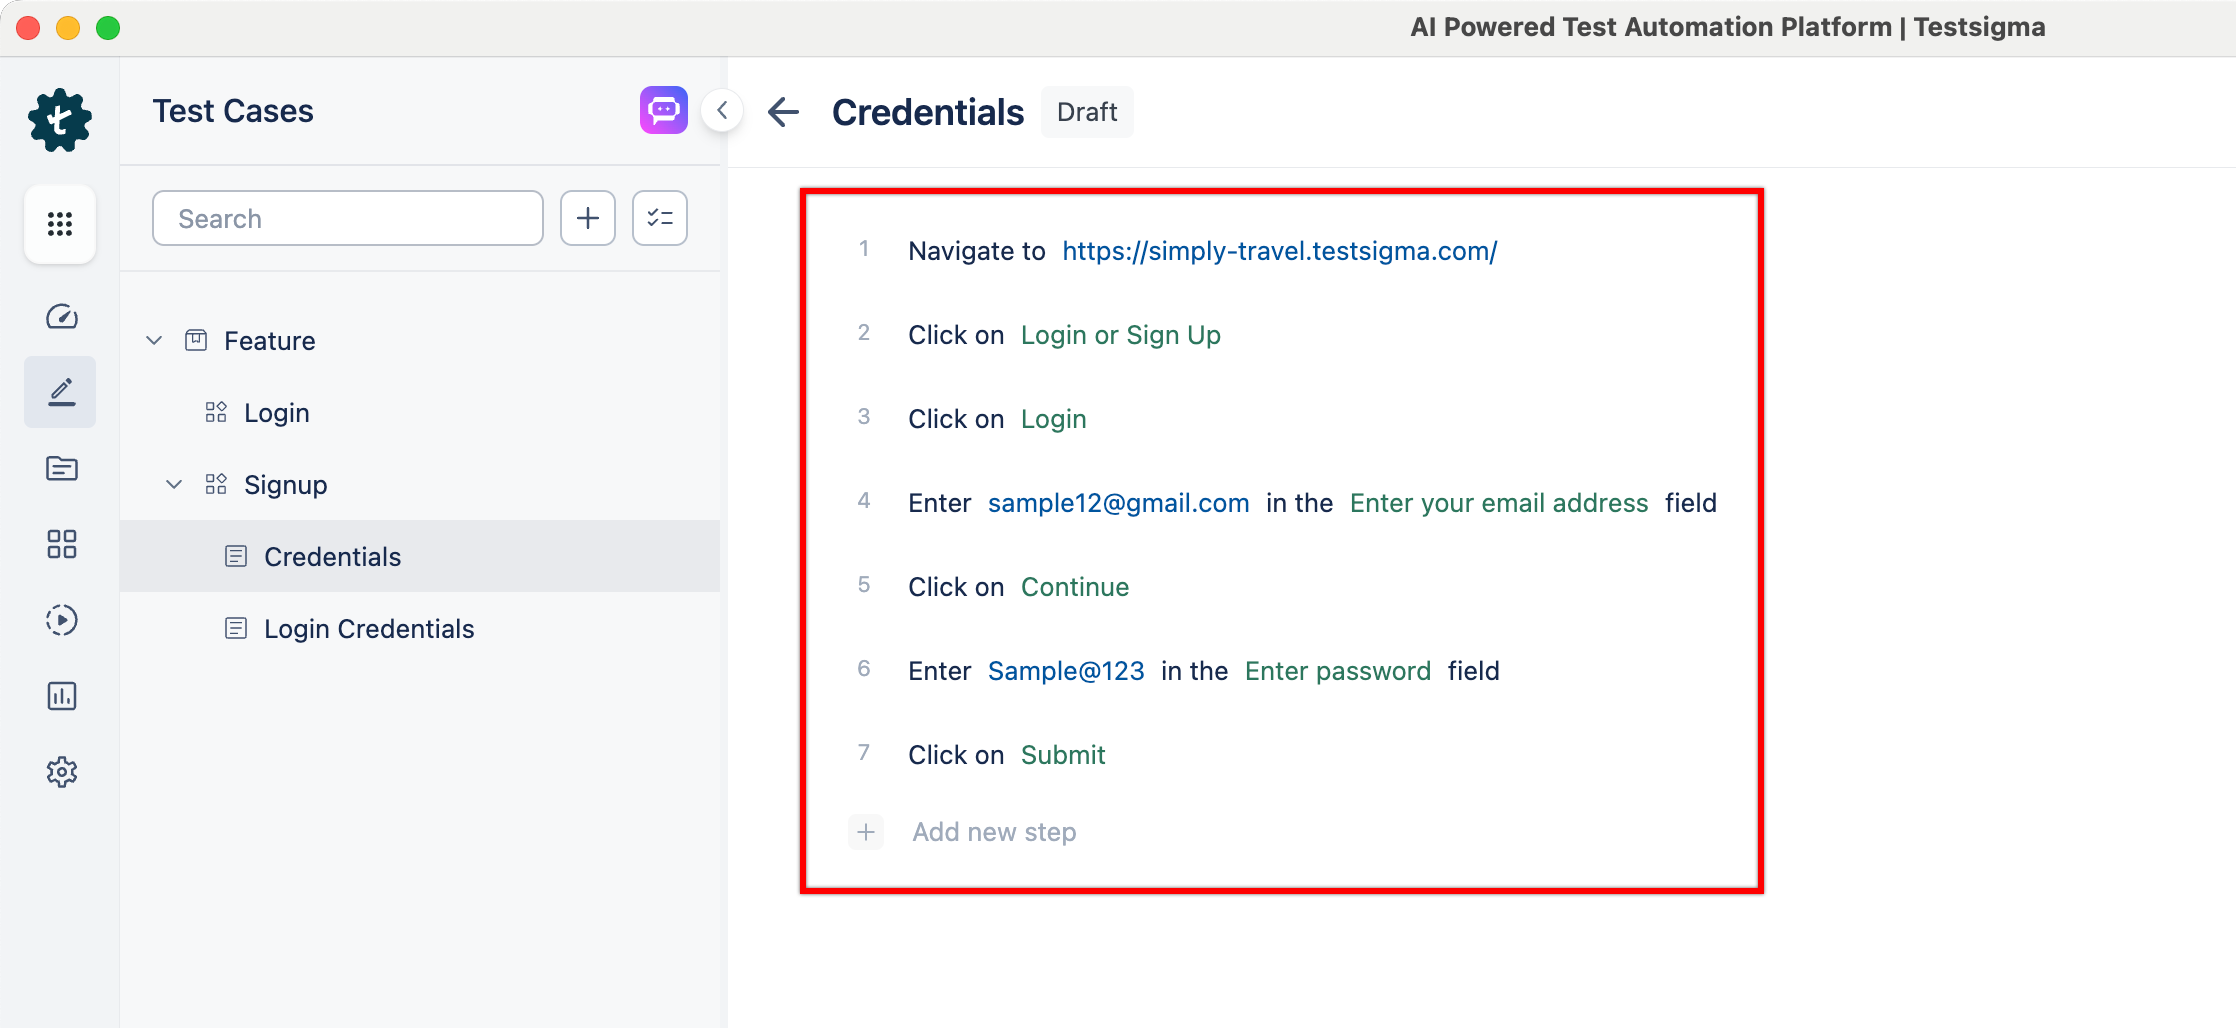
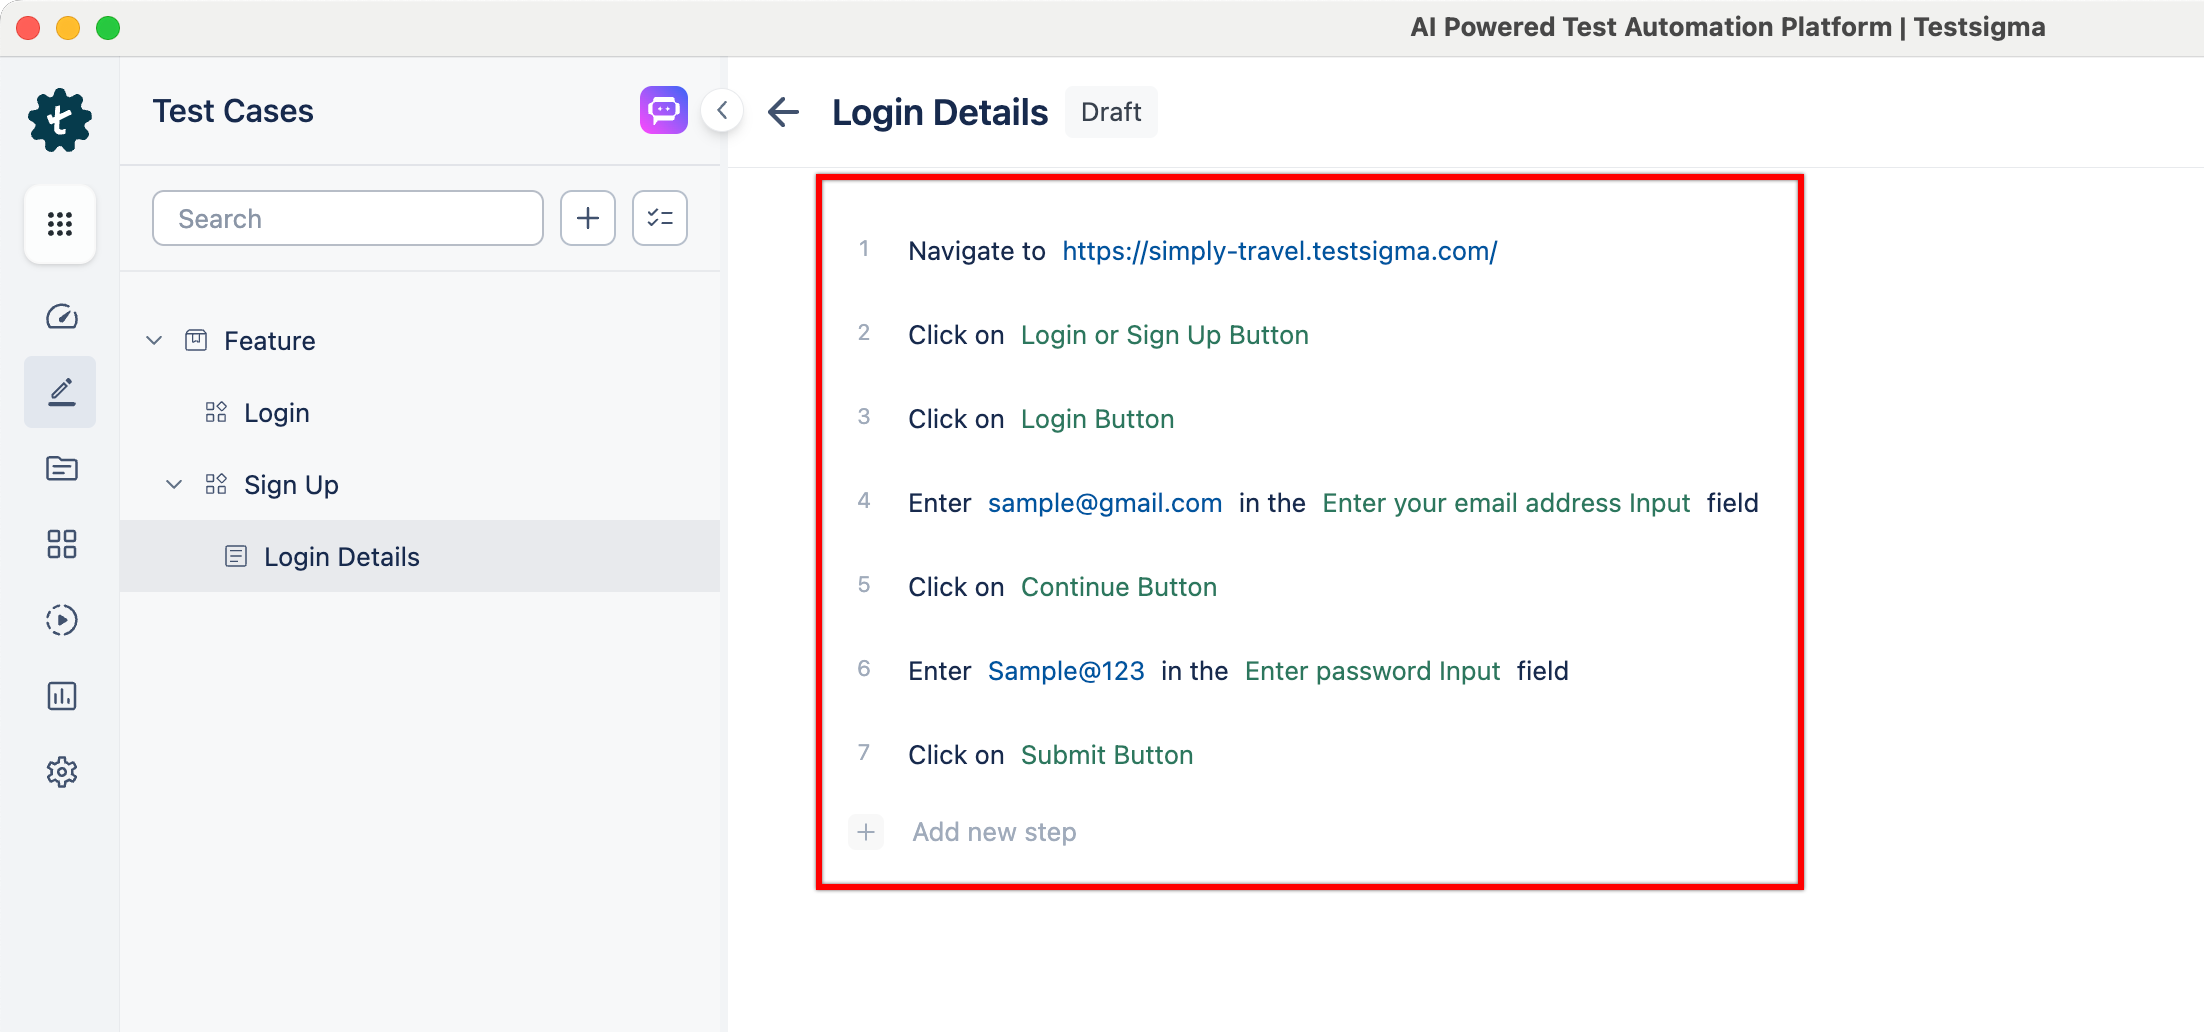
For example, if you’re creating test steps for the login page, your test steps will be:
- Navigate to https://simply-travel.testsigma.com/
- Click on Login or Sign Up
- Click on Login
- Enter <email> in the <email address> field
- Click on Continue
- Enter <password> in the <password> field
- Click on Submit
Here’s a screenshot of the test steps that were reproduced in the Testsigma application:
Android and iOS
Section titled “Android and iOS”-
From the left navigation bar, go to Create Tests > Test Case.

-
In the Test Case Explorer section, expand the required feature and click the + icon next to the target scenario. This will open a dialog box.

-
On the dialog box, validate the target feature and scenario, enter the name, and click Create.
Alternatively, click the + icon next to the search bar and select New Test Case from the drop-down menu. Follow the same steps as above.
-
Use NLPs to create test steps as per the test case scenario.
Creating Test Steps Using Test Recorder
Section titled “Creating Test Steps Using Test Recorder”Web and Mobile Web
Section titled “Web and Mobile Web”-
From the left navigation bar, go to Create Tests > Test Cases.

-
In the Test Case Explorer section, expand the required feature and click the + icon next to the target scenario. This will open a dialog box.
-
On the dialog box, validate the target feature and scenario, enter the name, and click Create.
Alternatively, click the + icon next to the search bar and select New Test Case from the drop-down menu. Follow the same steps as above.
-
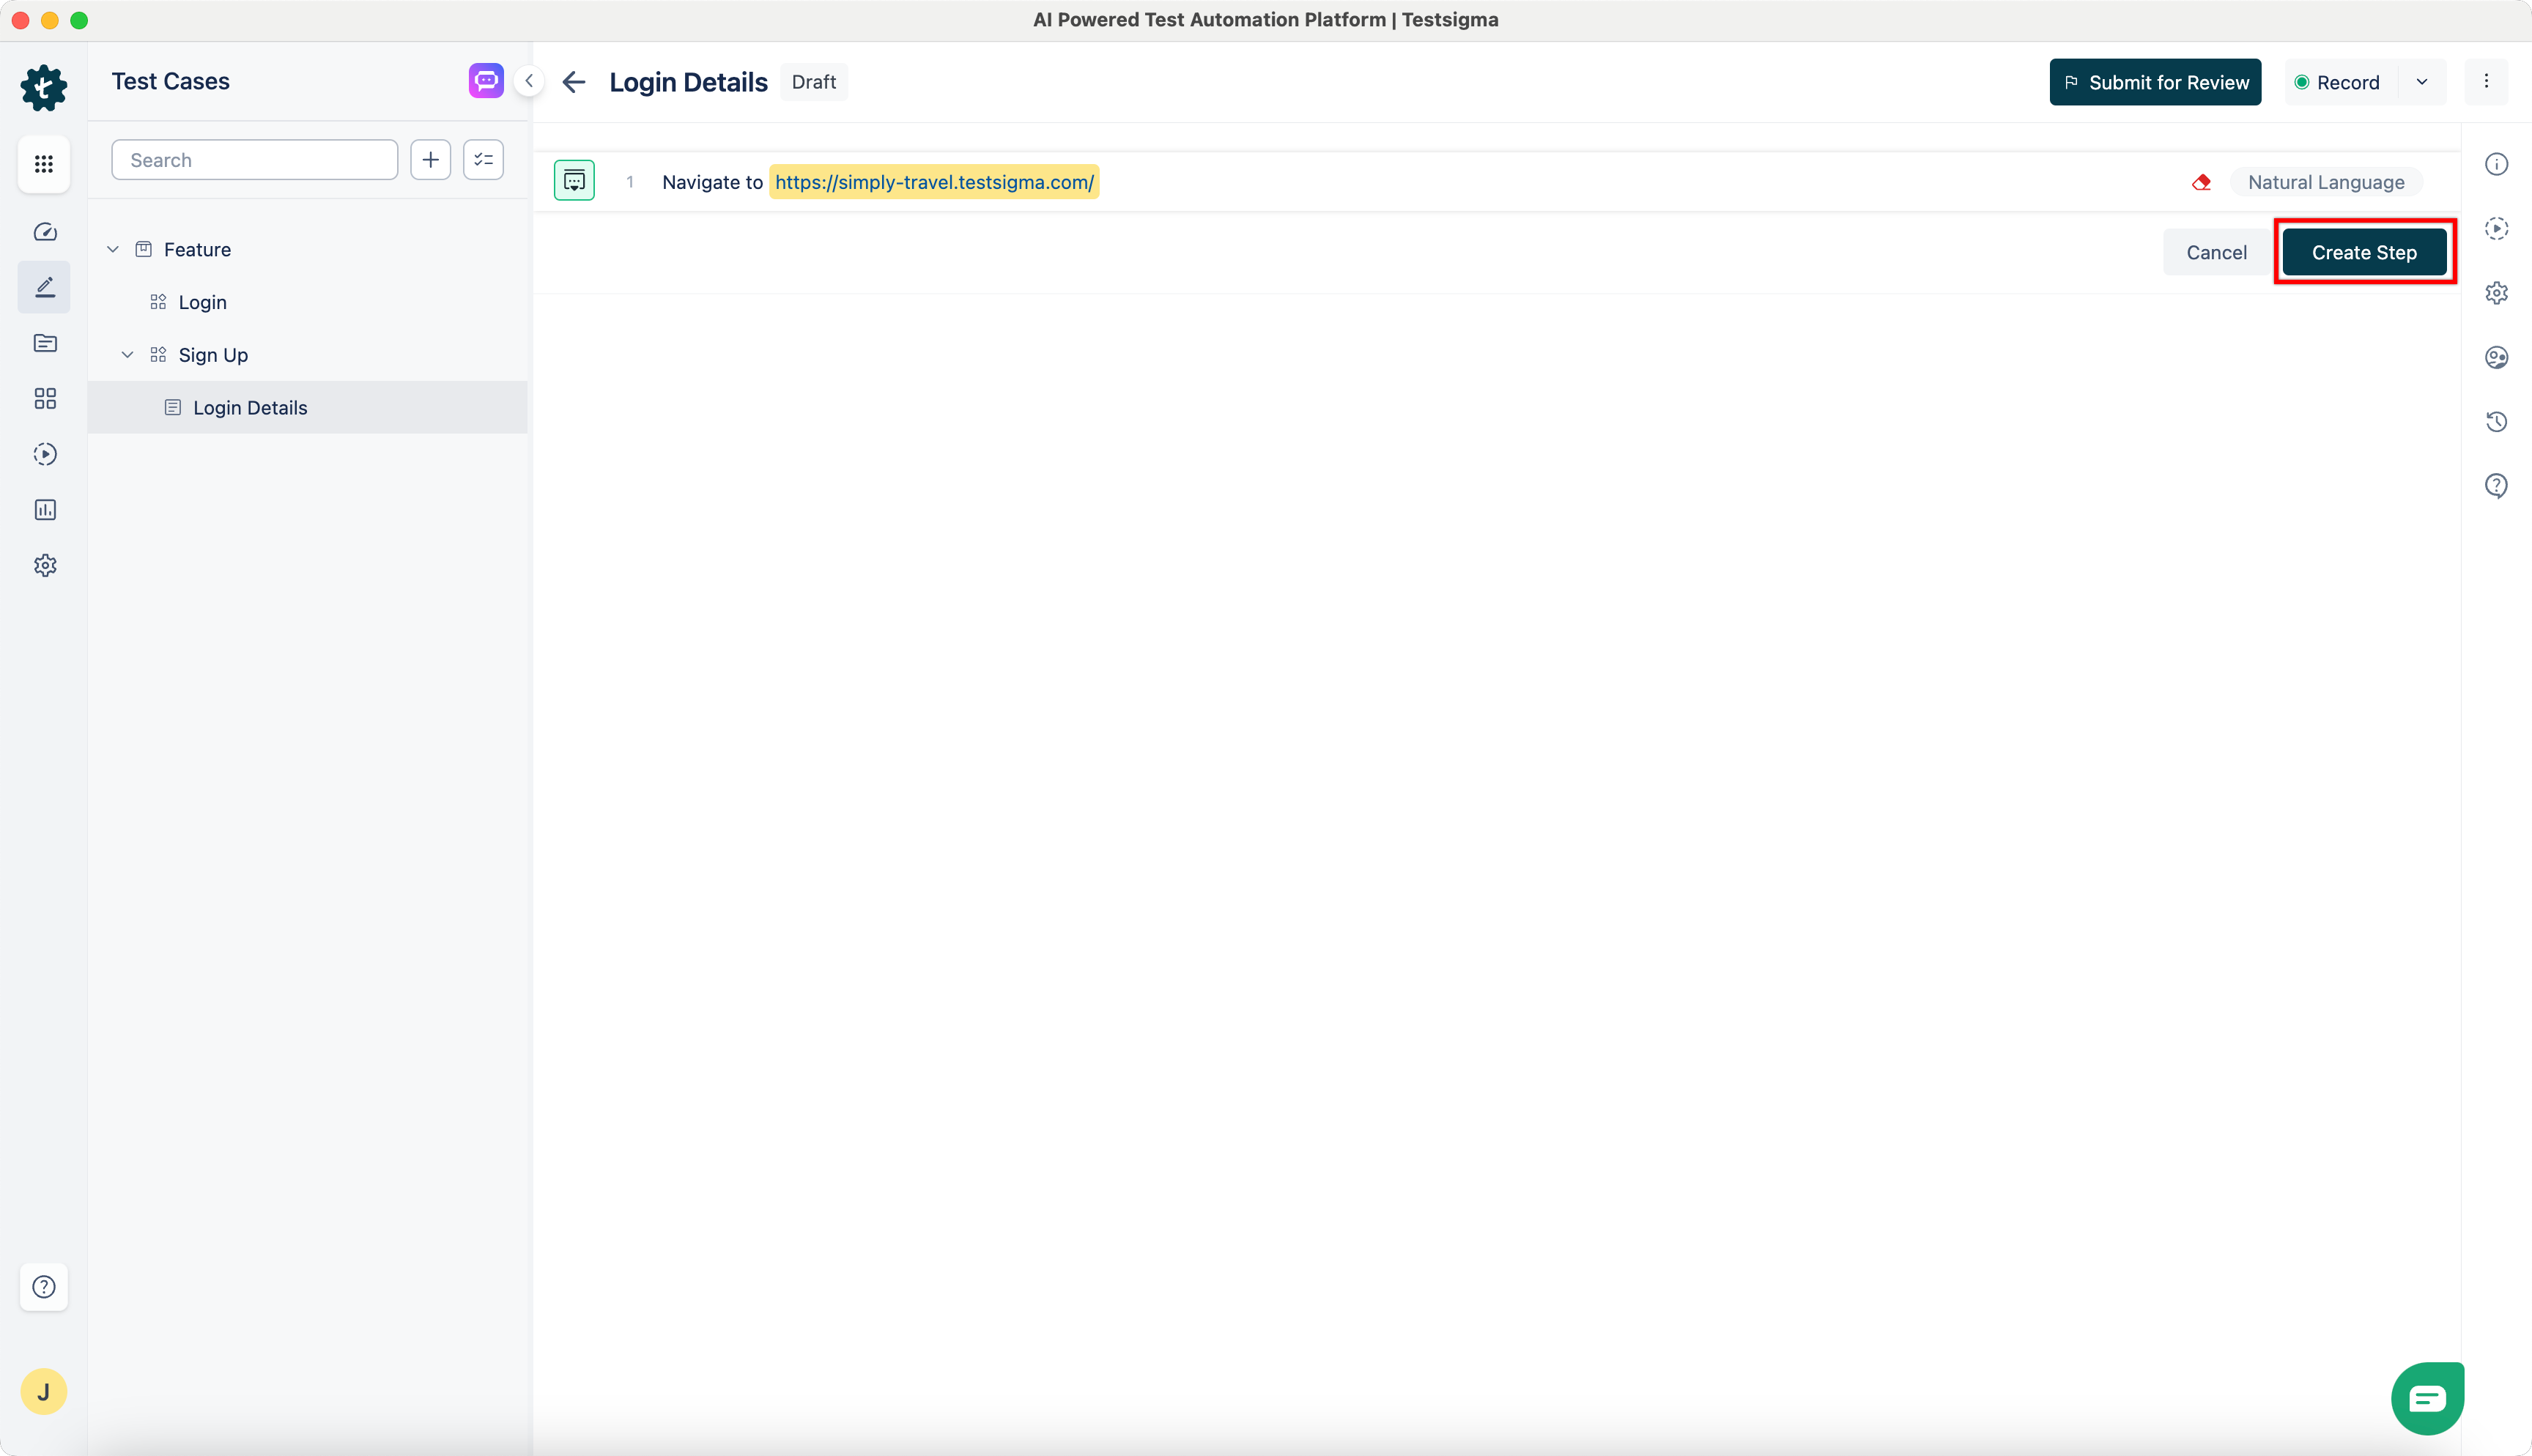
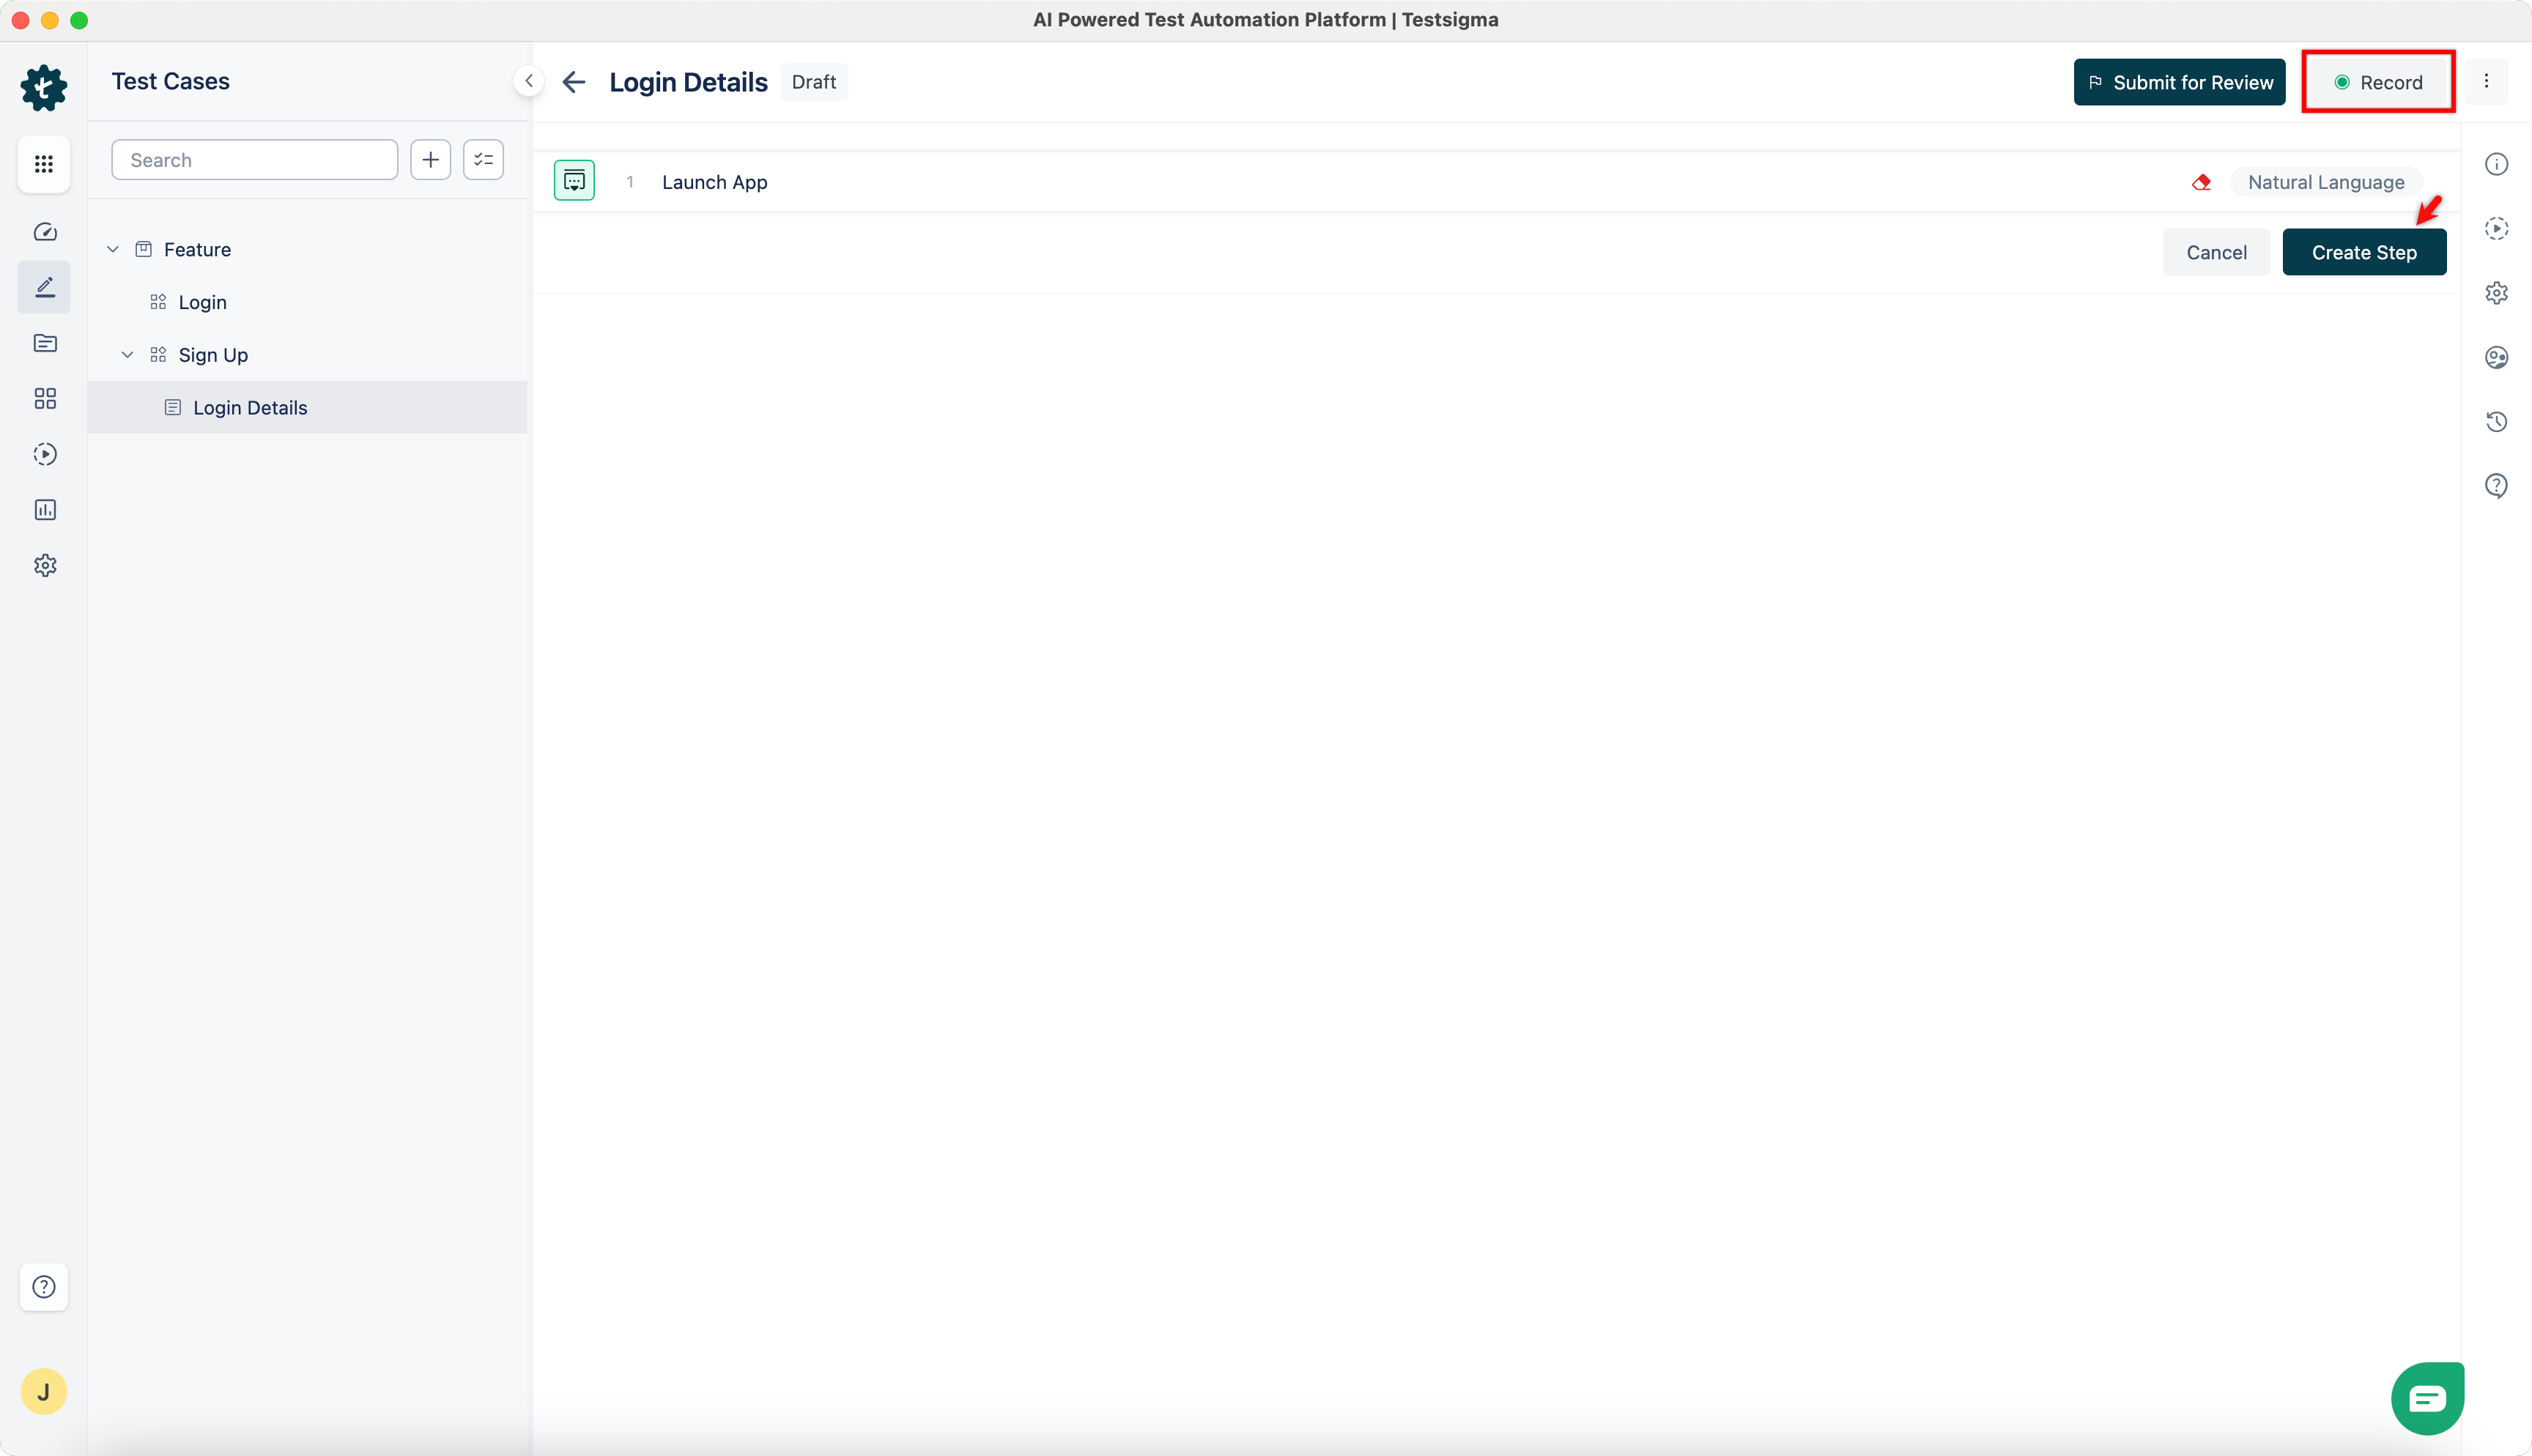
Create a test step using the URL that you want to automate and click Create Step.
-
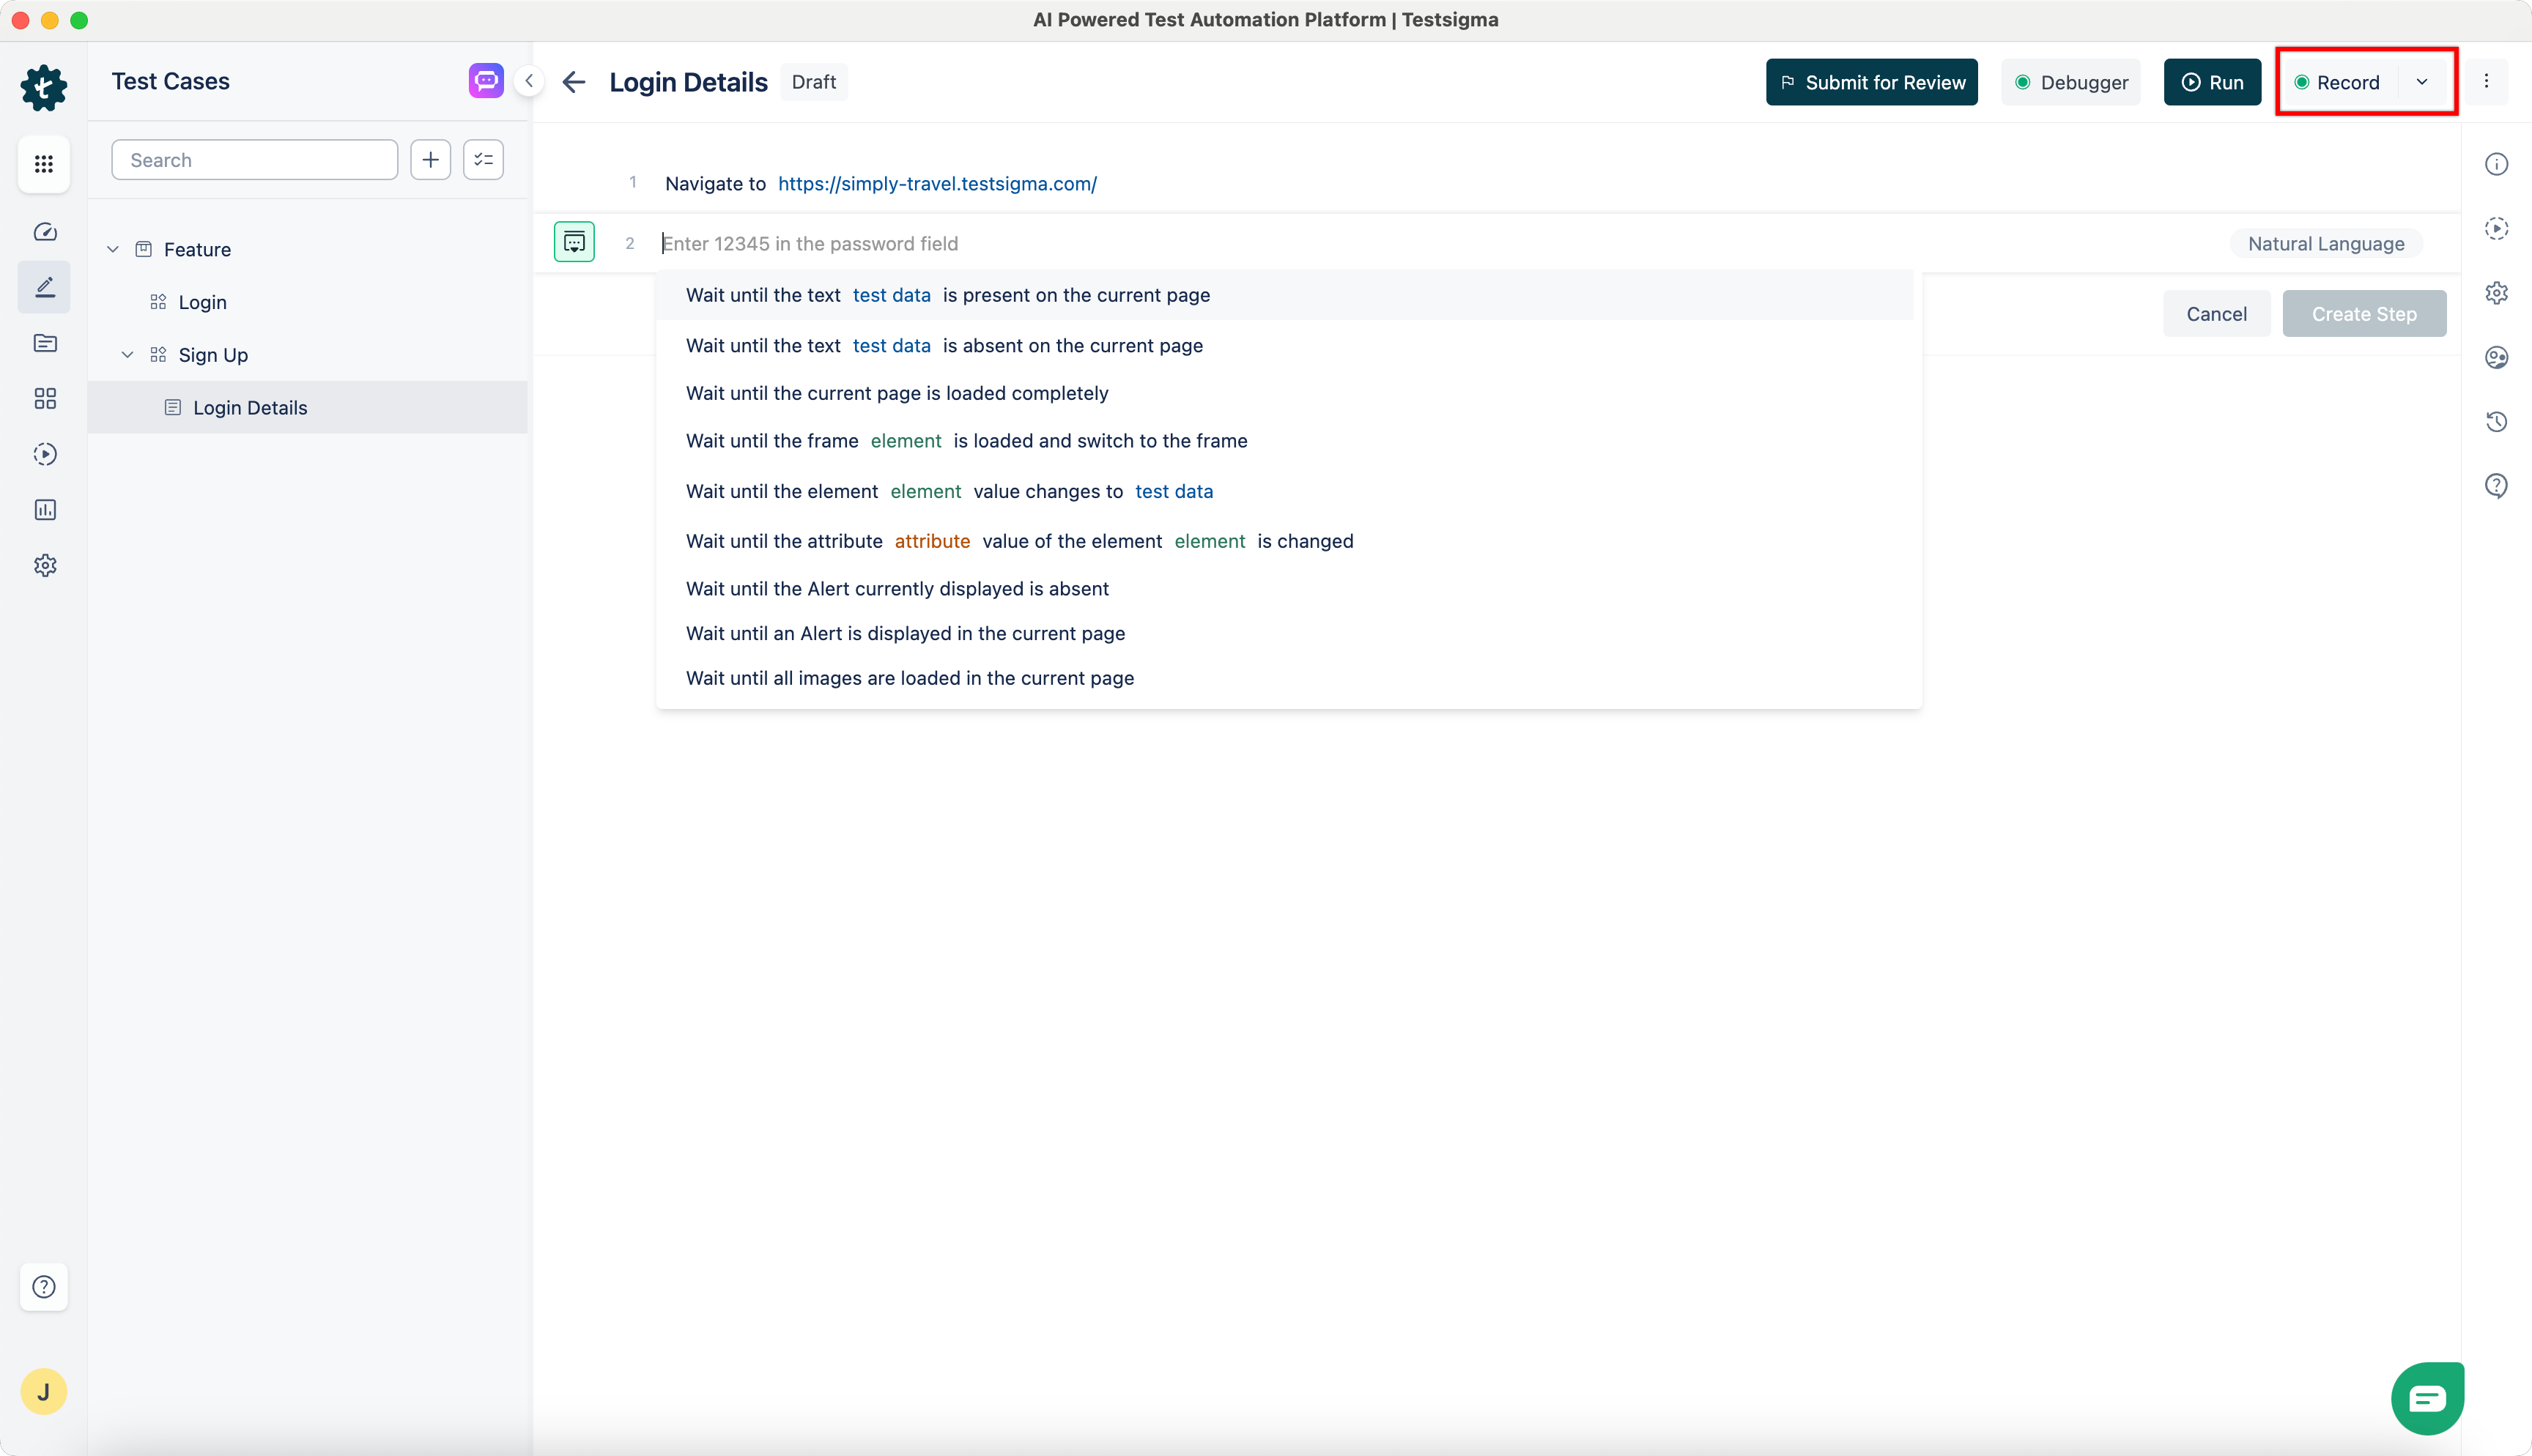
Click Record.
-
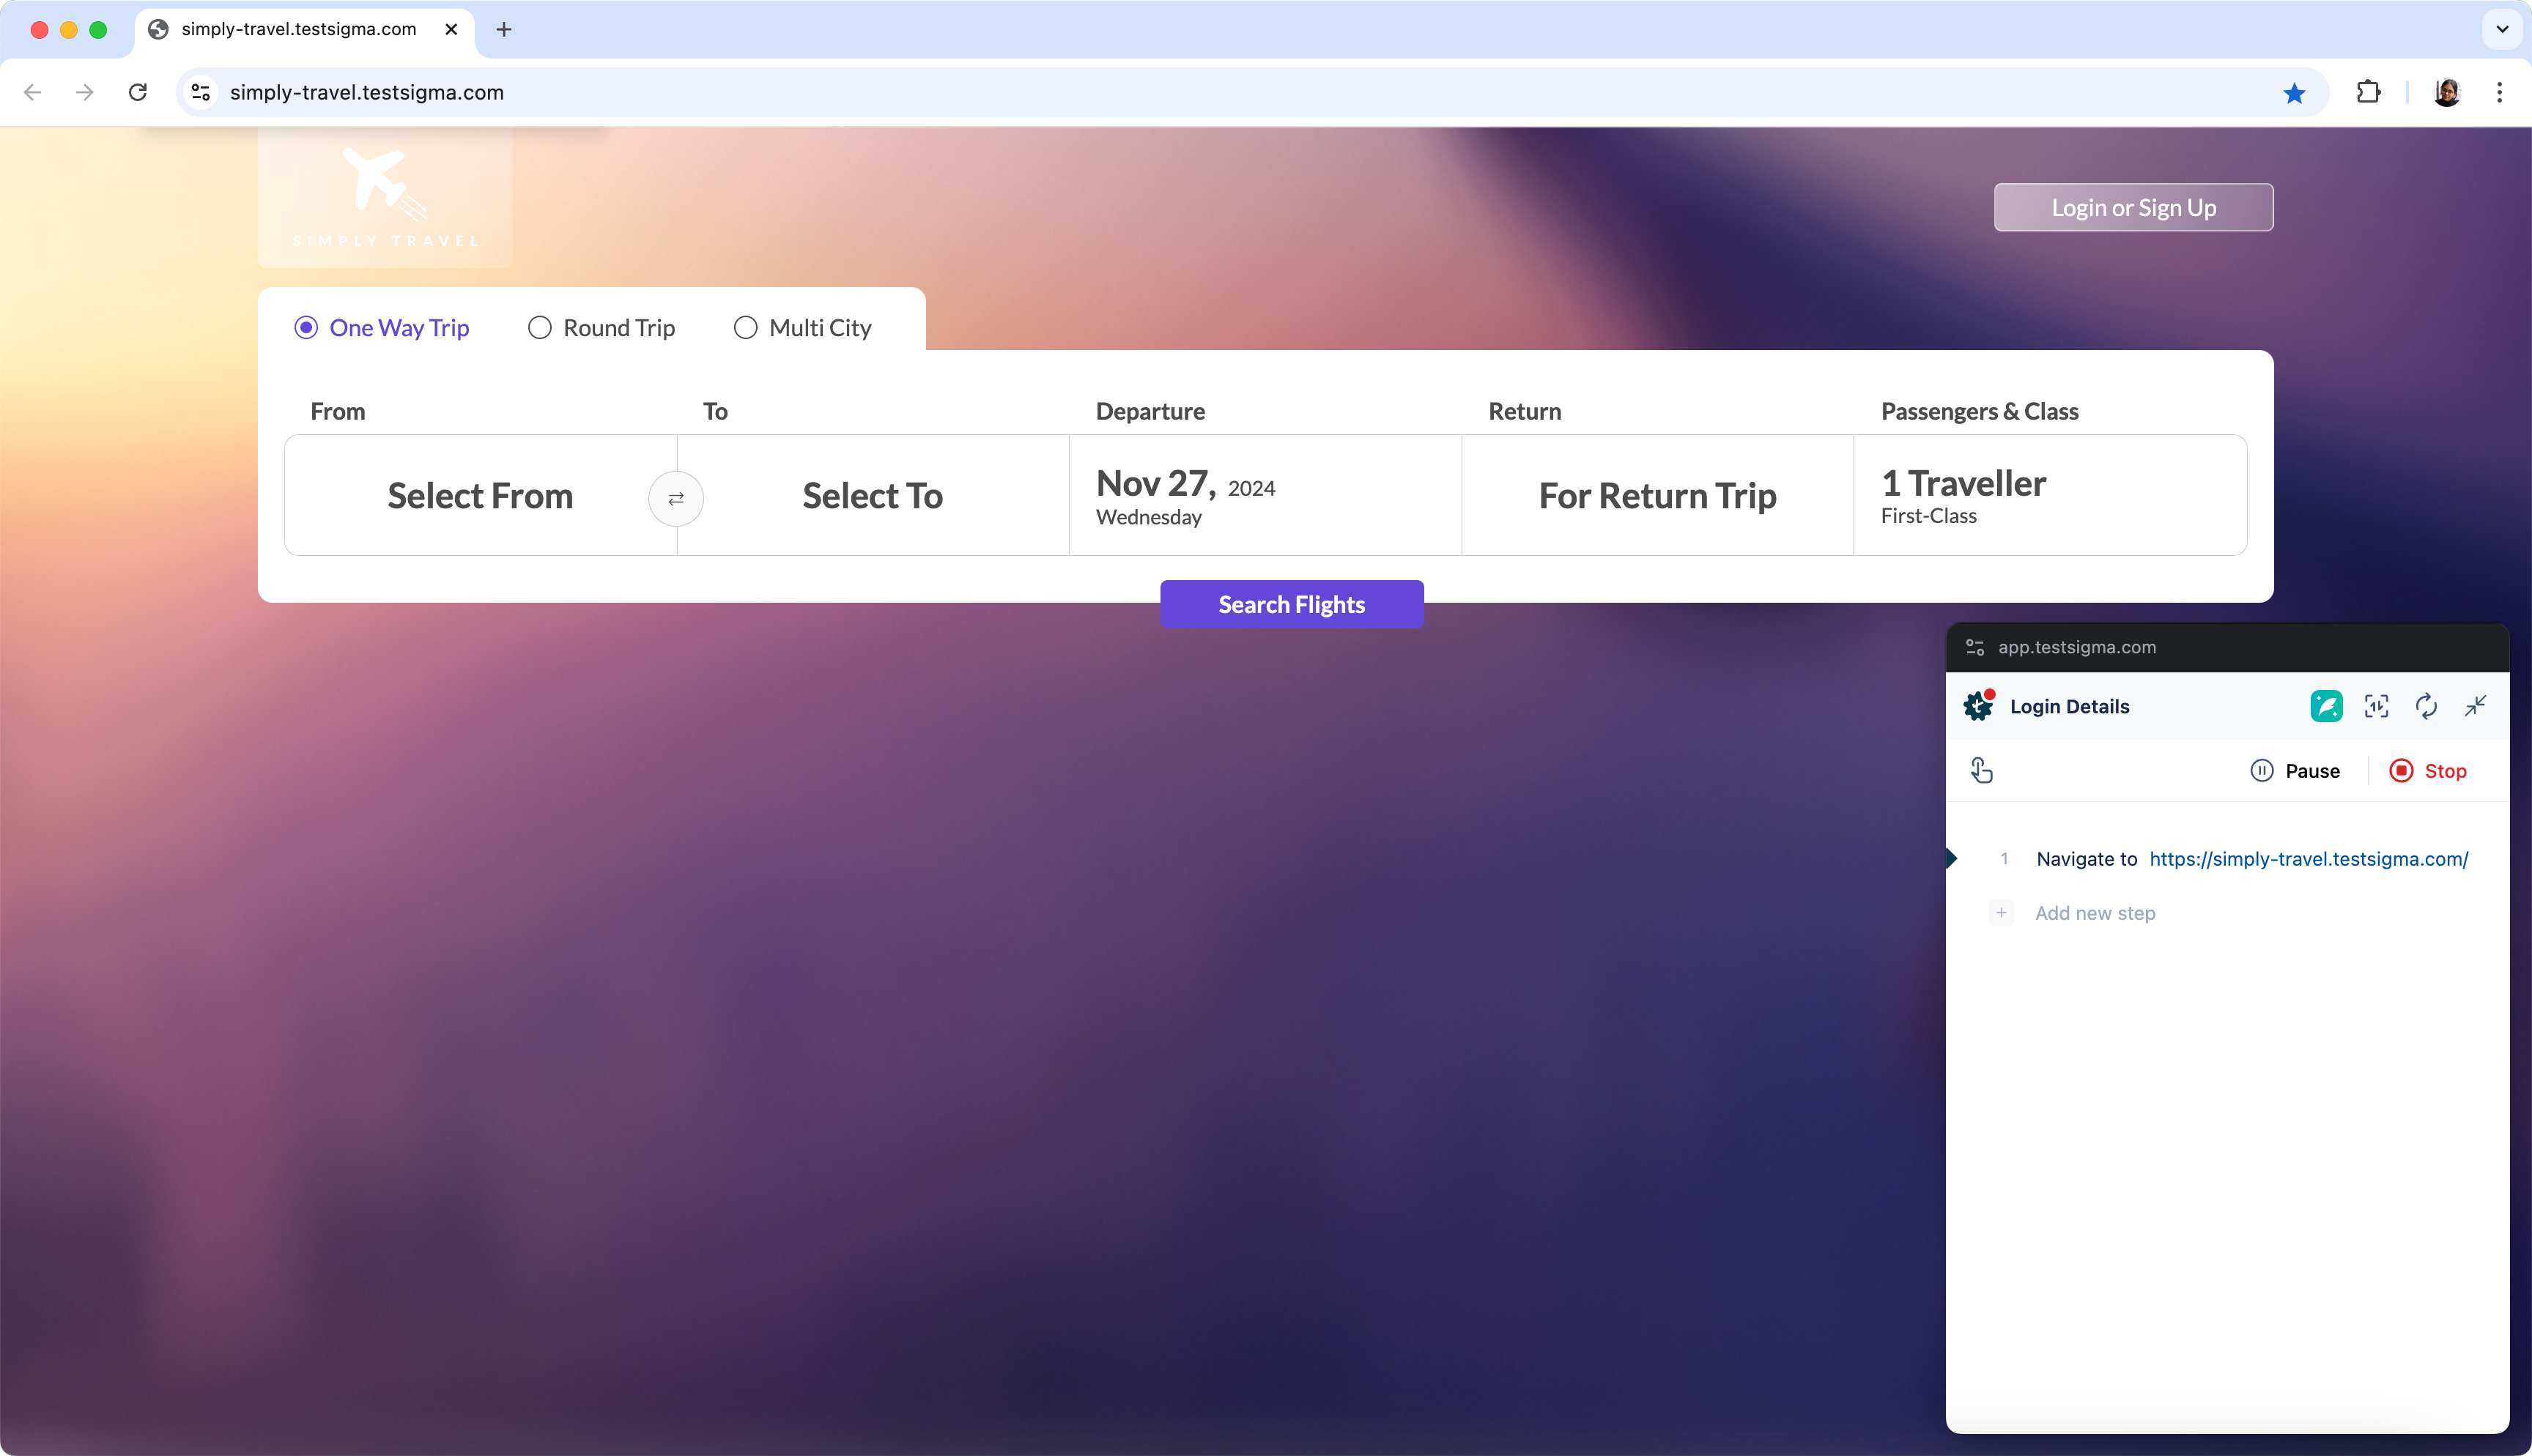
A new window will open the given URL.
-
Once the first web page is fully loaded, start interacting and performing actions on the page.
-
The actions will be recorded and added to the test case in the background.
-
Once the required actions are complete, click on Stop to switch back to the test case details page.
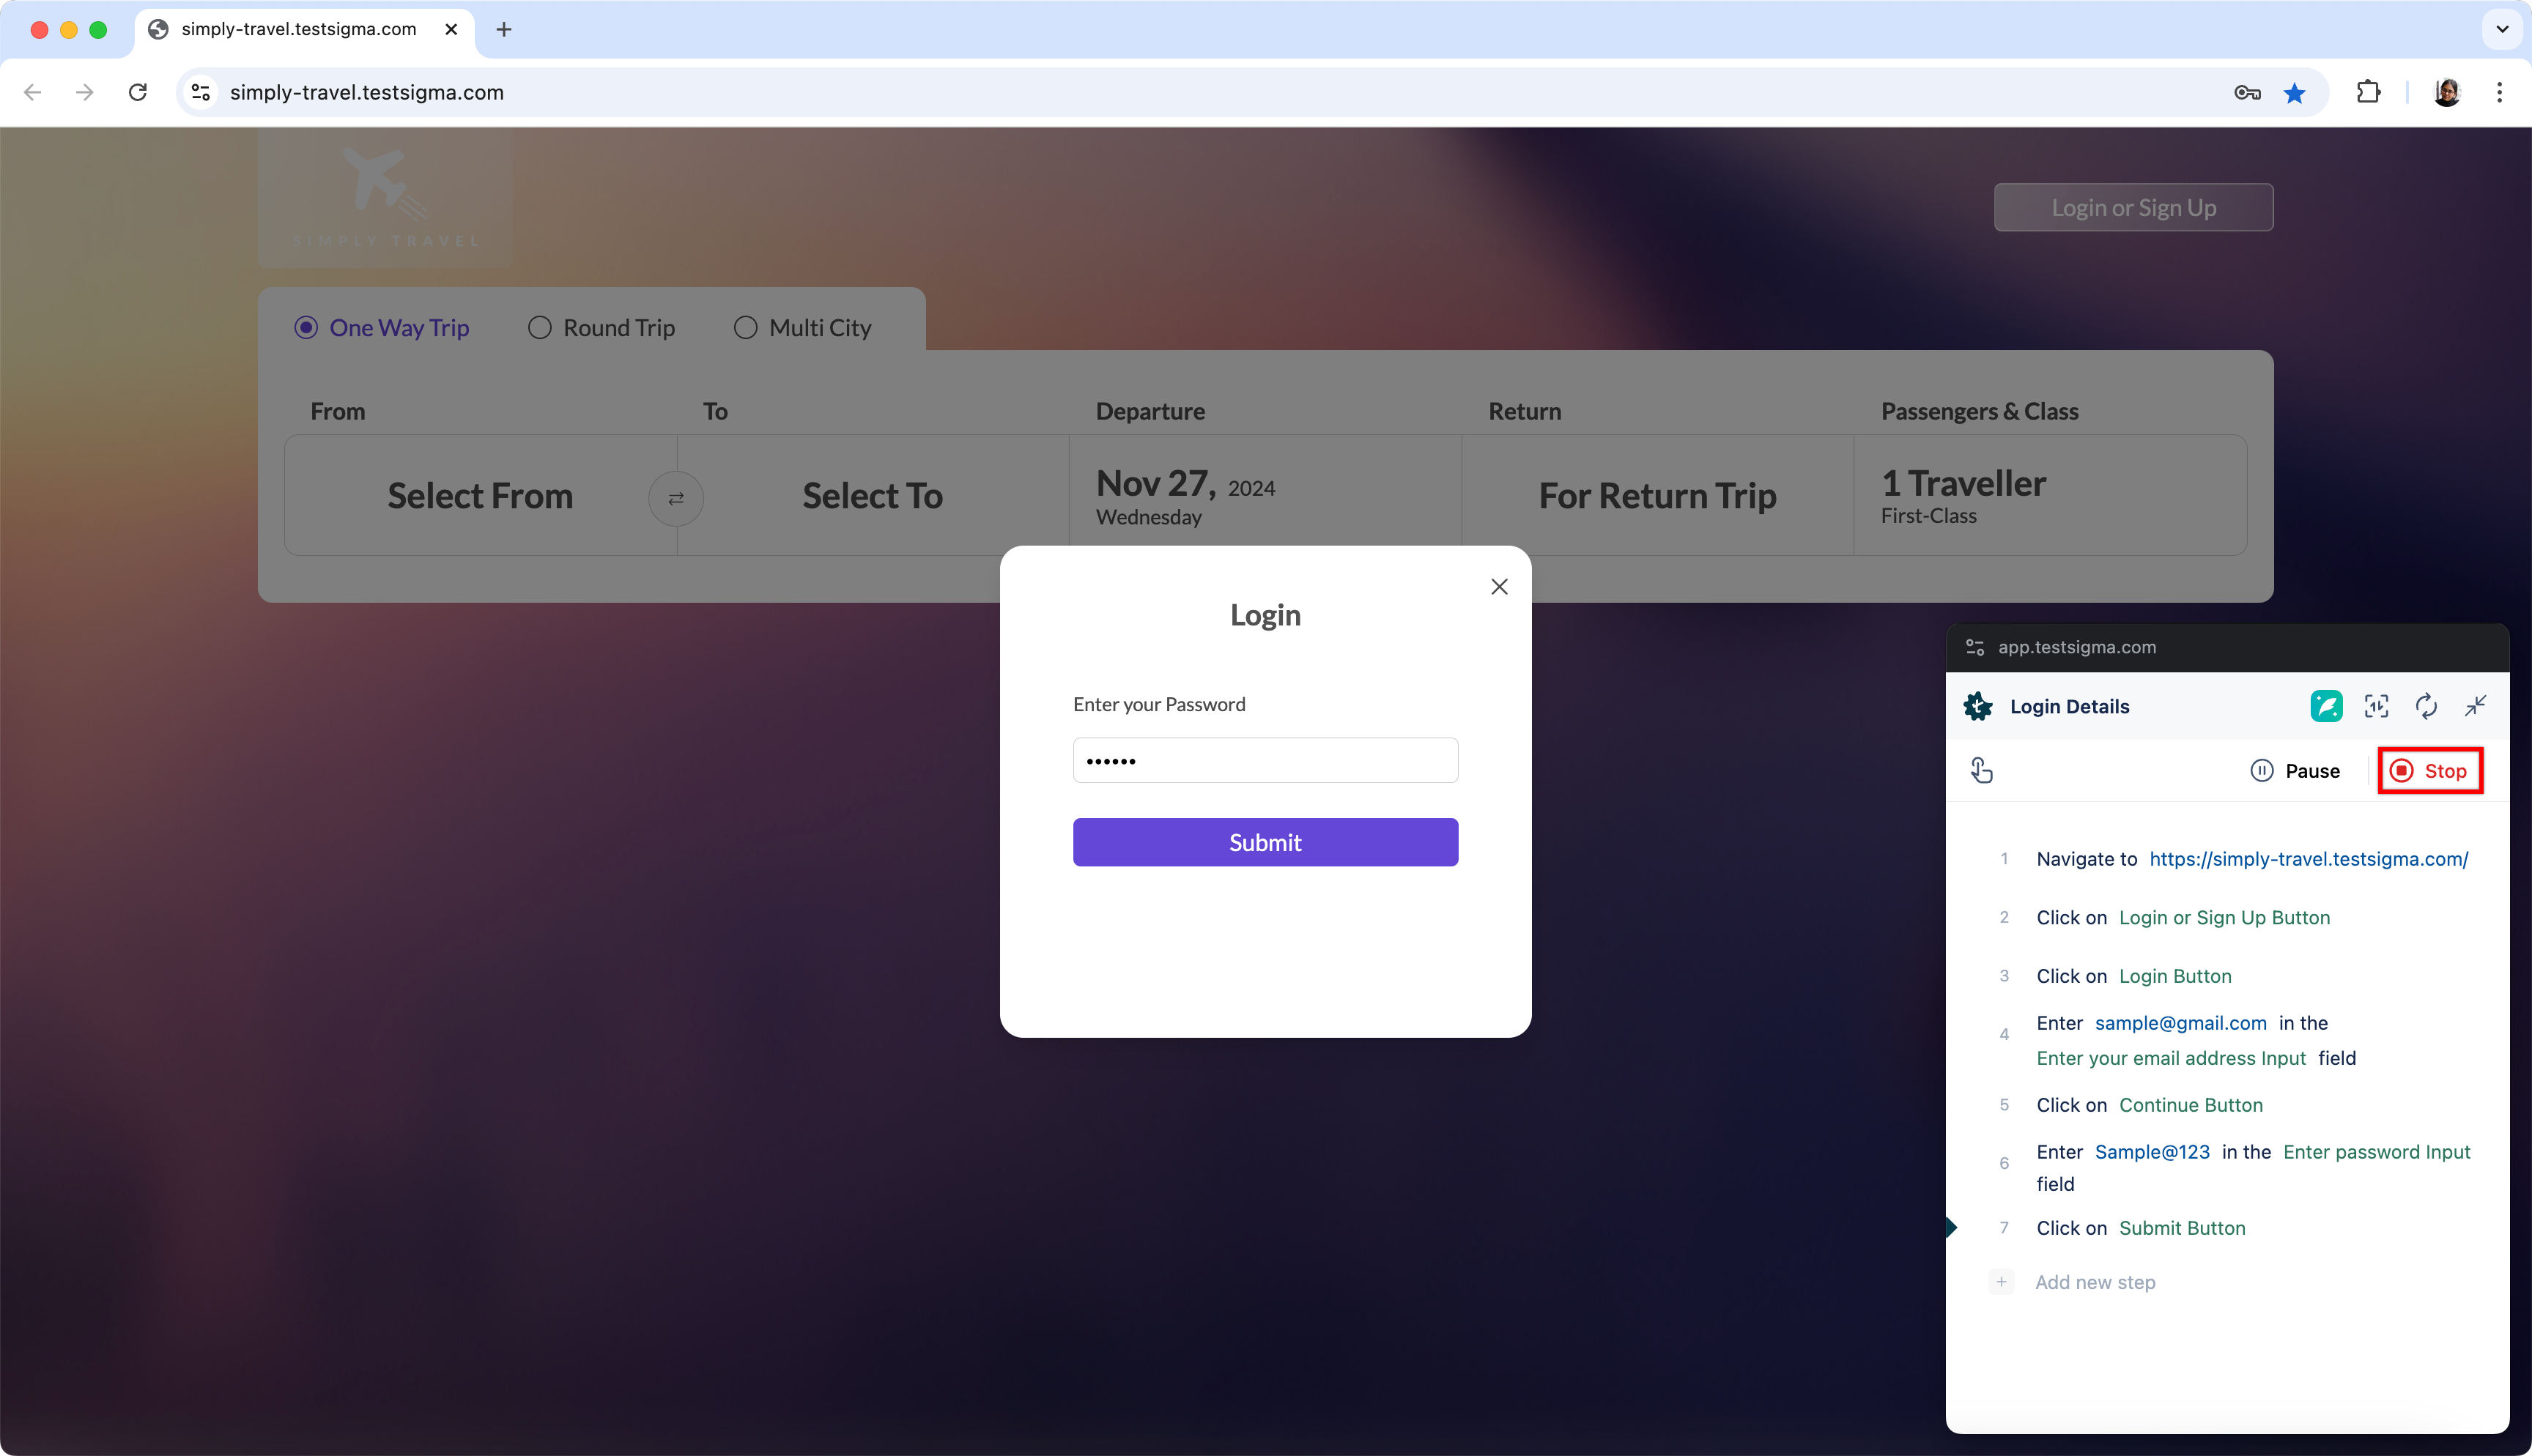
-
You can see the steps recorded in the test case details page.
Android and iOS
Section titled “Android and iOS”-
From the left navigation bar, go to Create Tests > Test Cases.
-
In the Test Case Explorer section, expand the required feature and click the + icon next to the target scenario. This will open a dialog box.
-
On the dialog box, validate the target feature and scenario, enter the name, and click Create.
Alternatively, click the + icon next to the search bar and select New Test Case from the drop-down menu. Follow the same steps as above.
-
Click Create Step and click Record.
-
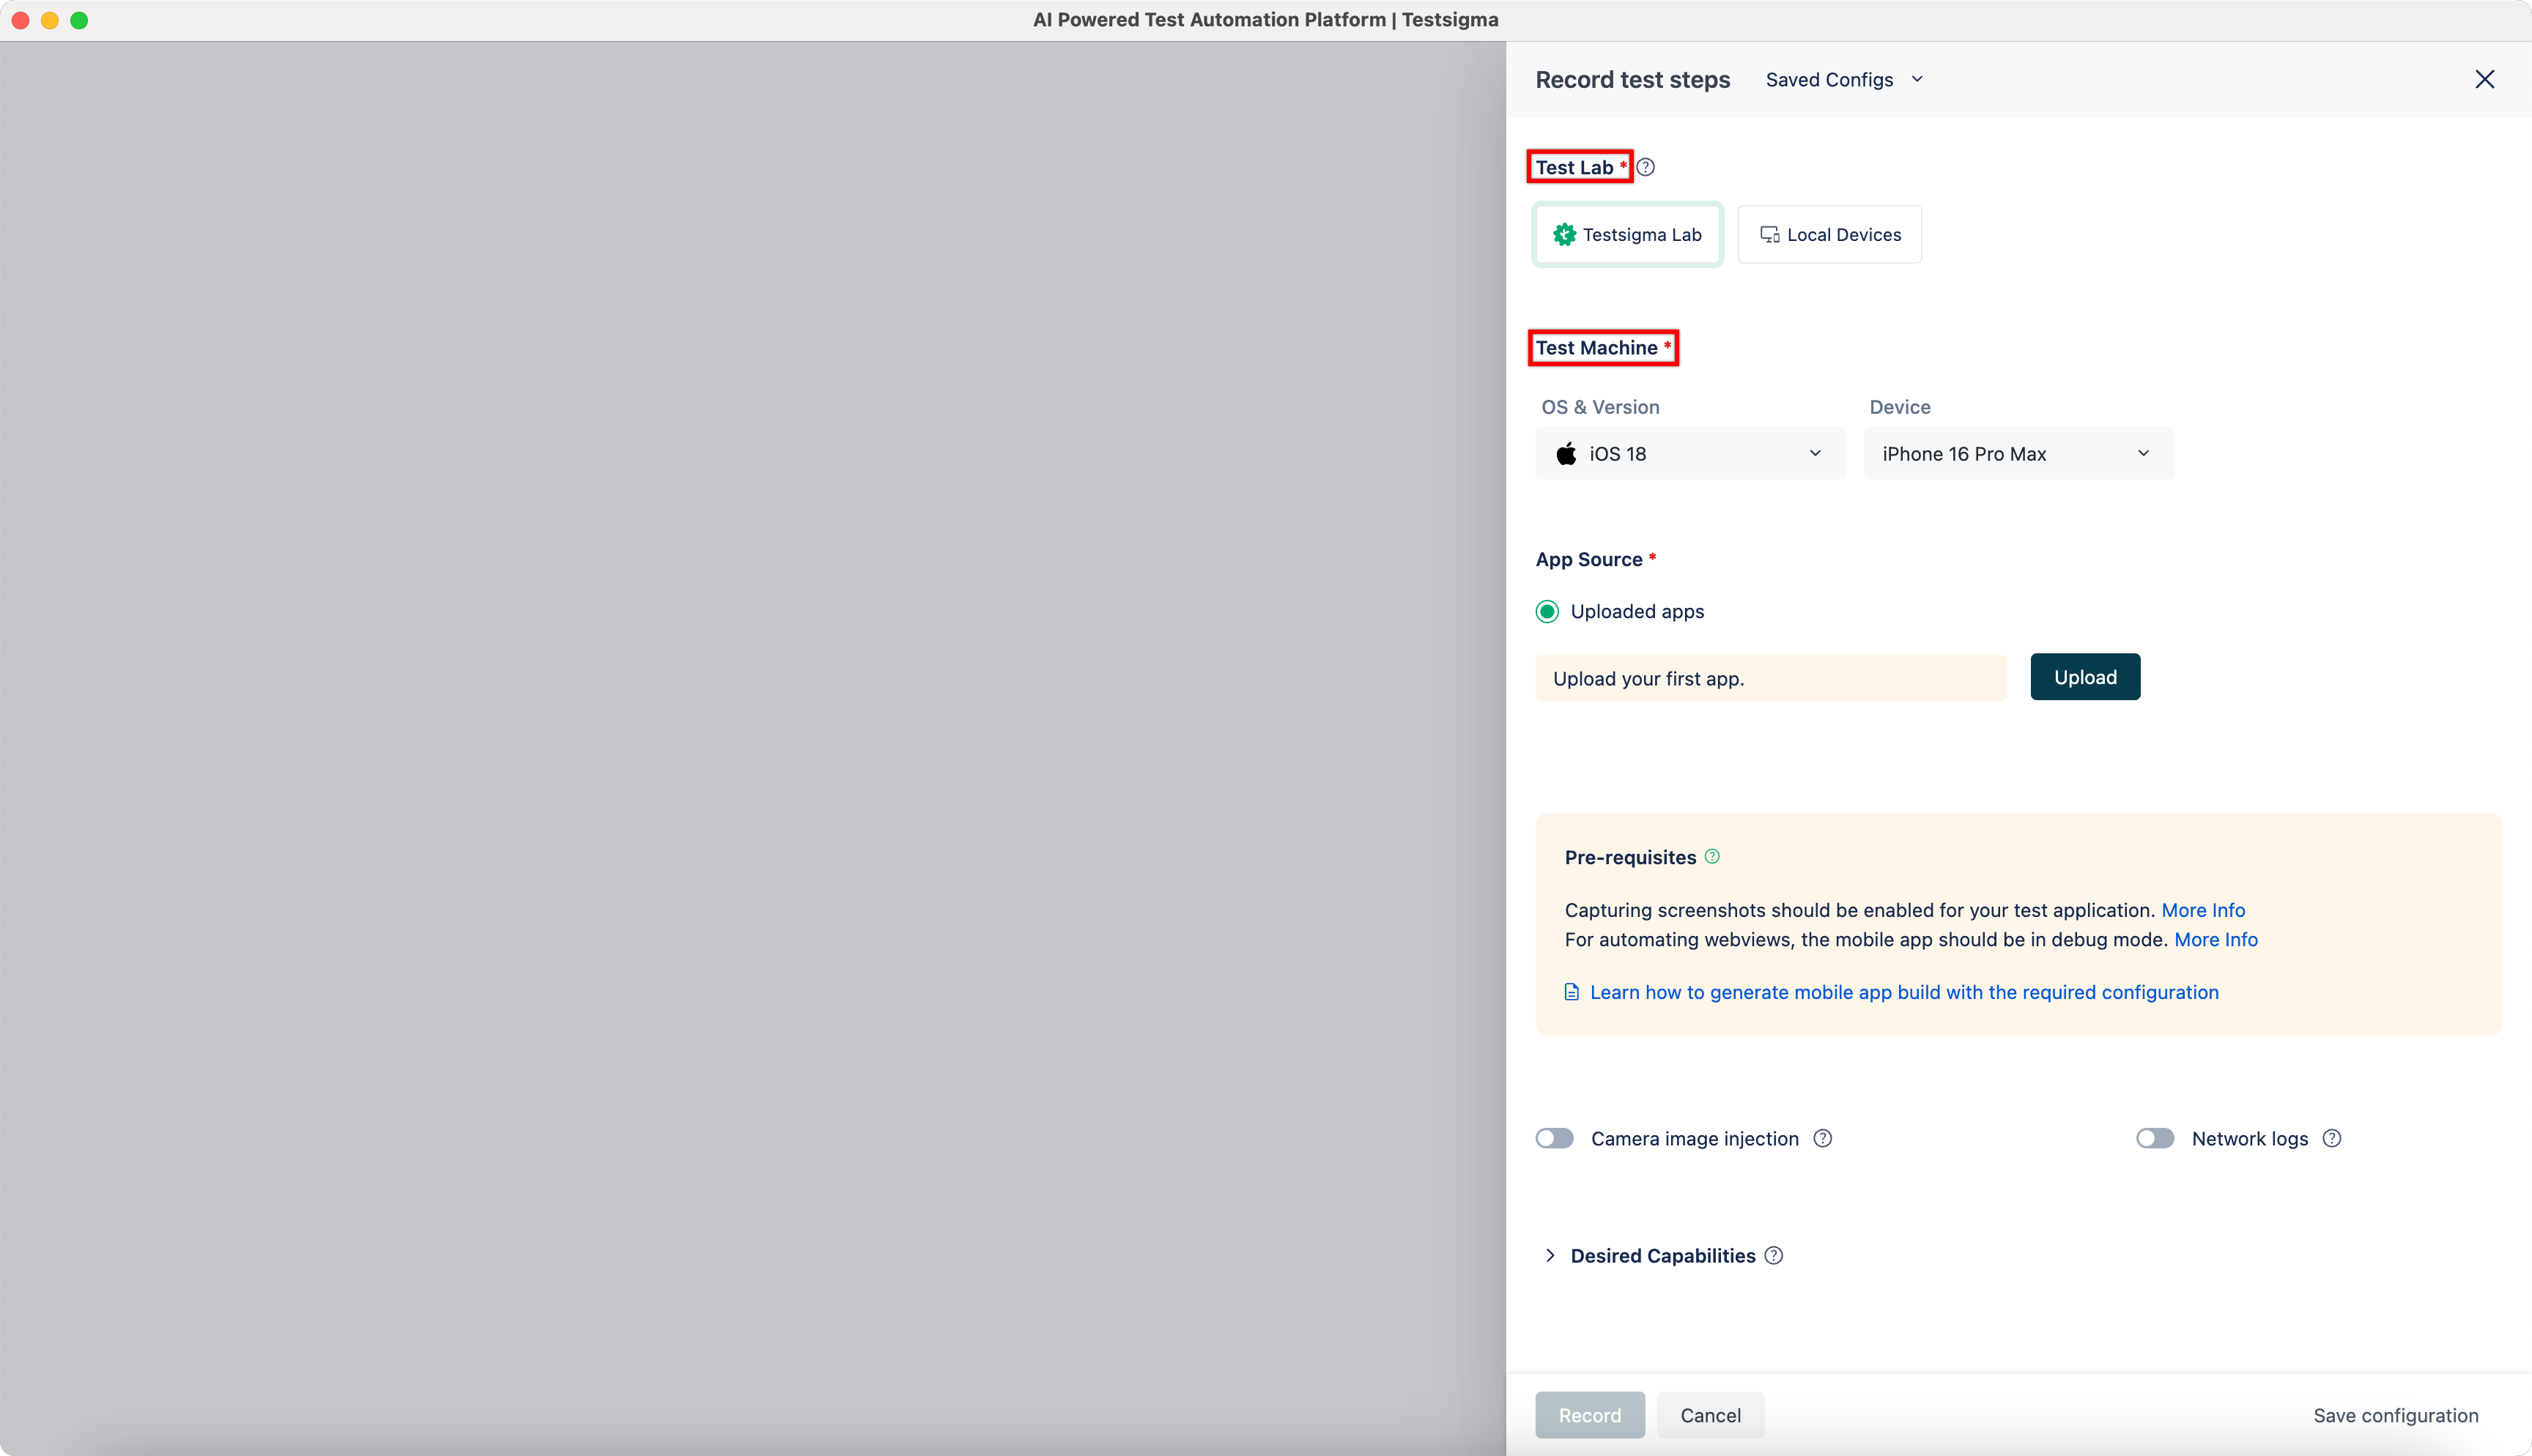
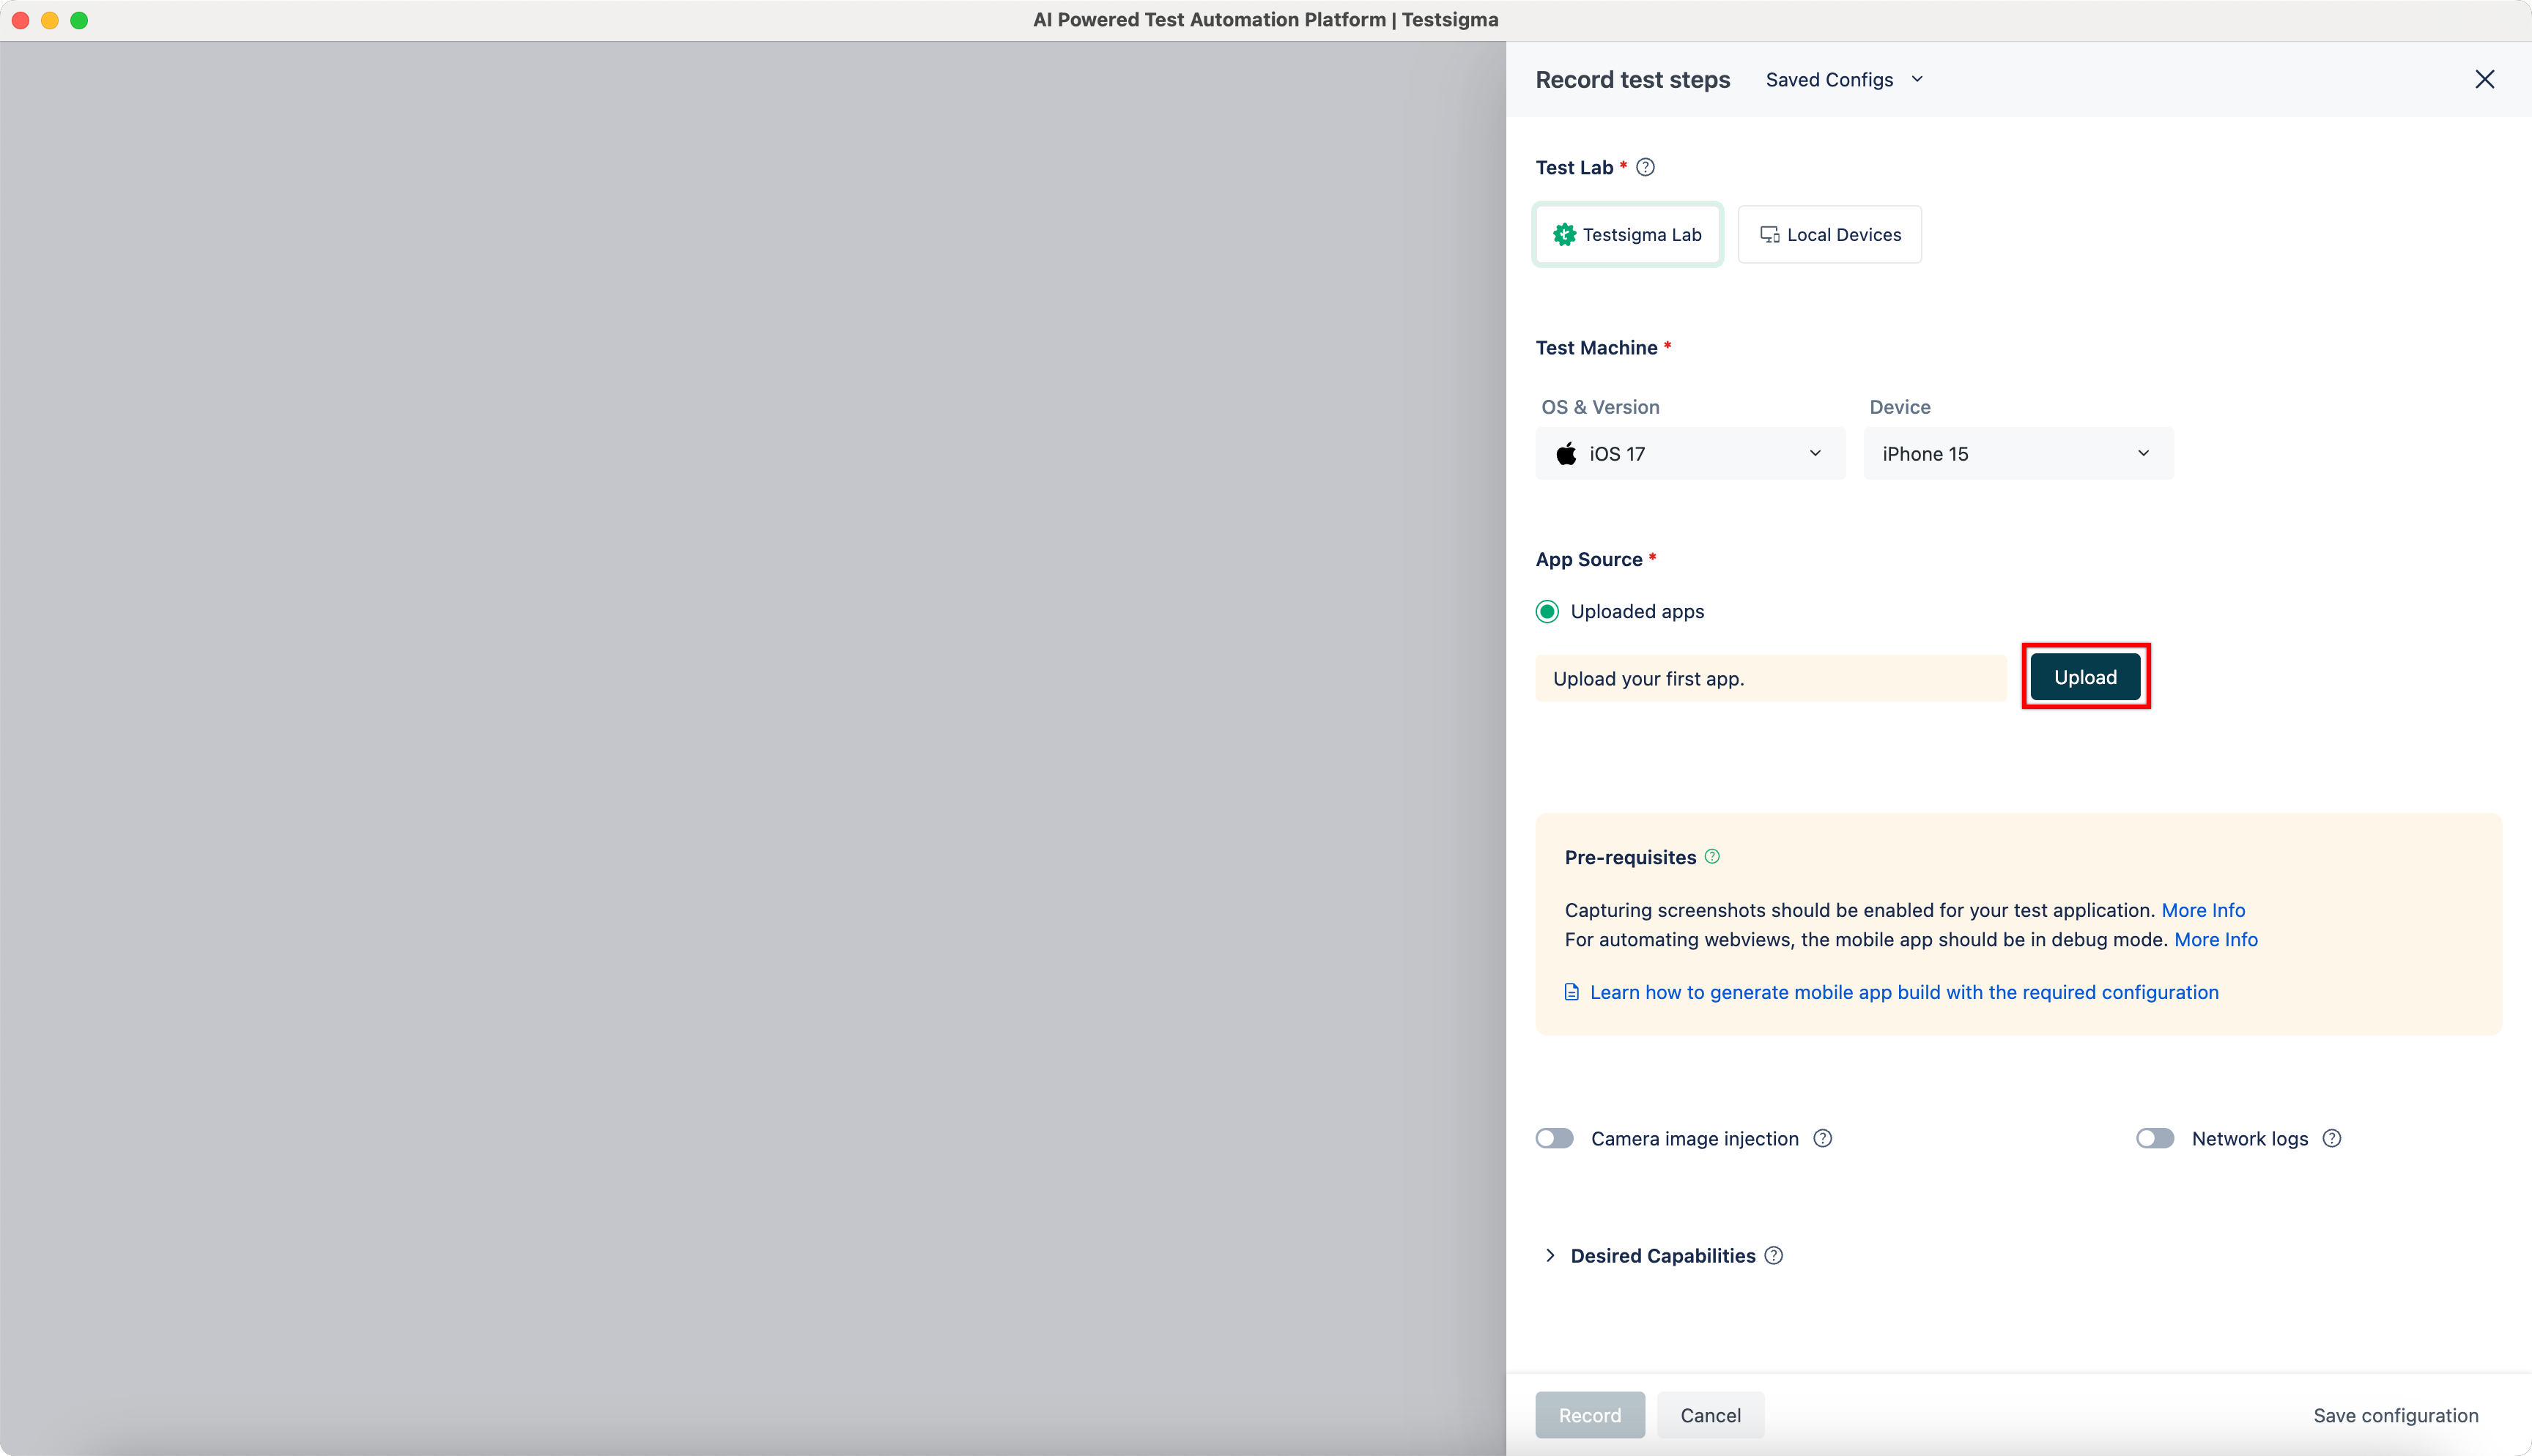
In the Record test steps overlay, select the required options in the Test Lab and Test Machine sections.
-
Click Upload and upload the required file.
-
Click Record.
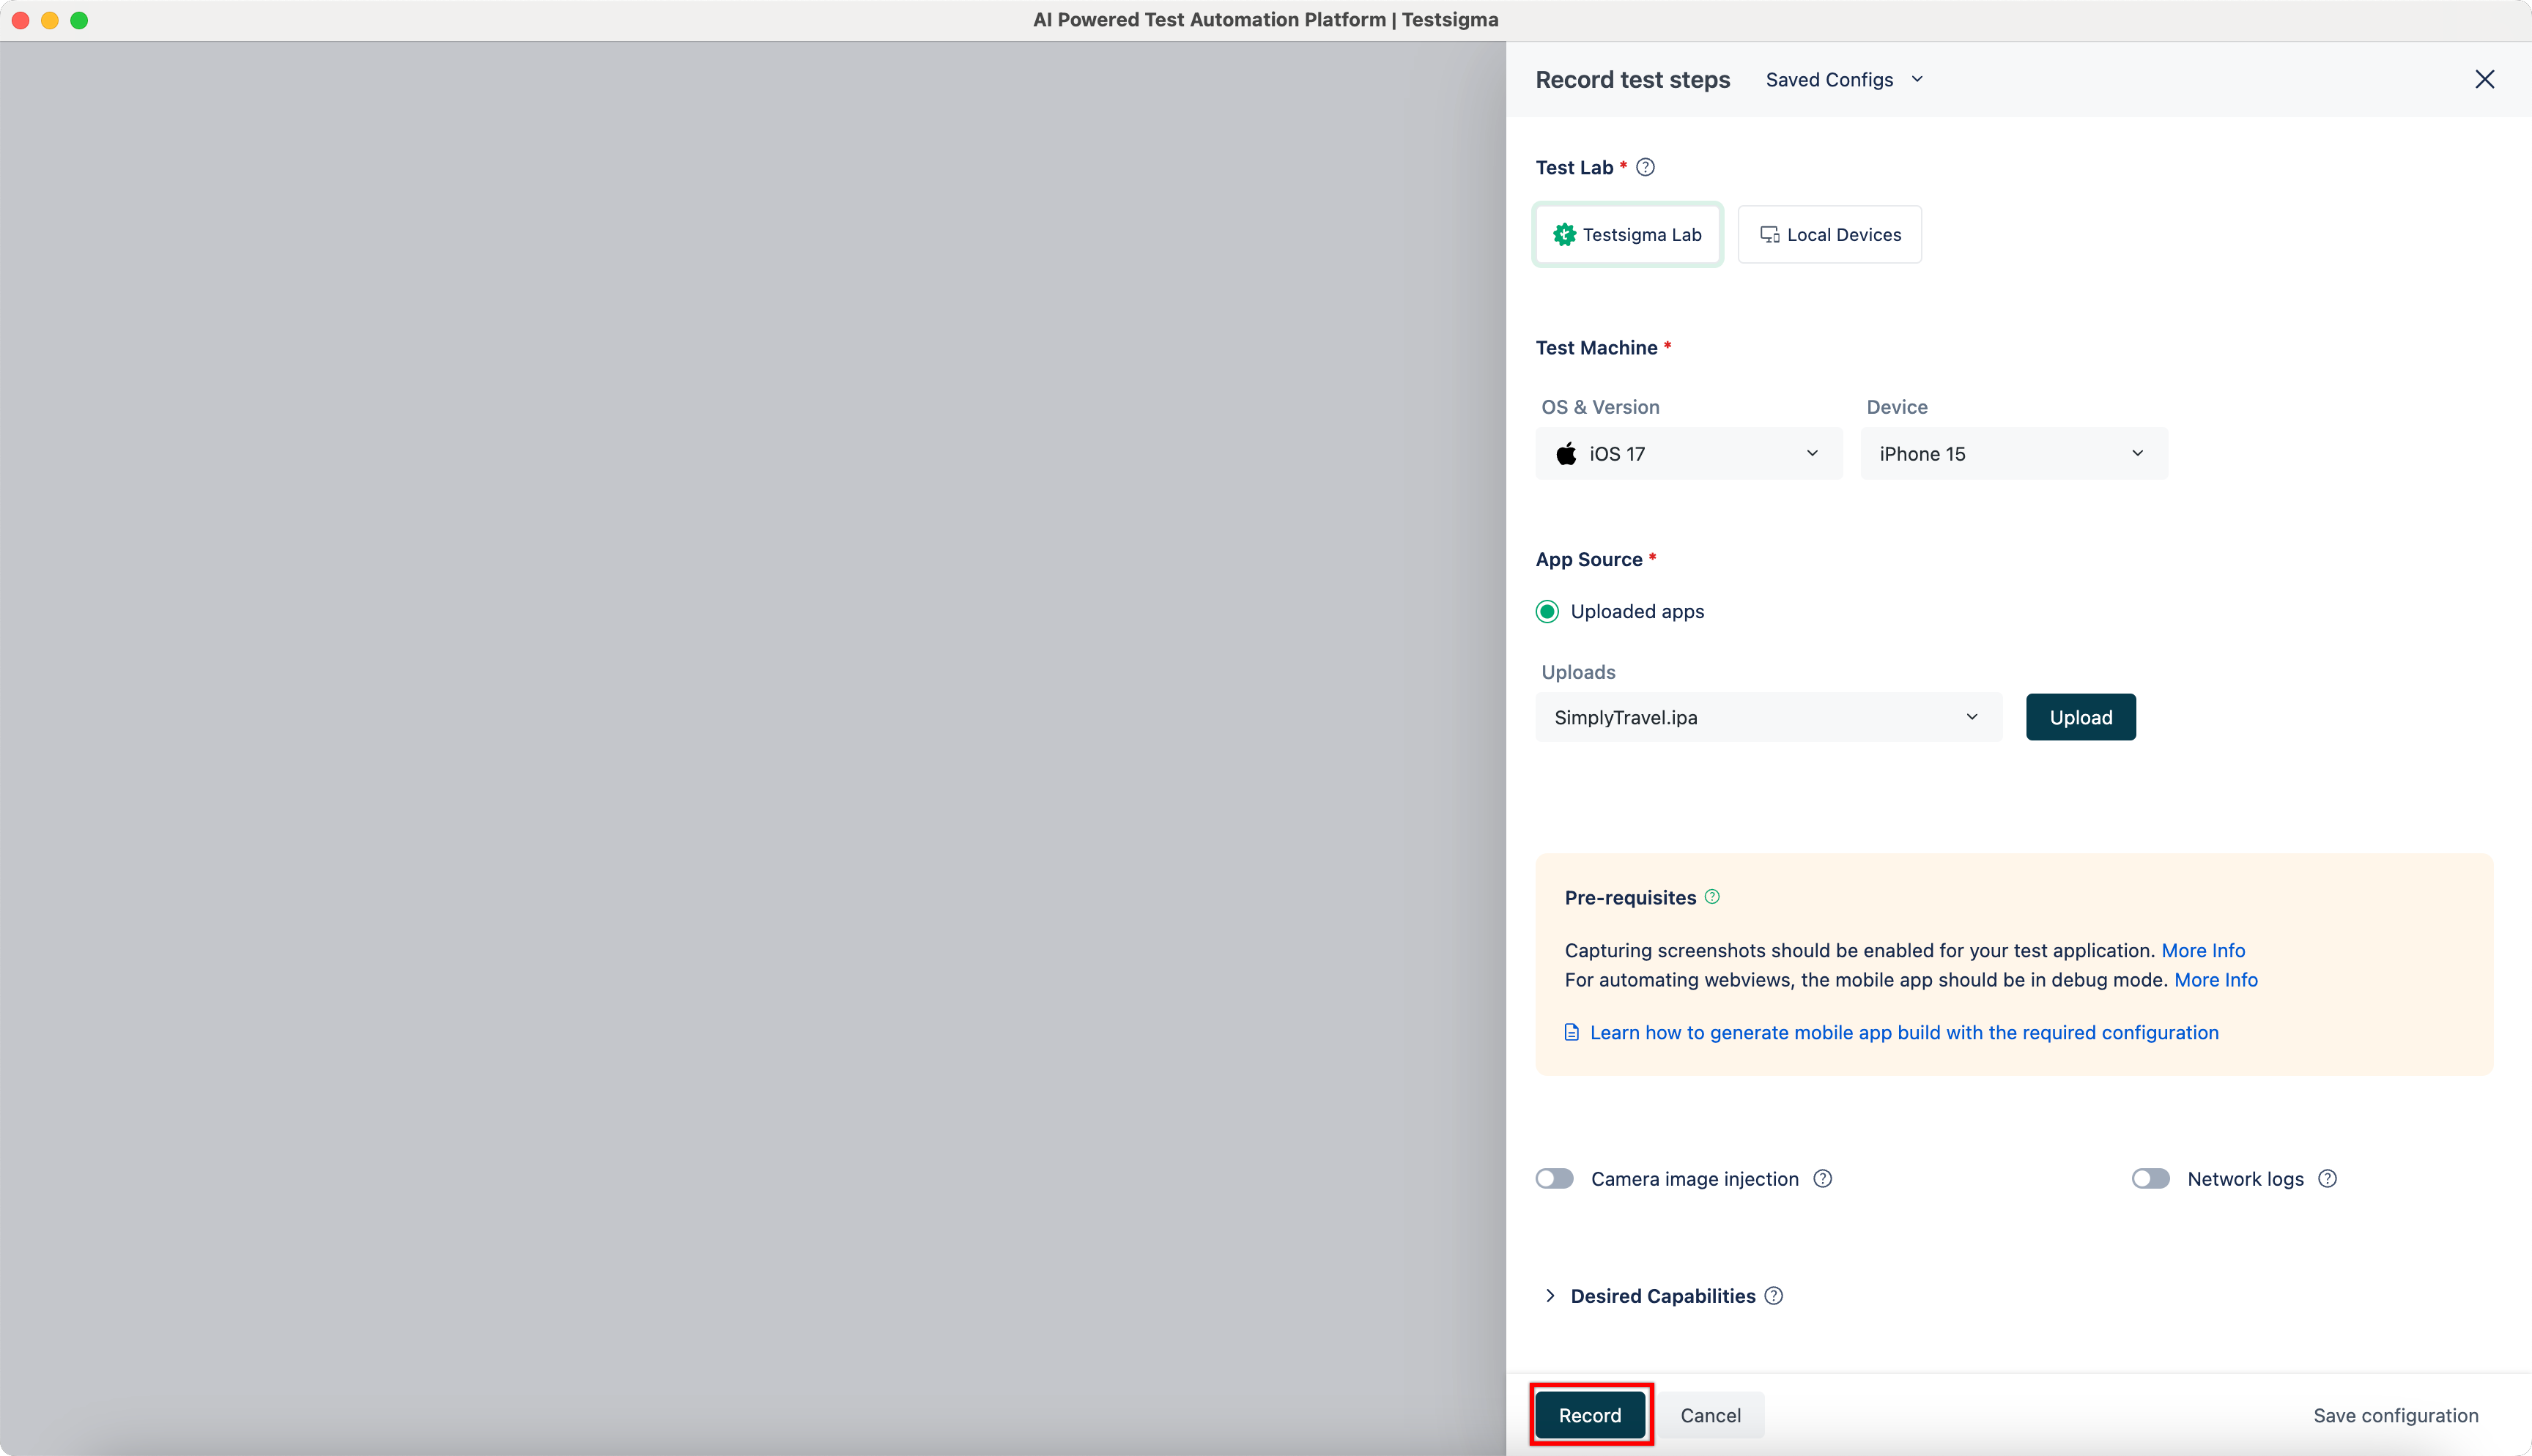
-
Perform the actions on the application and once the required actions are complete, stop the recording to switch back to the test case details page.
-
The test case details page will display the steps performed on the application.