Projects
Manage Projects
Testsigma offers the ability to create multiple projects and applications, allowing for logical separation between them. Each Testsigma Project comprises different types of applications, similar to a real-life Project.
Testsigma provides four sample projects with various test cases for Web, Mobile web, Android, and iOS application types within the Testsigma account. These sample projects can be used and modified to initiate test automation quickly.
This document will walk you through creating, editing, switching, and deleting projects in Testsigma.
Creating a Project
Section titled “Creating a Project”-
Navigate to Create New and click on Project from the dropdown menu.
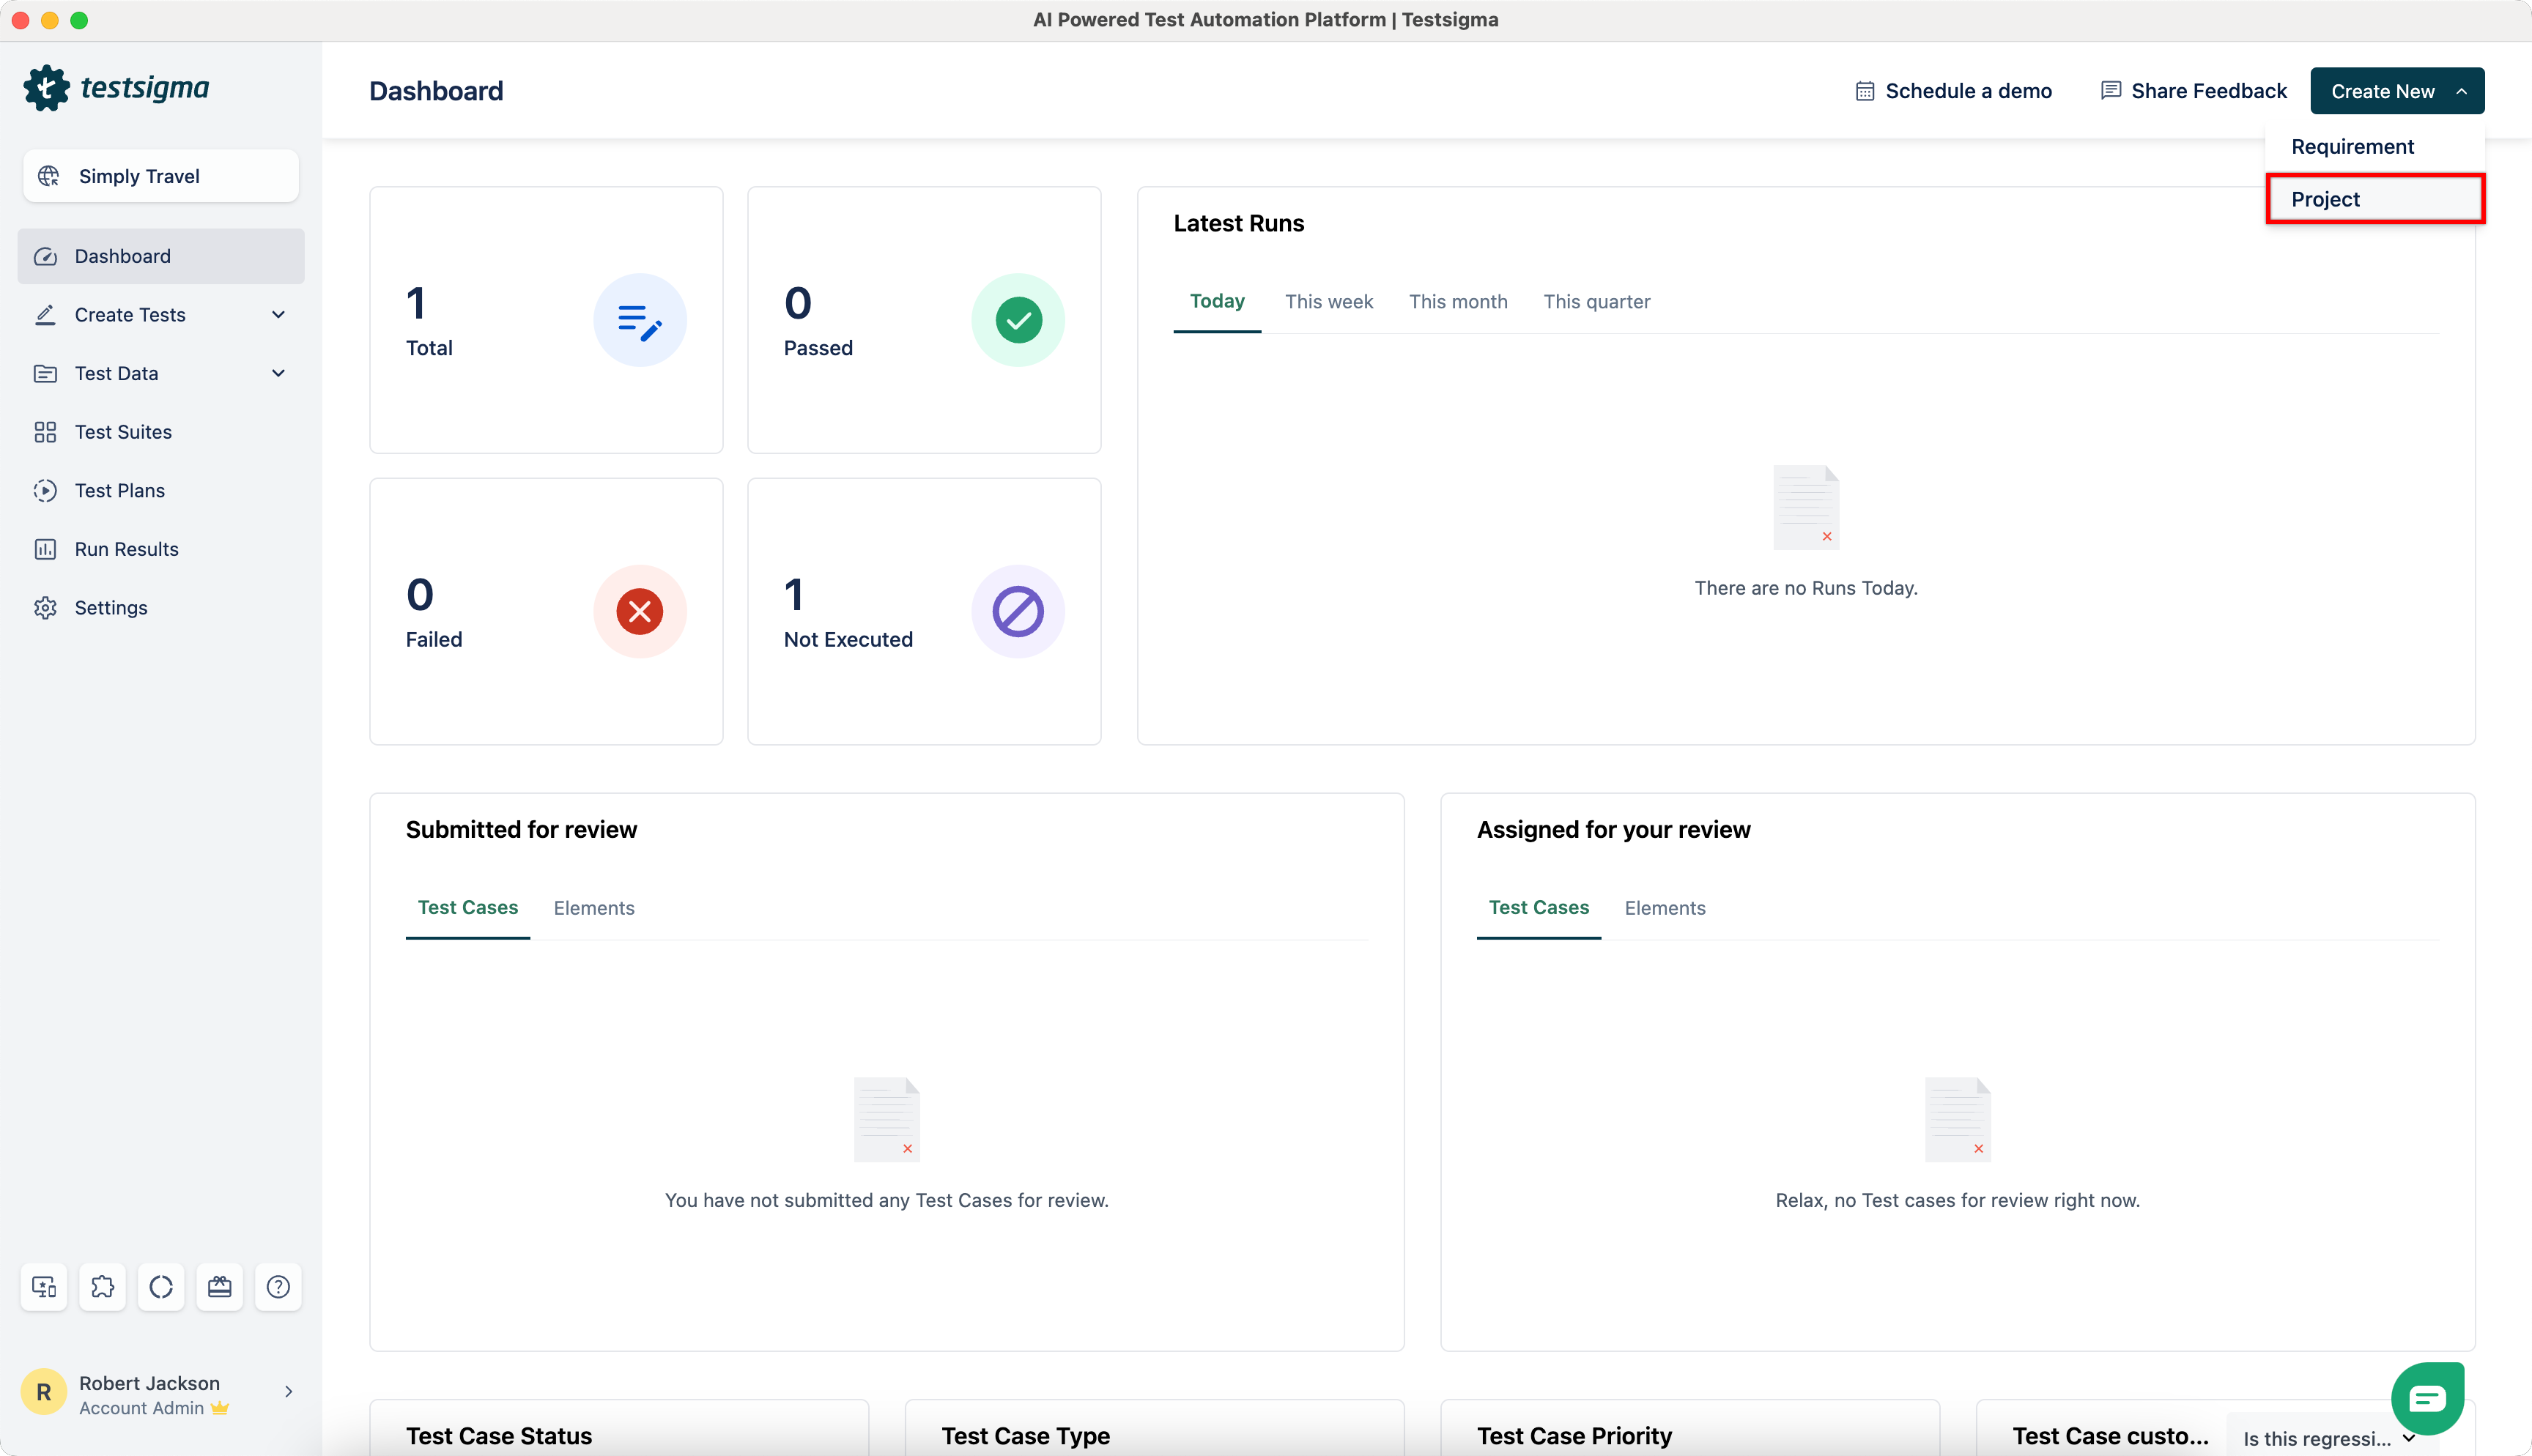
-
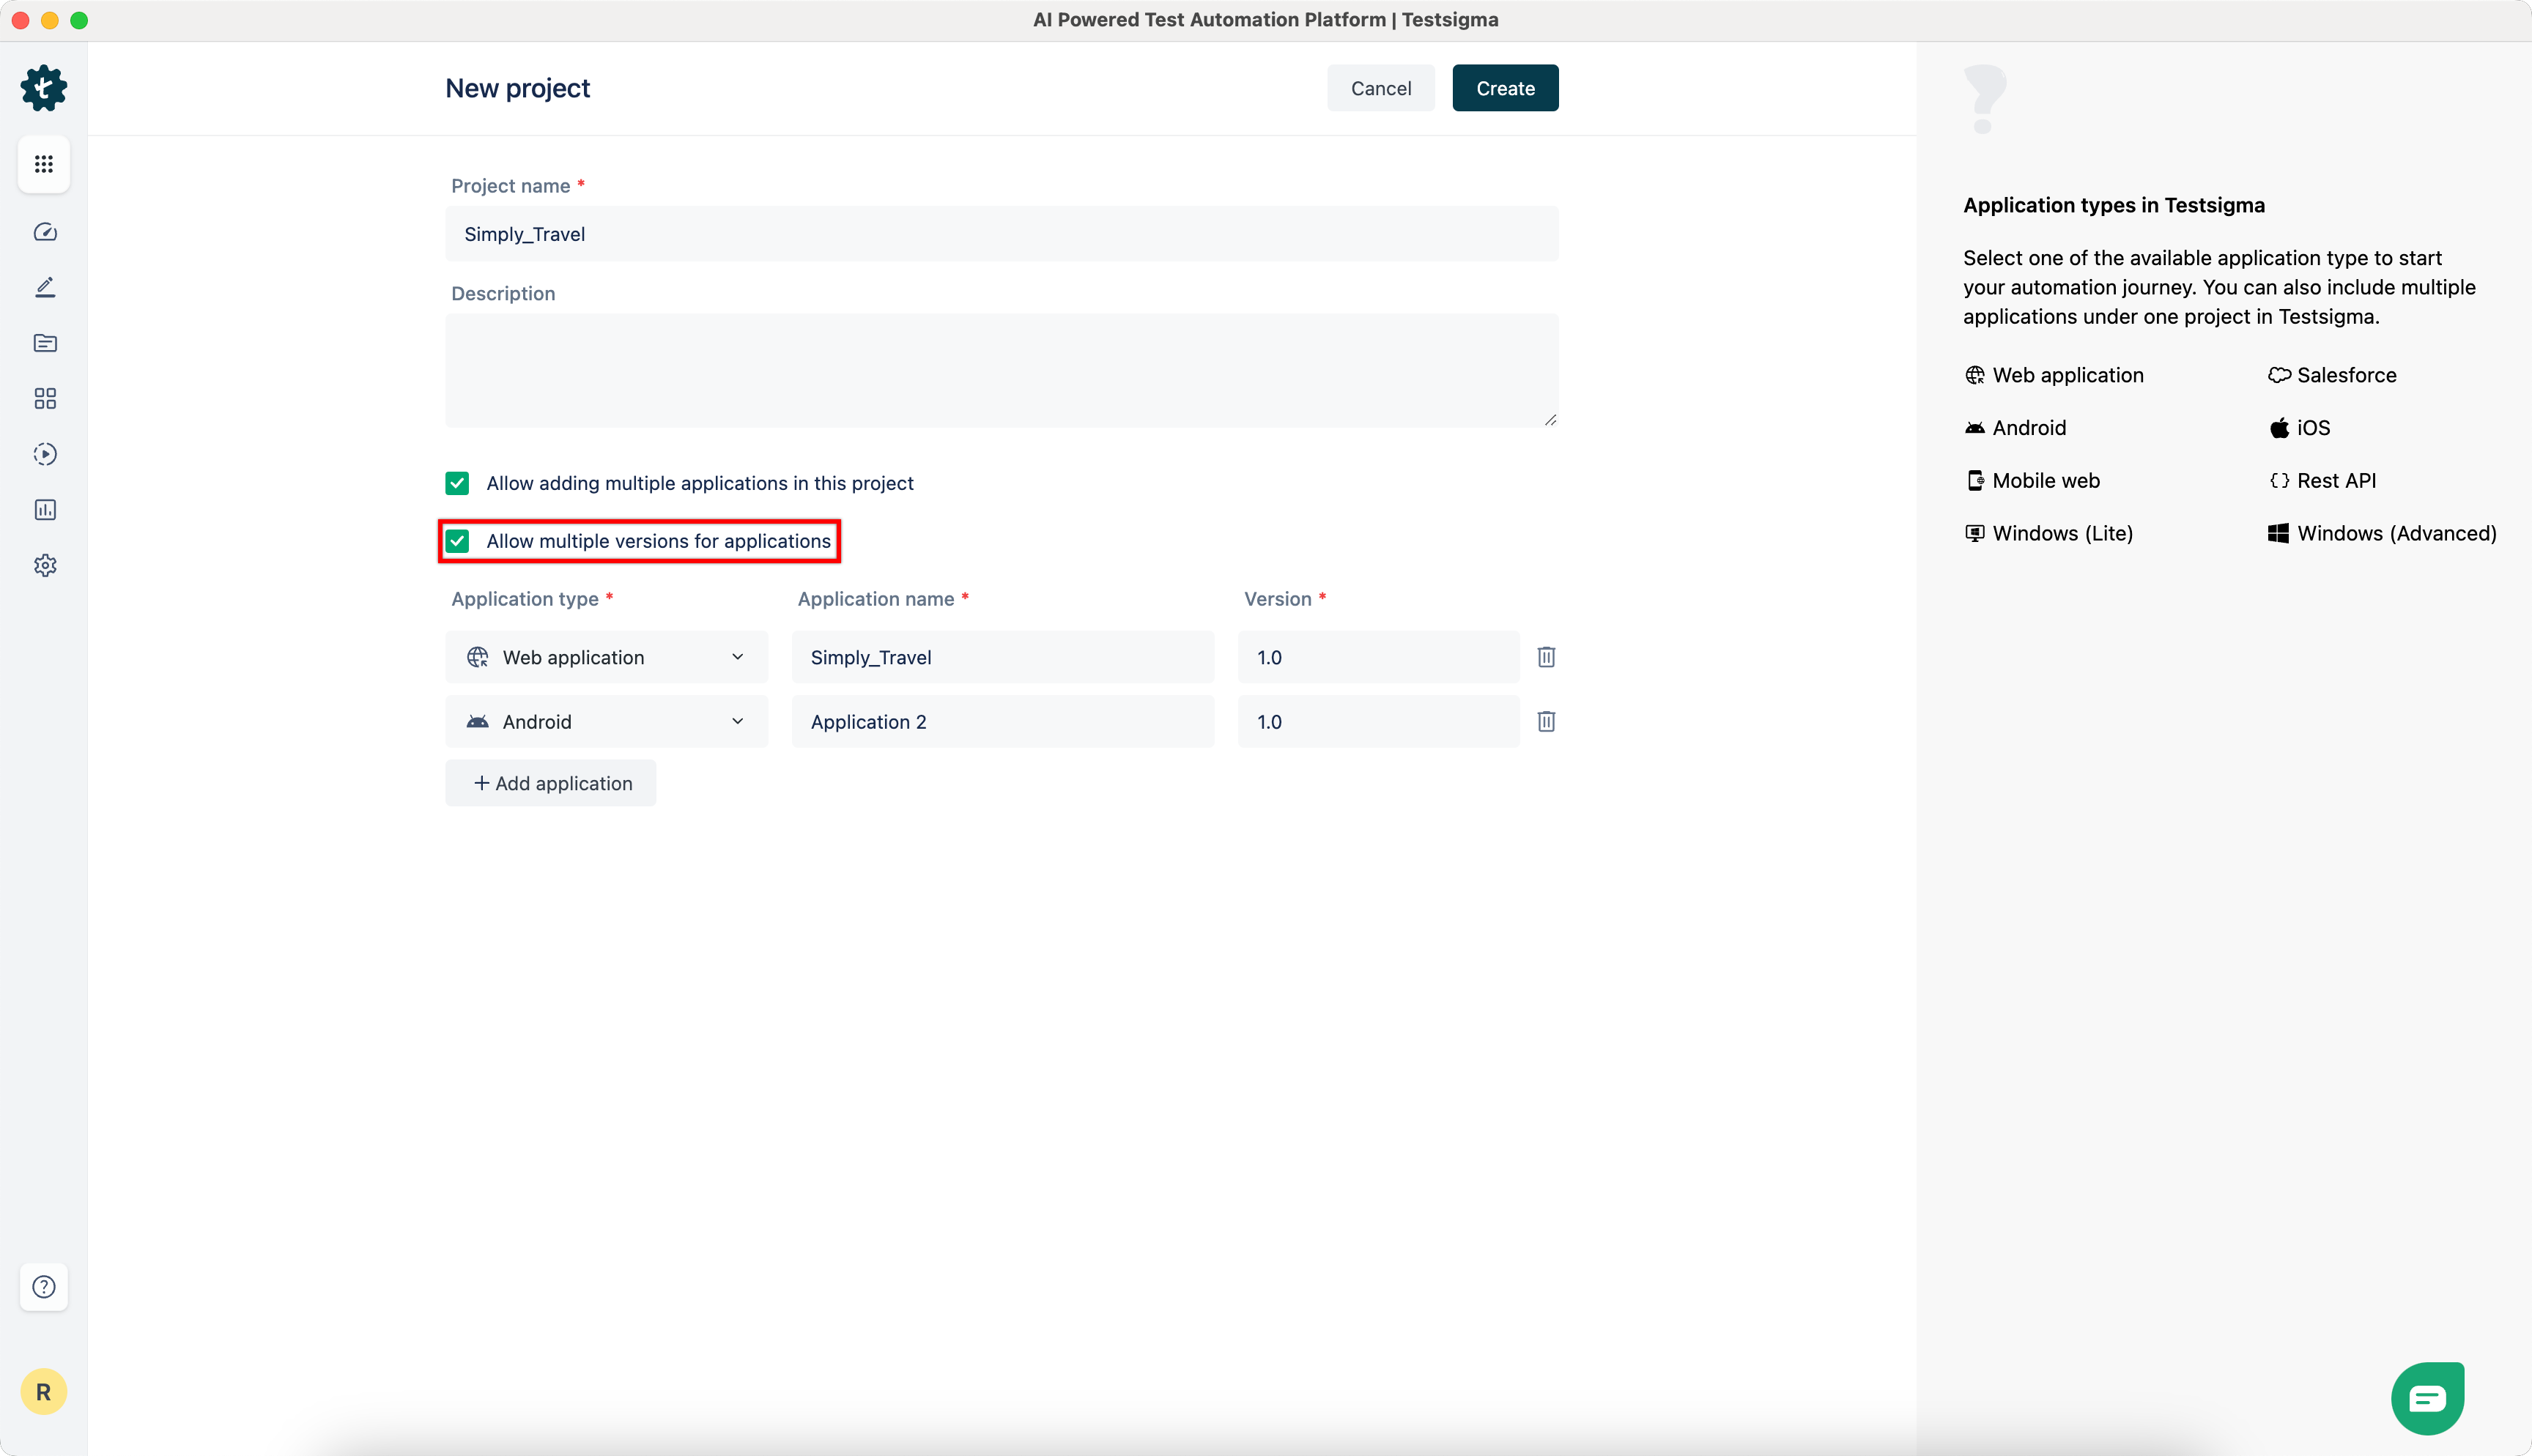
Enter the Project Name and Description (Optional).
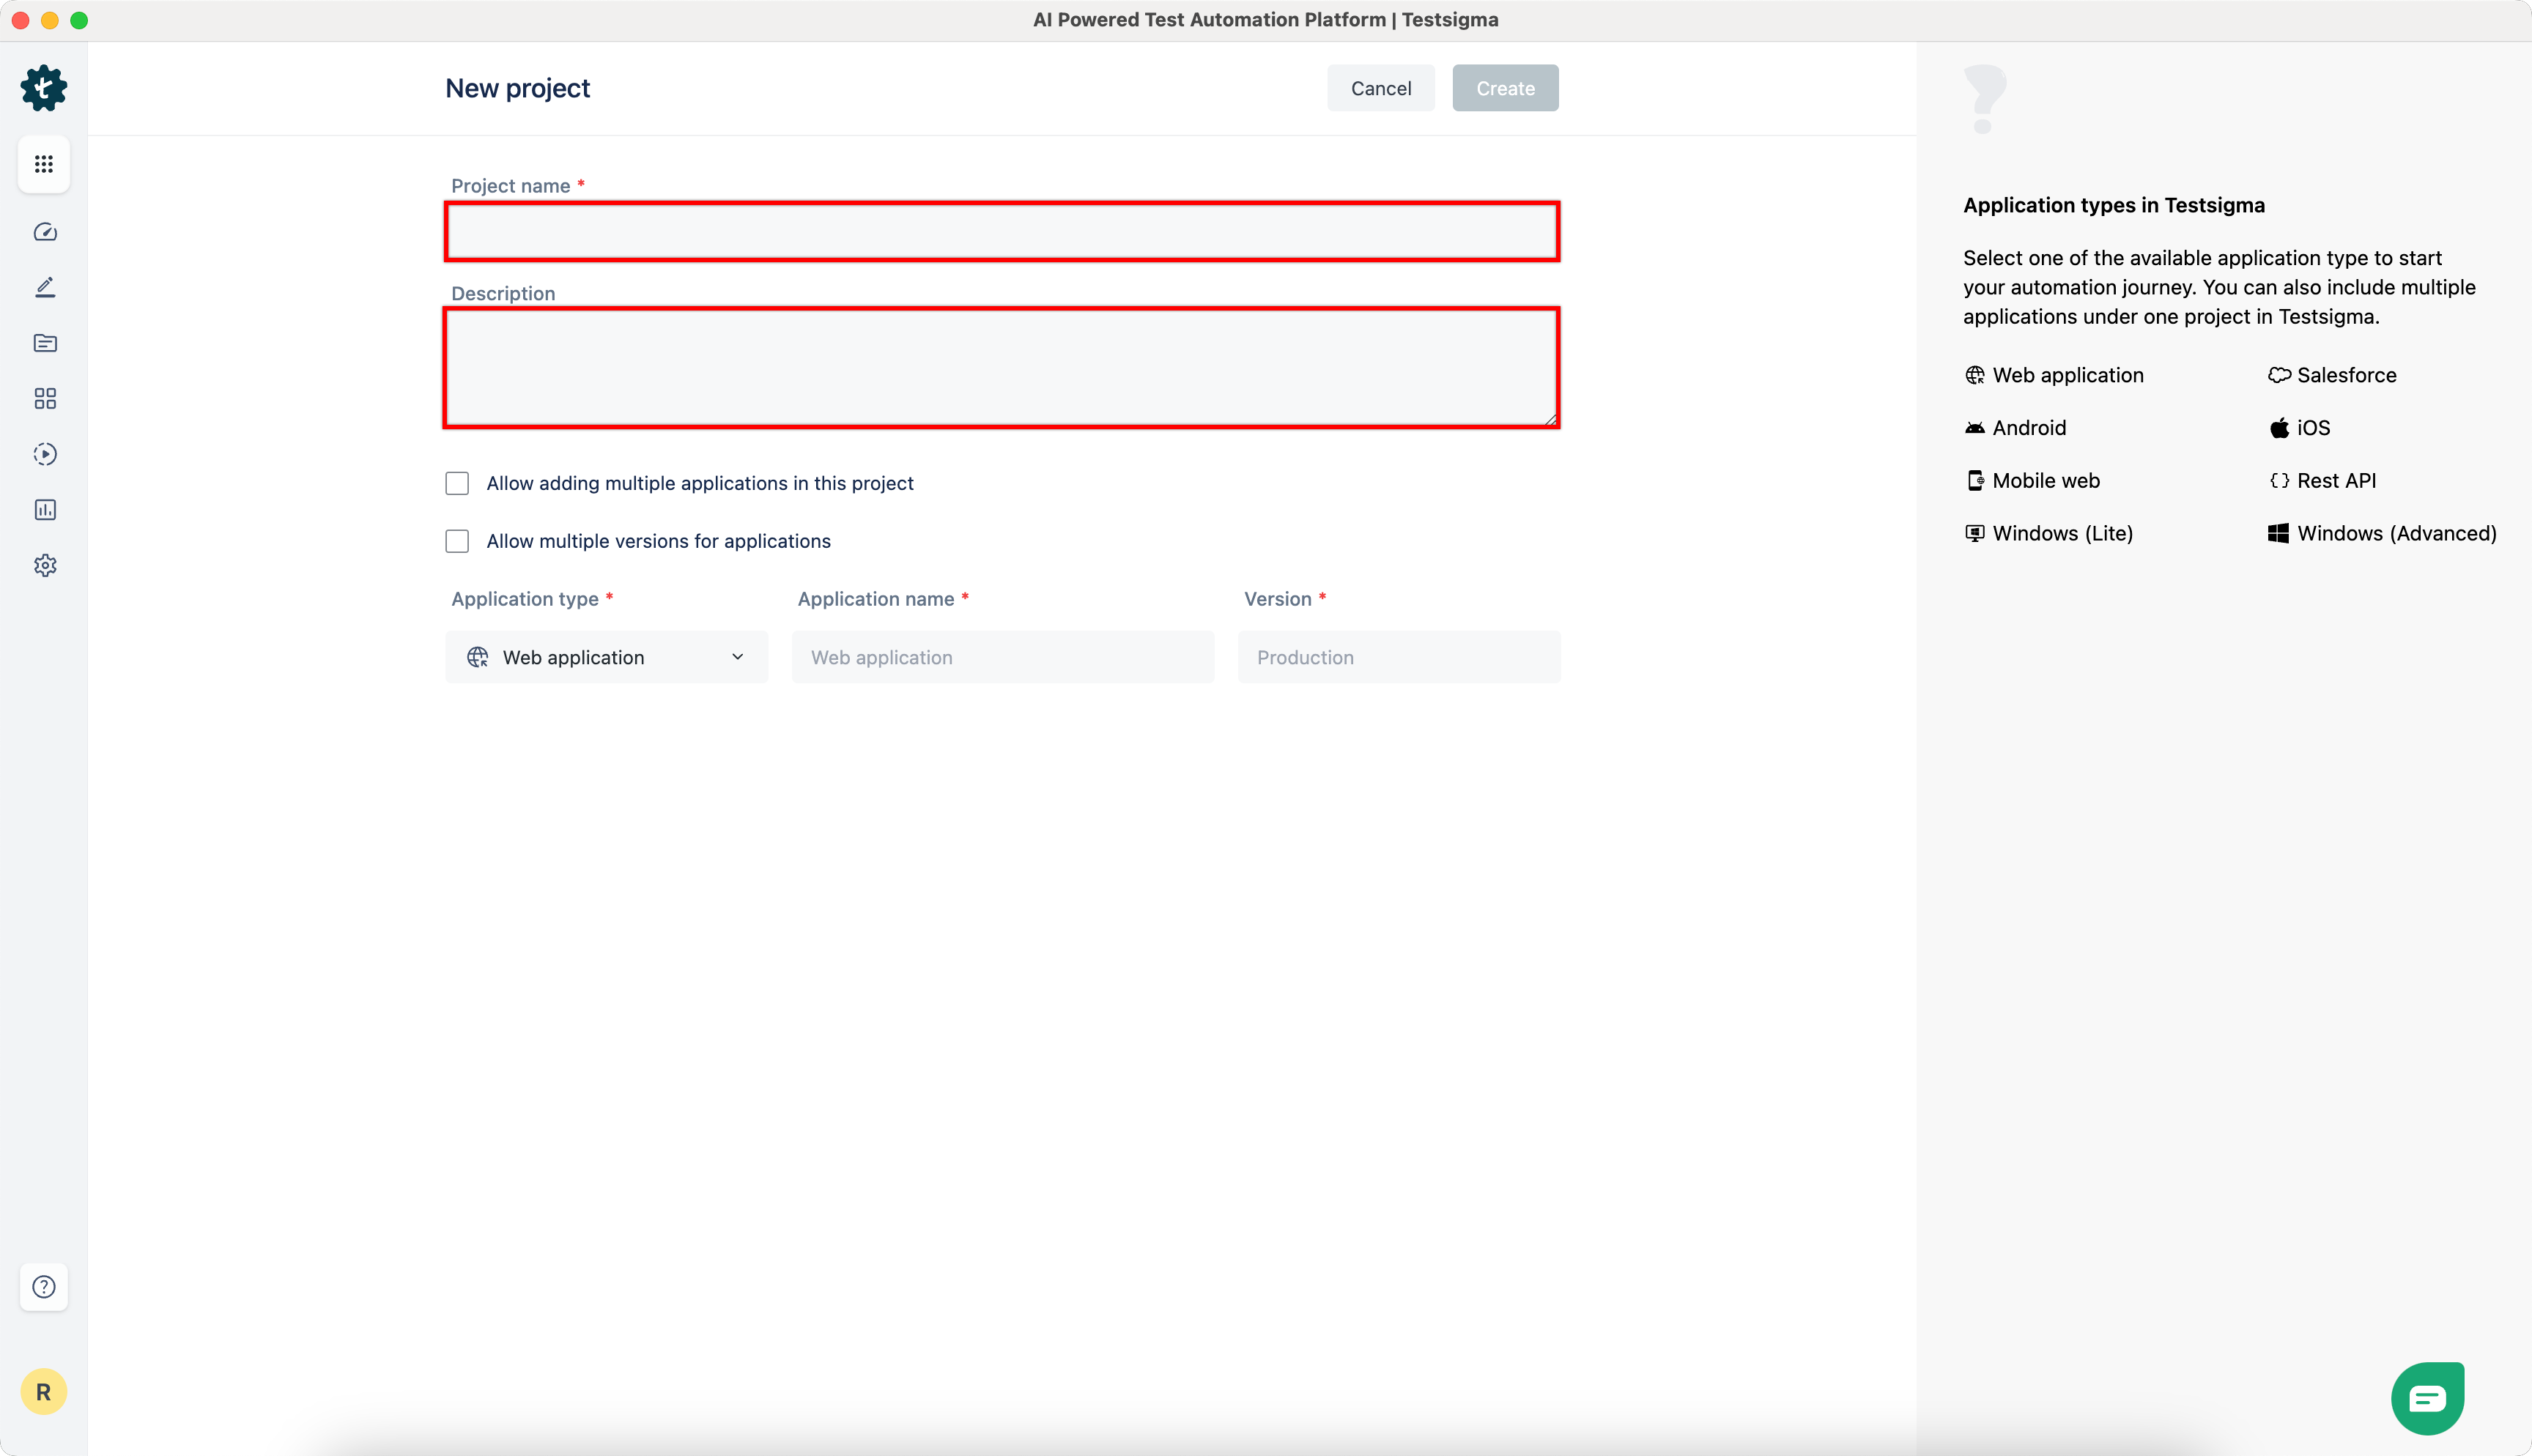
-
If your project involves multiple applications, check Allow adding multiple applications in this project checbox. To add an application, click Add Application, select the Application Type from the drop-down menu, and give it a Name. By default, the project is set up for a single application.
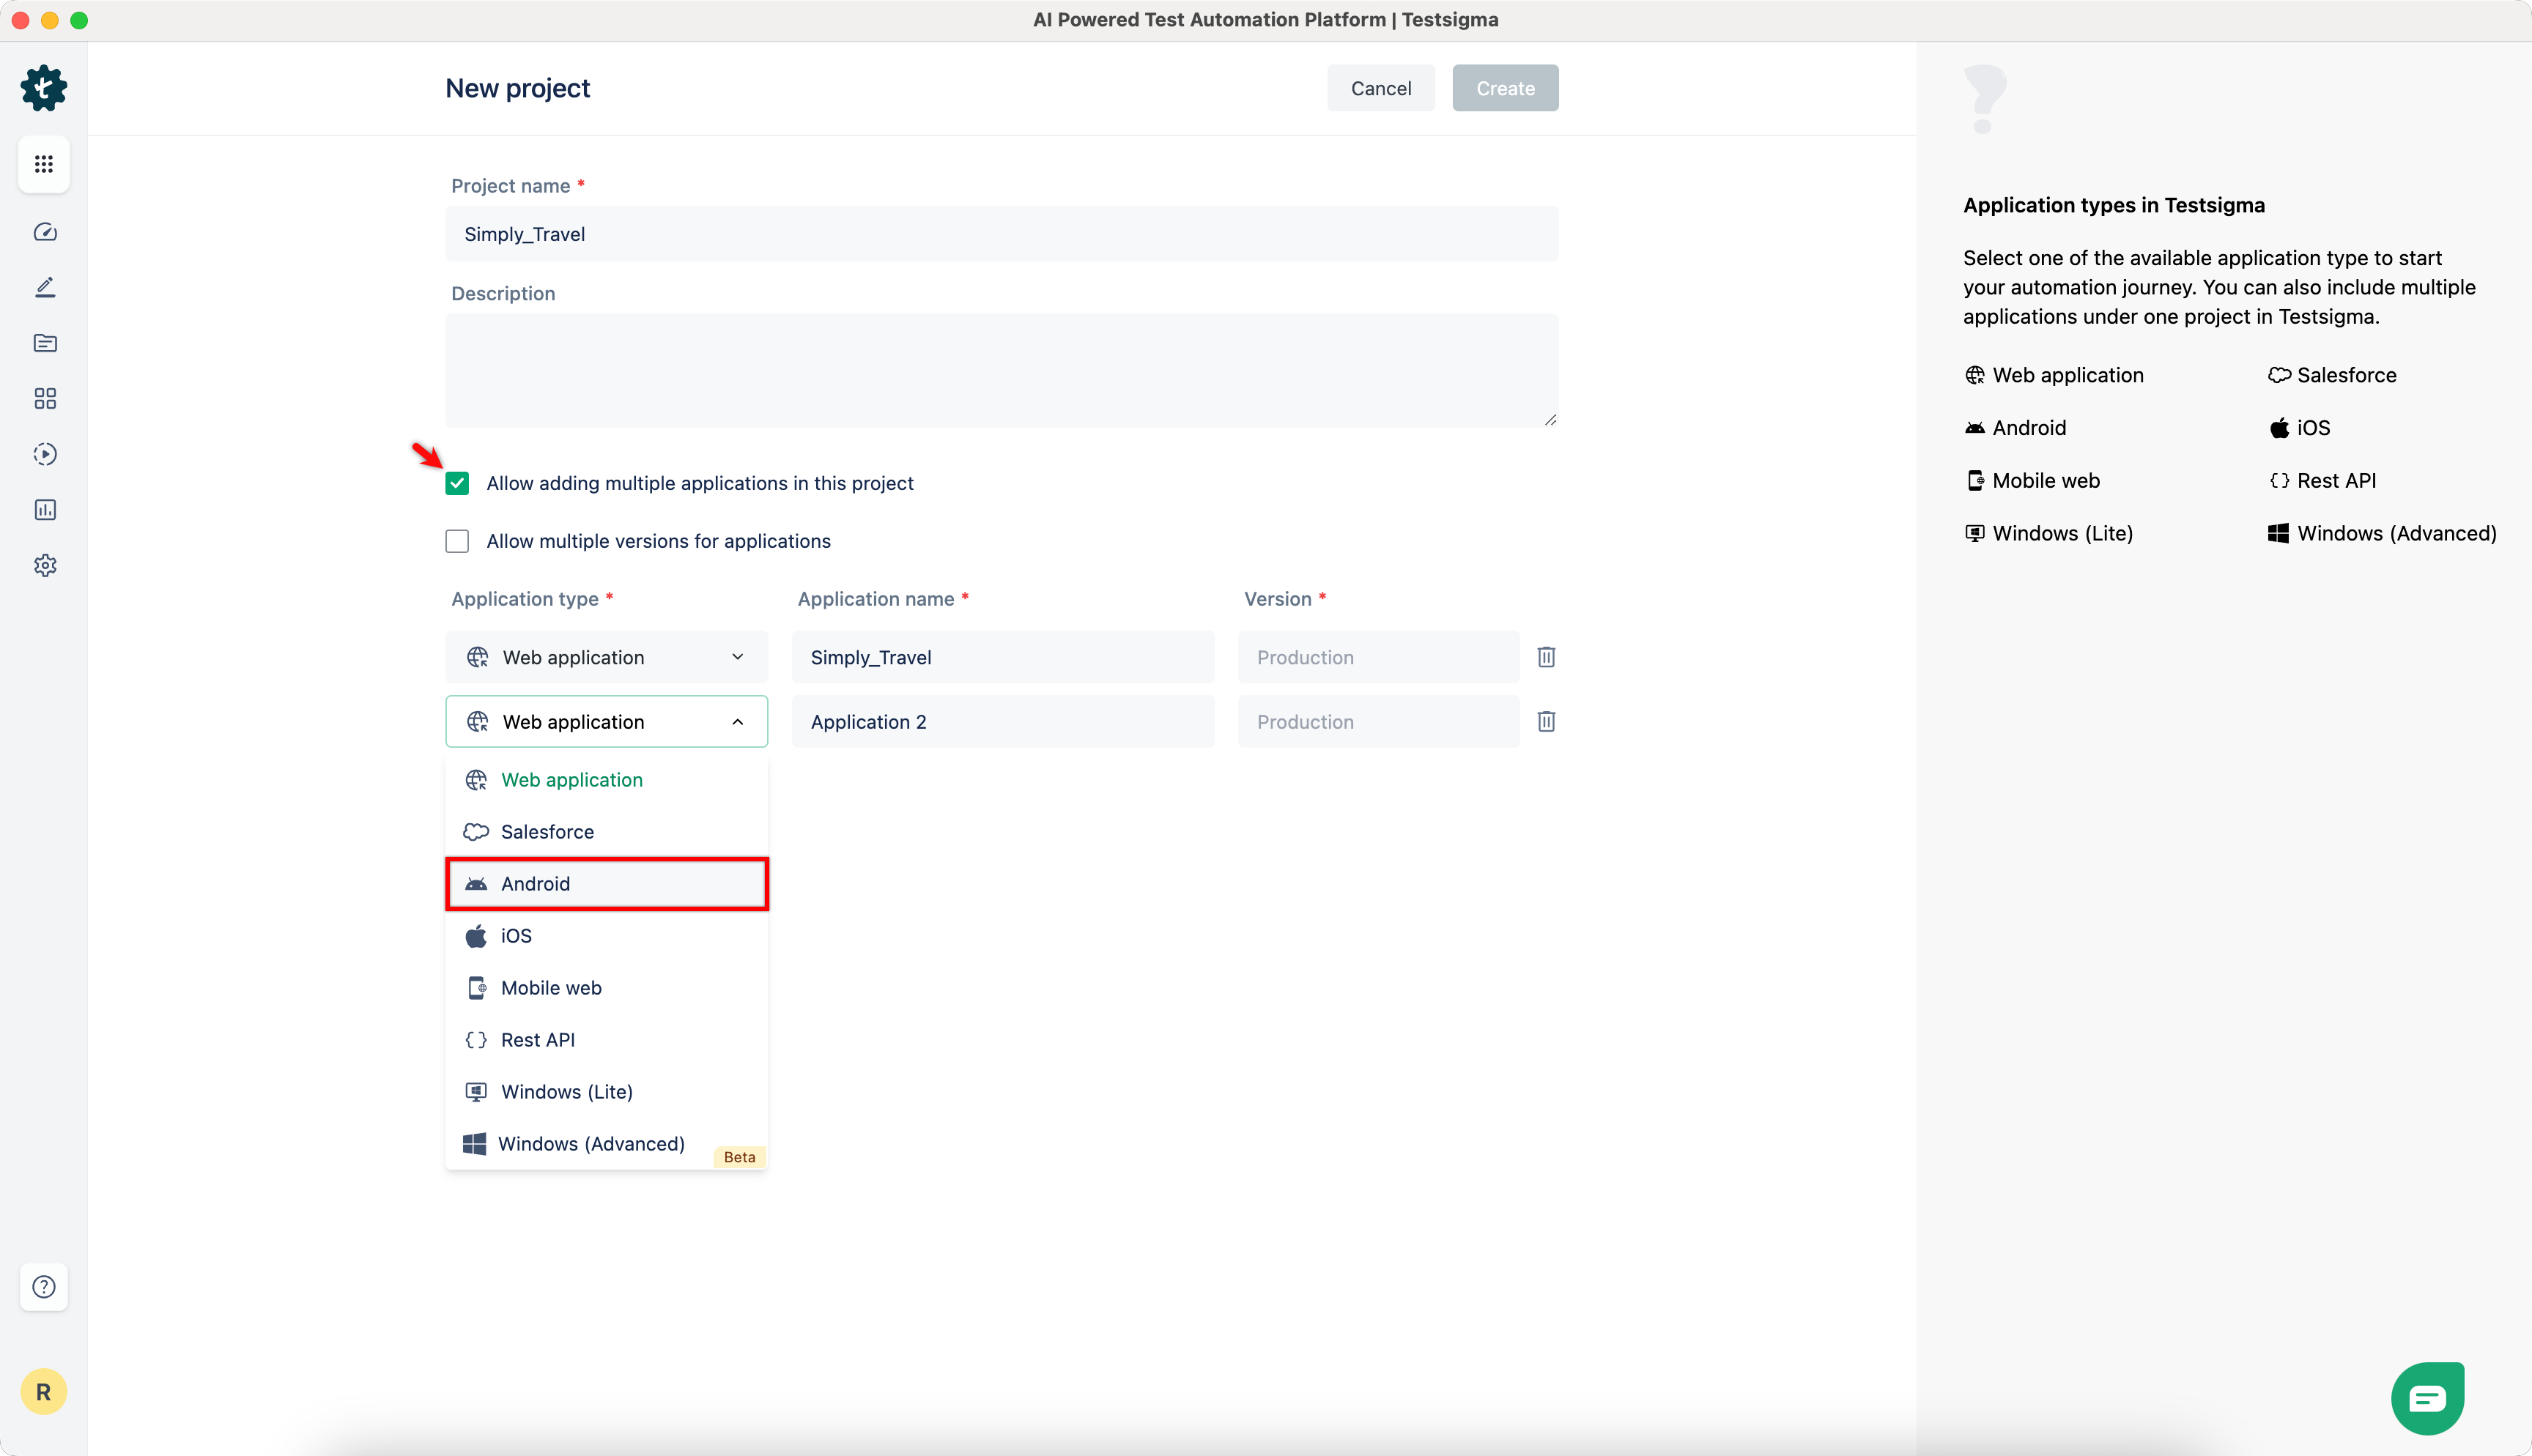
-
Also, if you want multiple versions for each application, check Allow multiple versions for applications checbox.
-
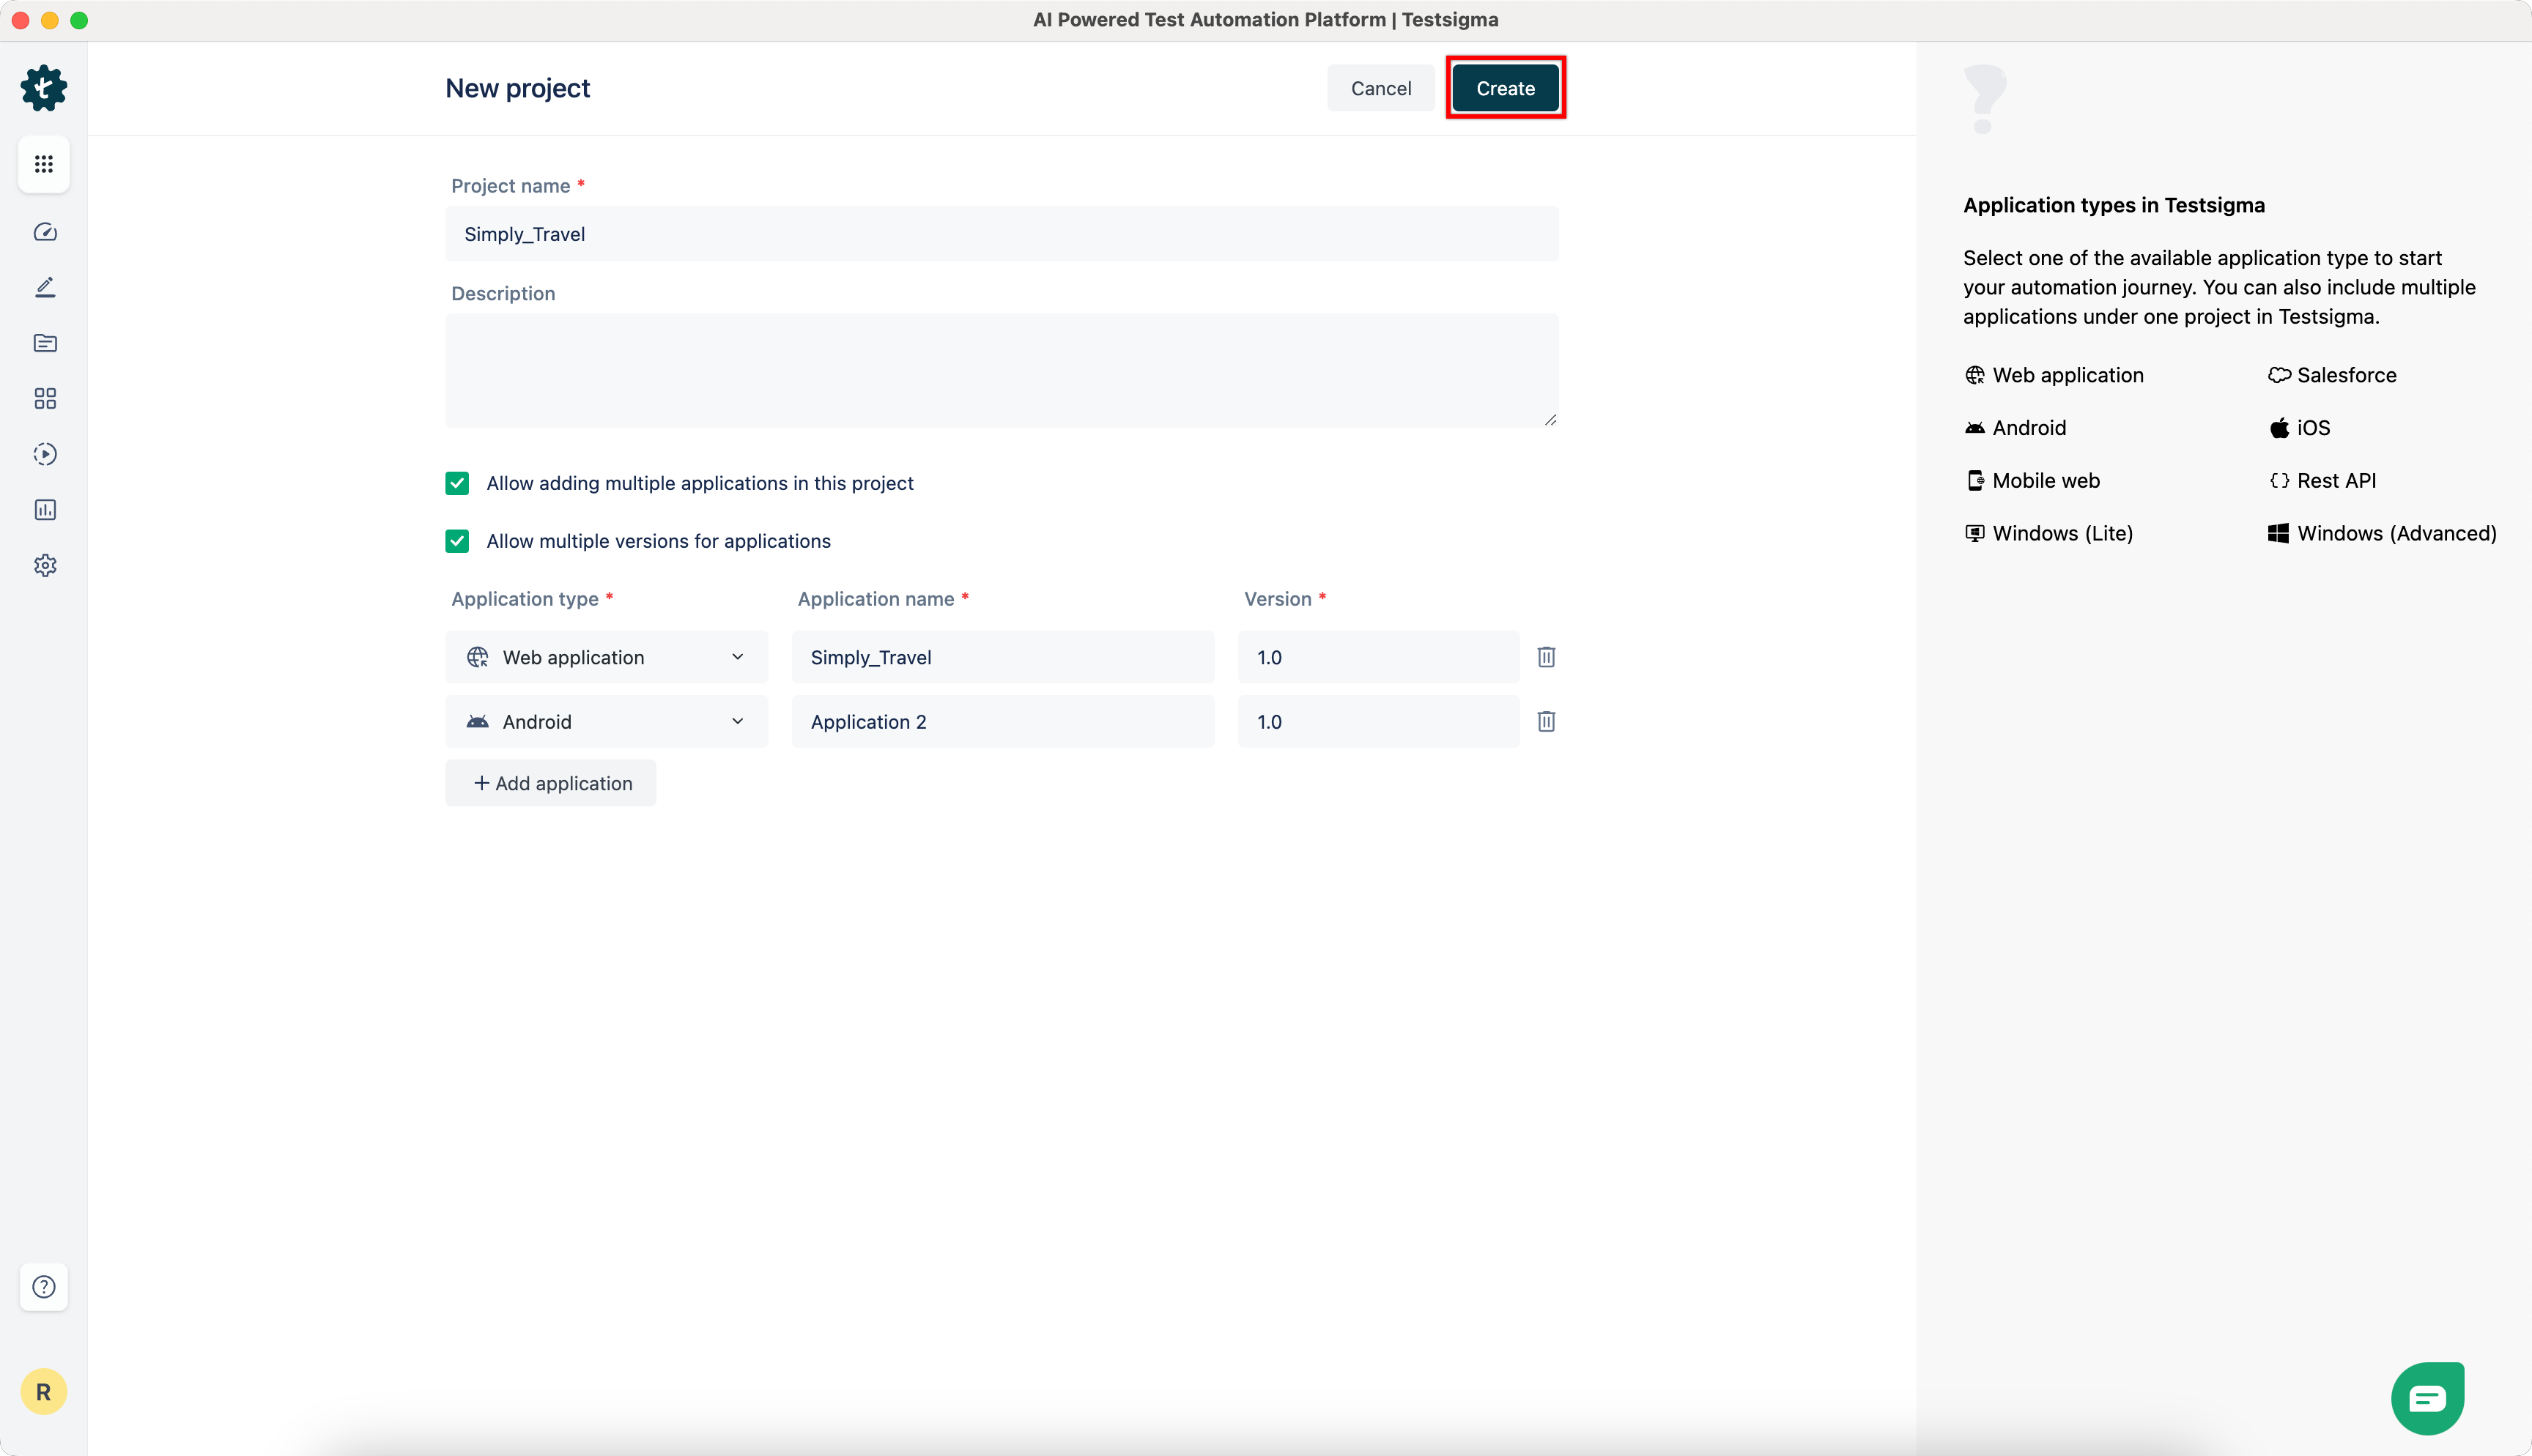
Click on Create.
Try this interactive demo to learn how to create a Project!
Section titled “Try this interactive demo to learn how to create a Project!”Editing a Project
Section titled “Editing a Project”-
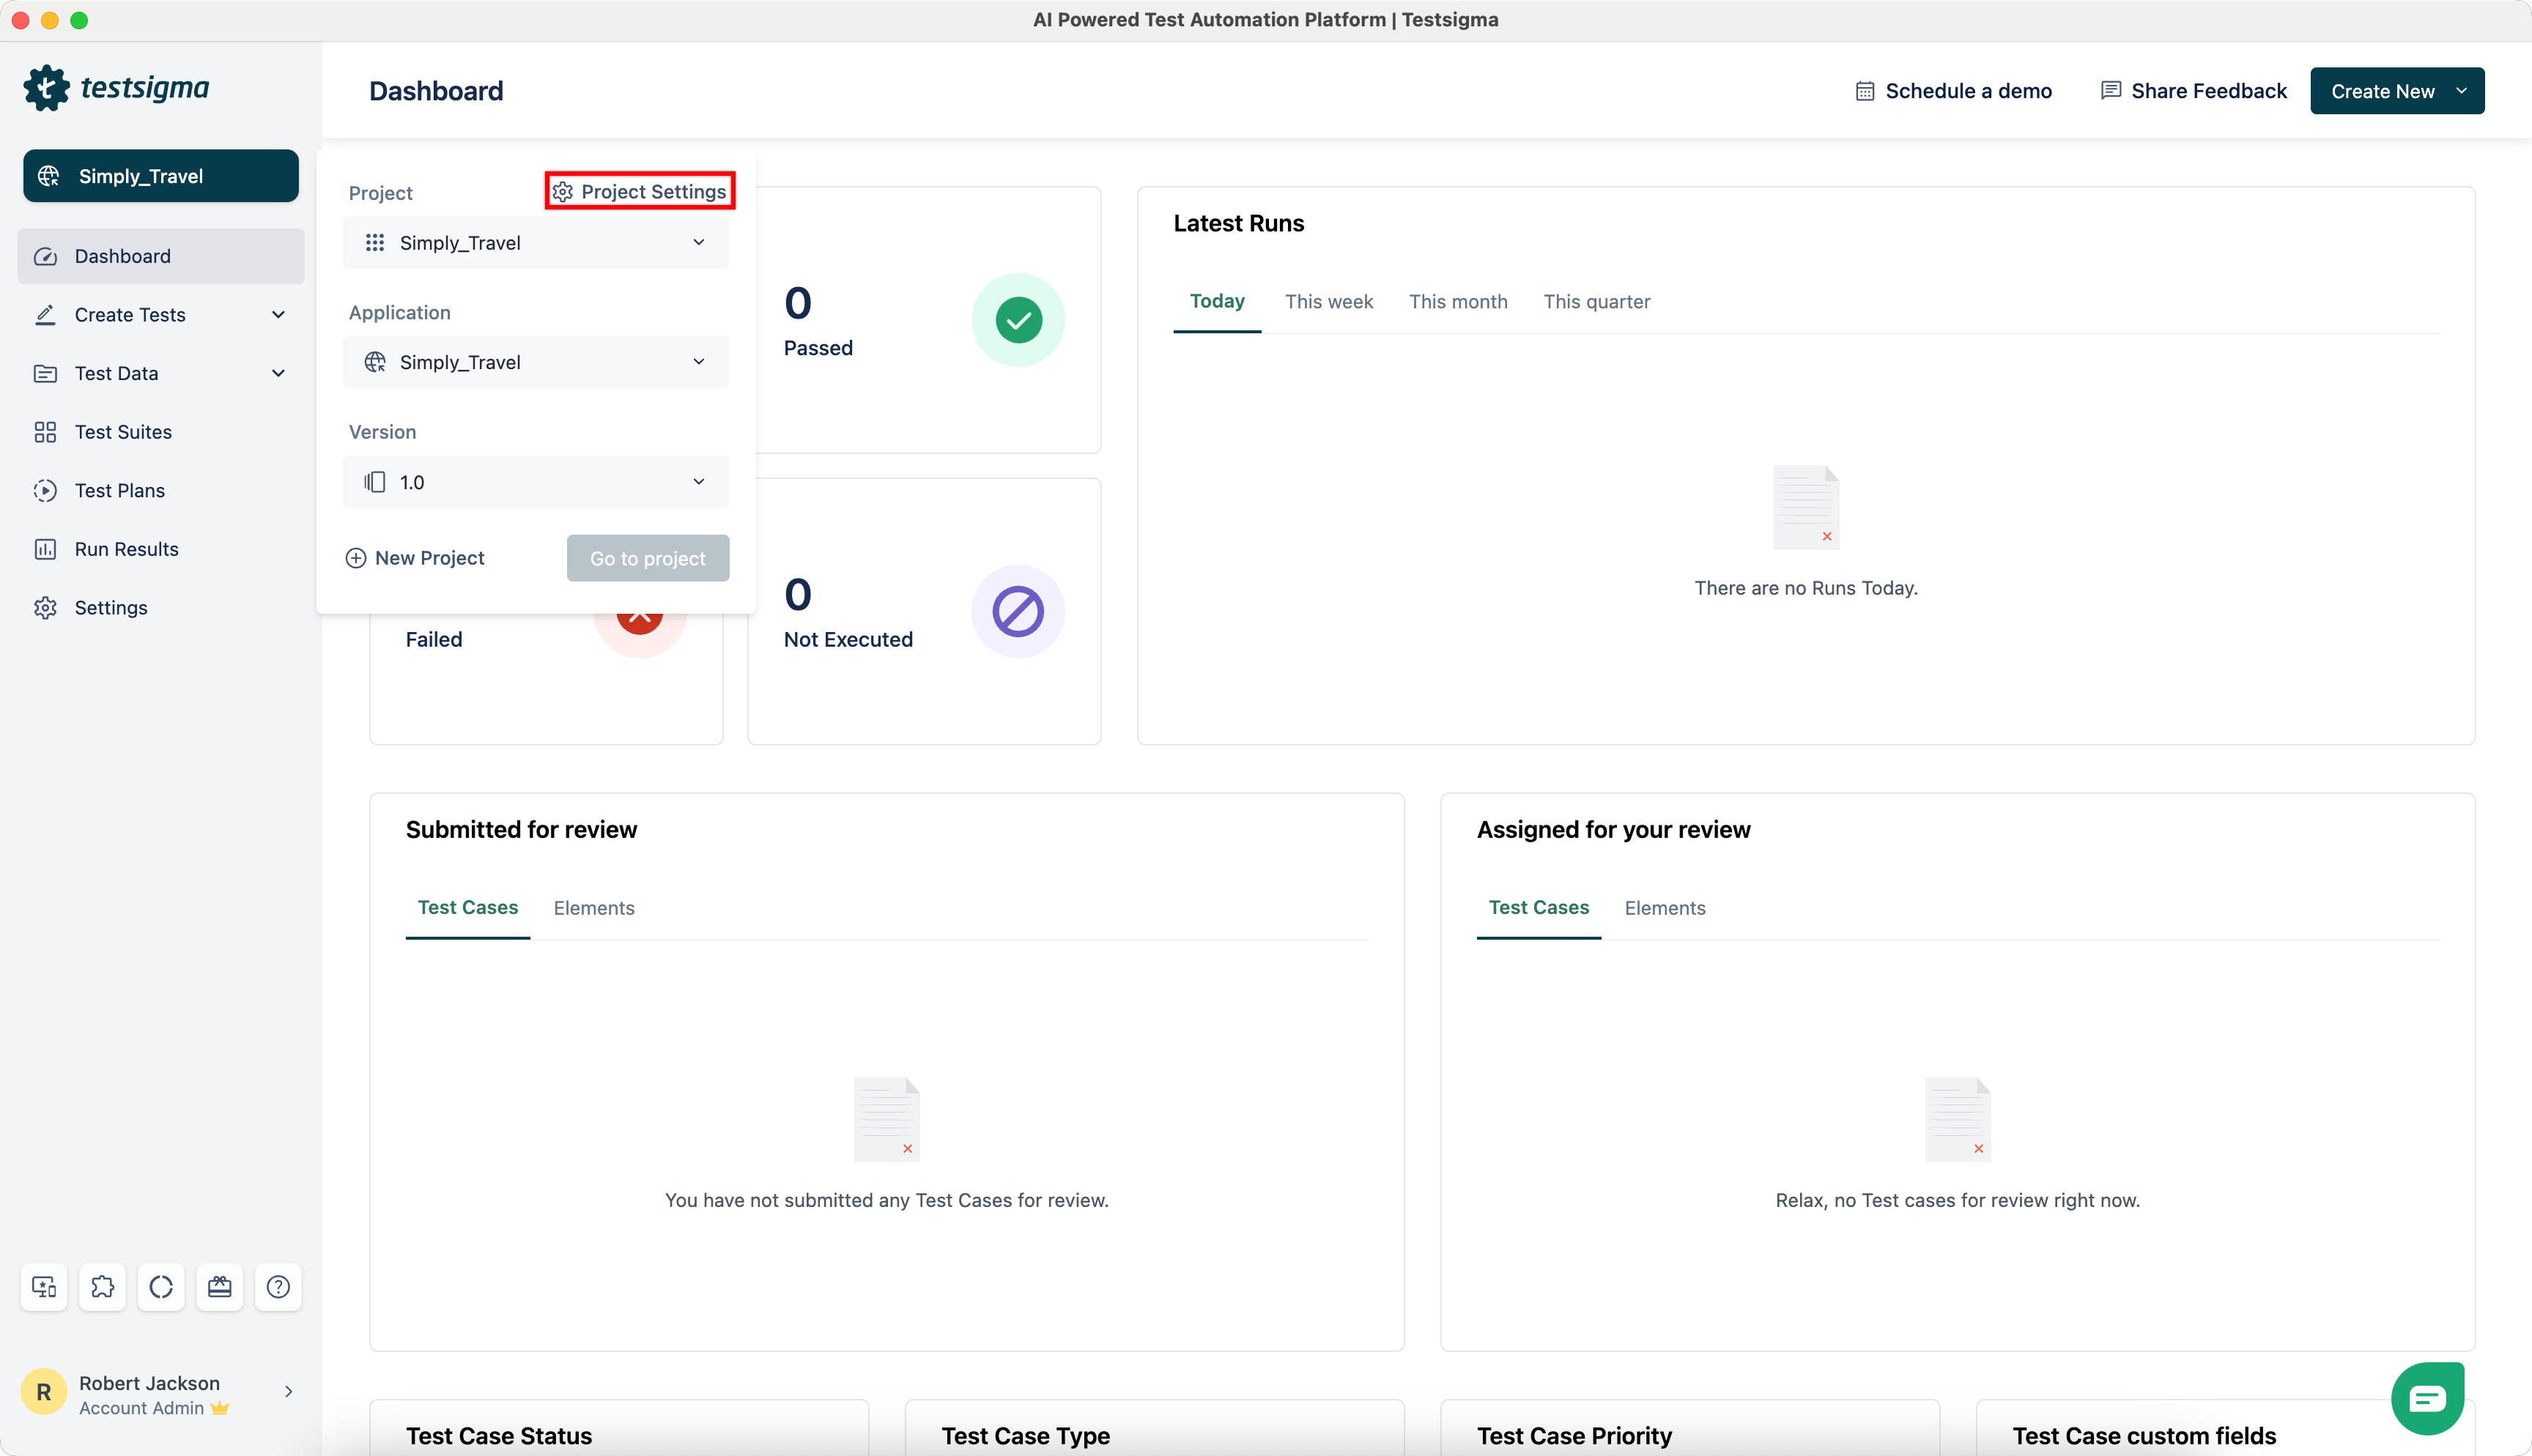
Navigate to Project > Project Settings.

-
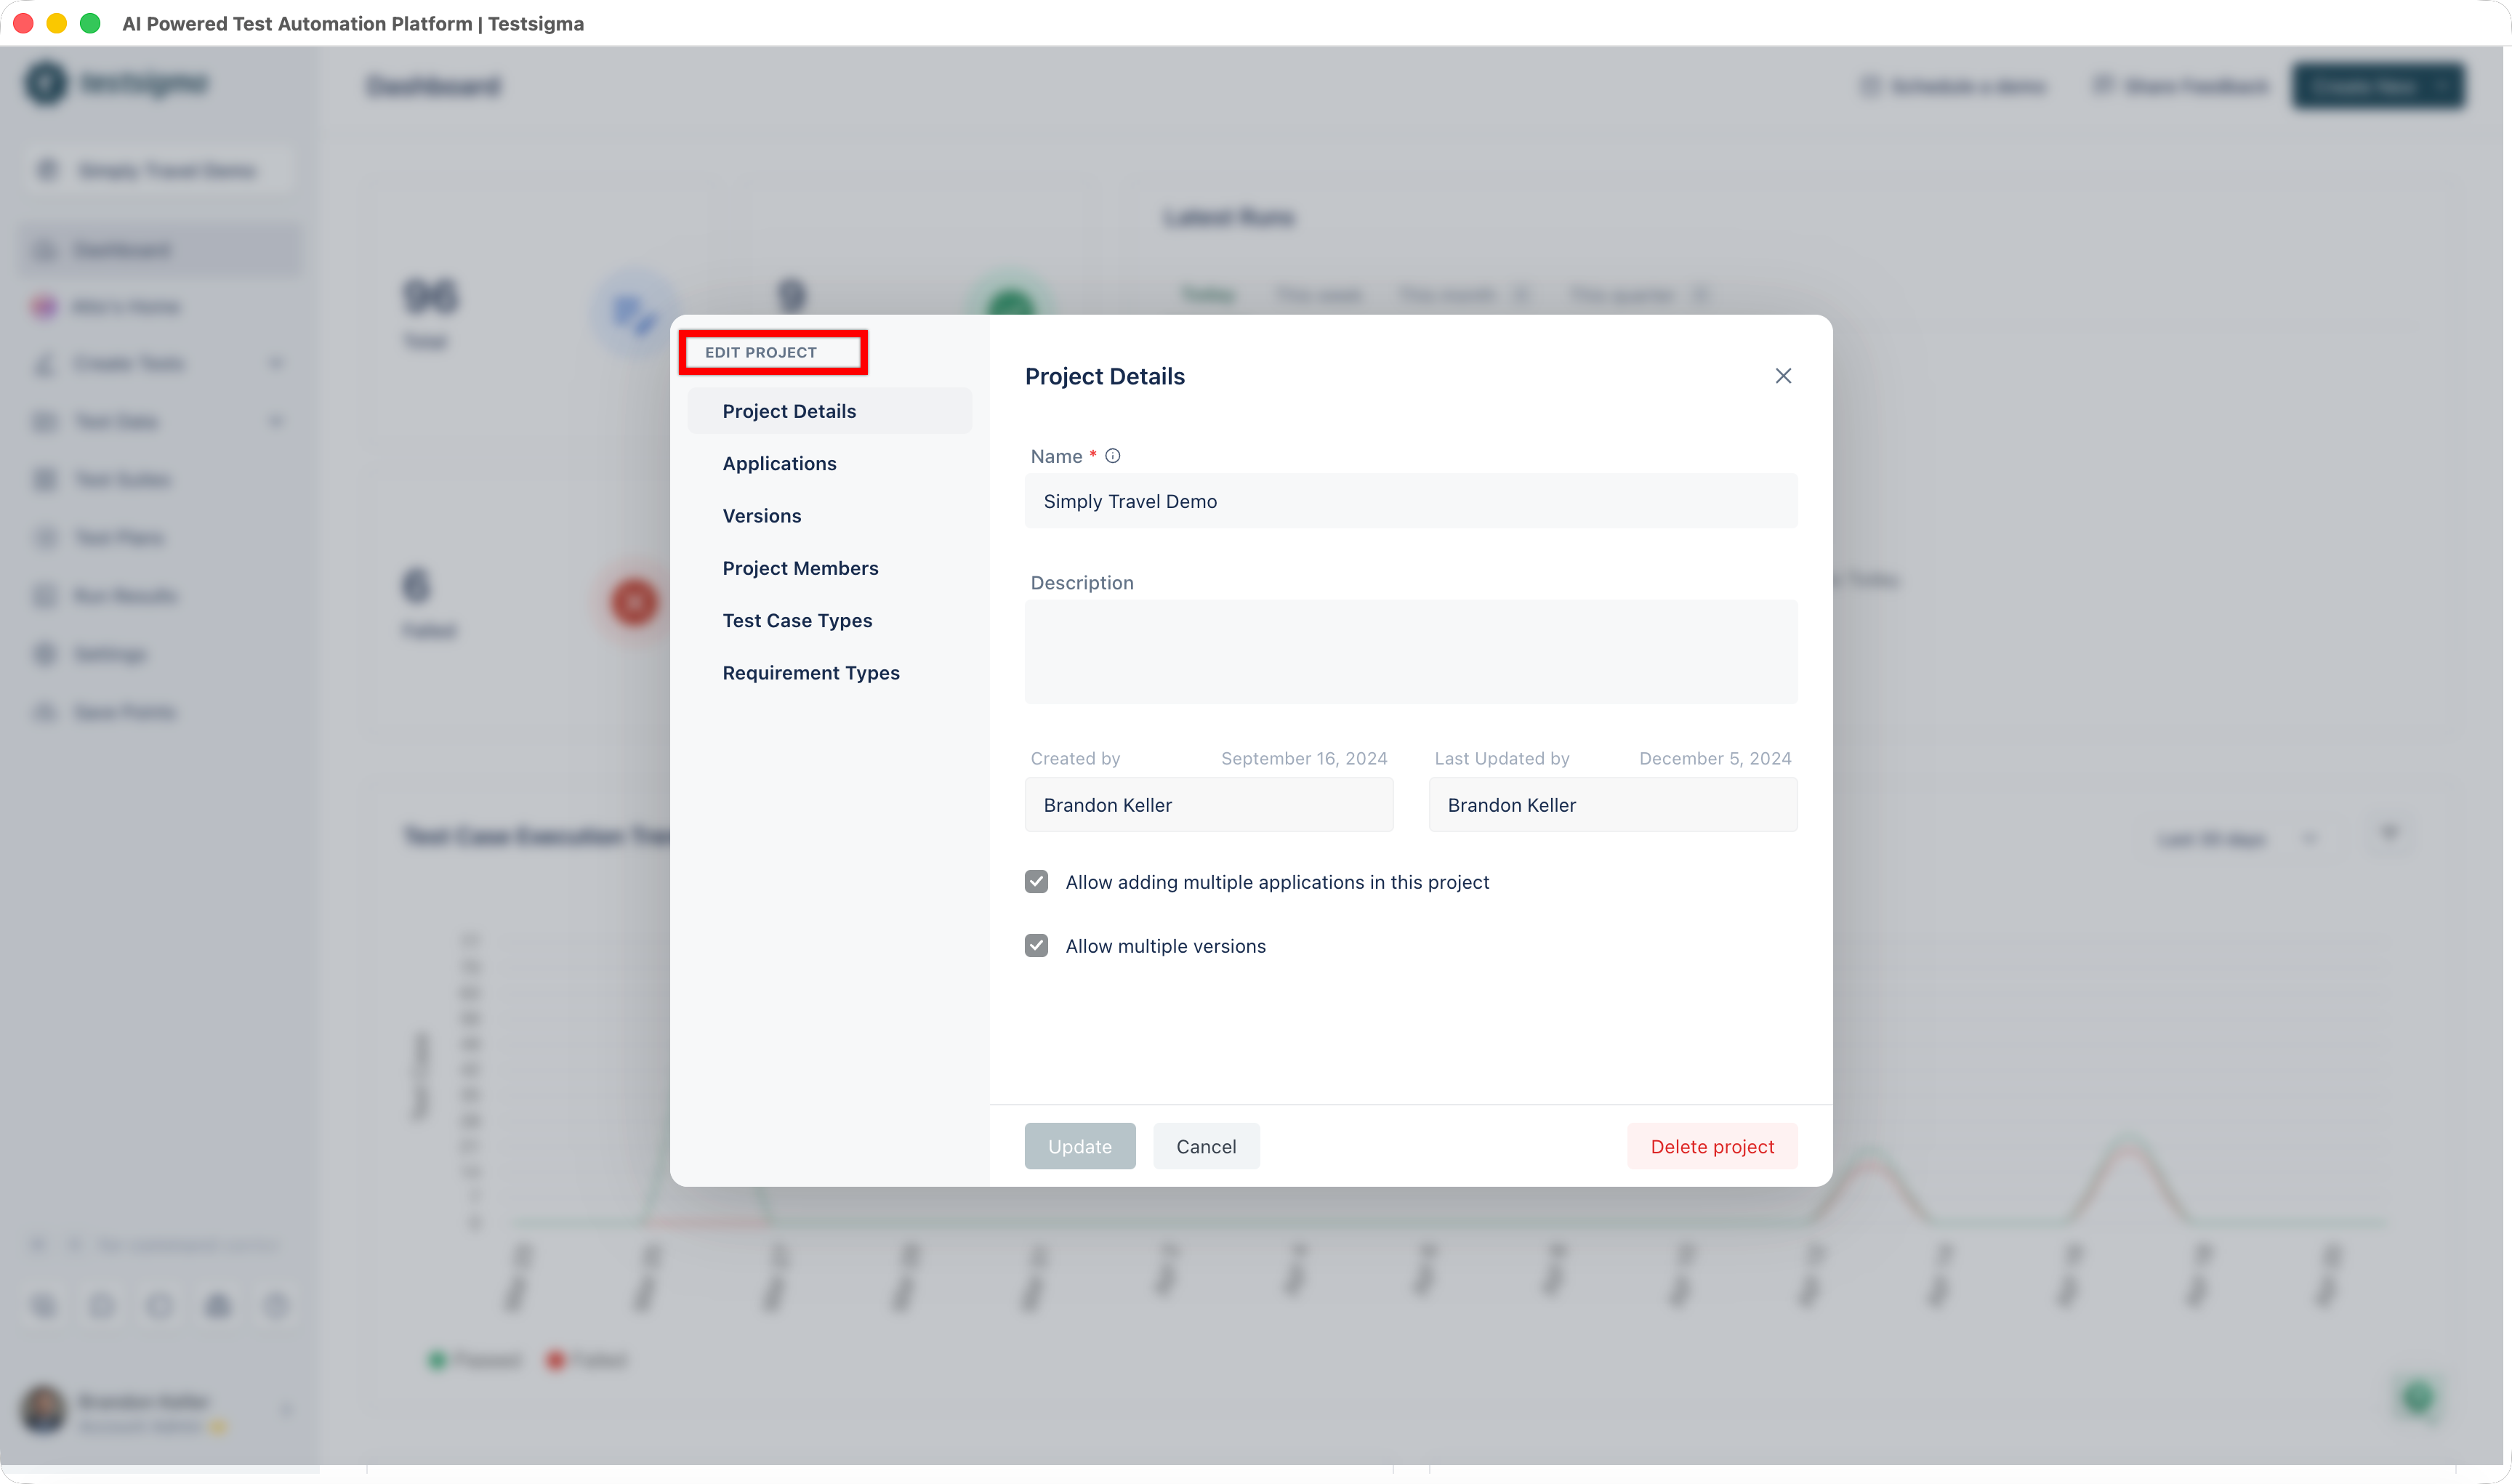
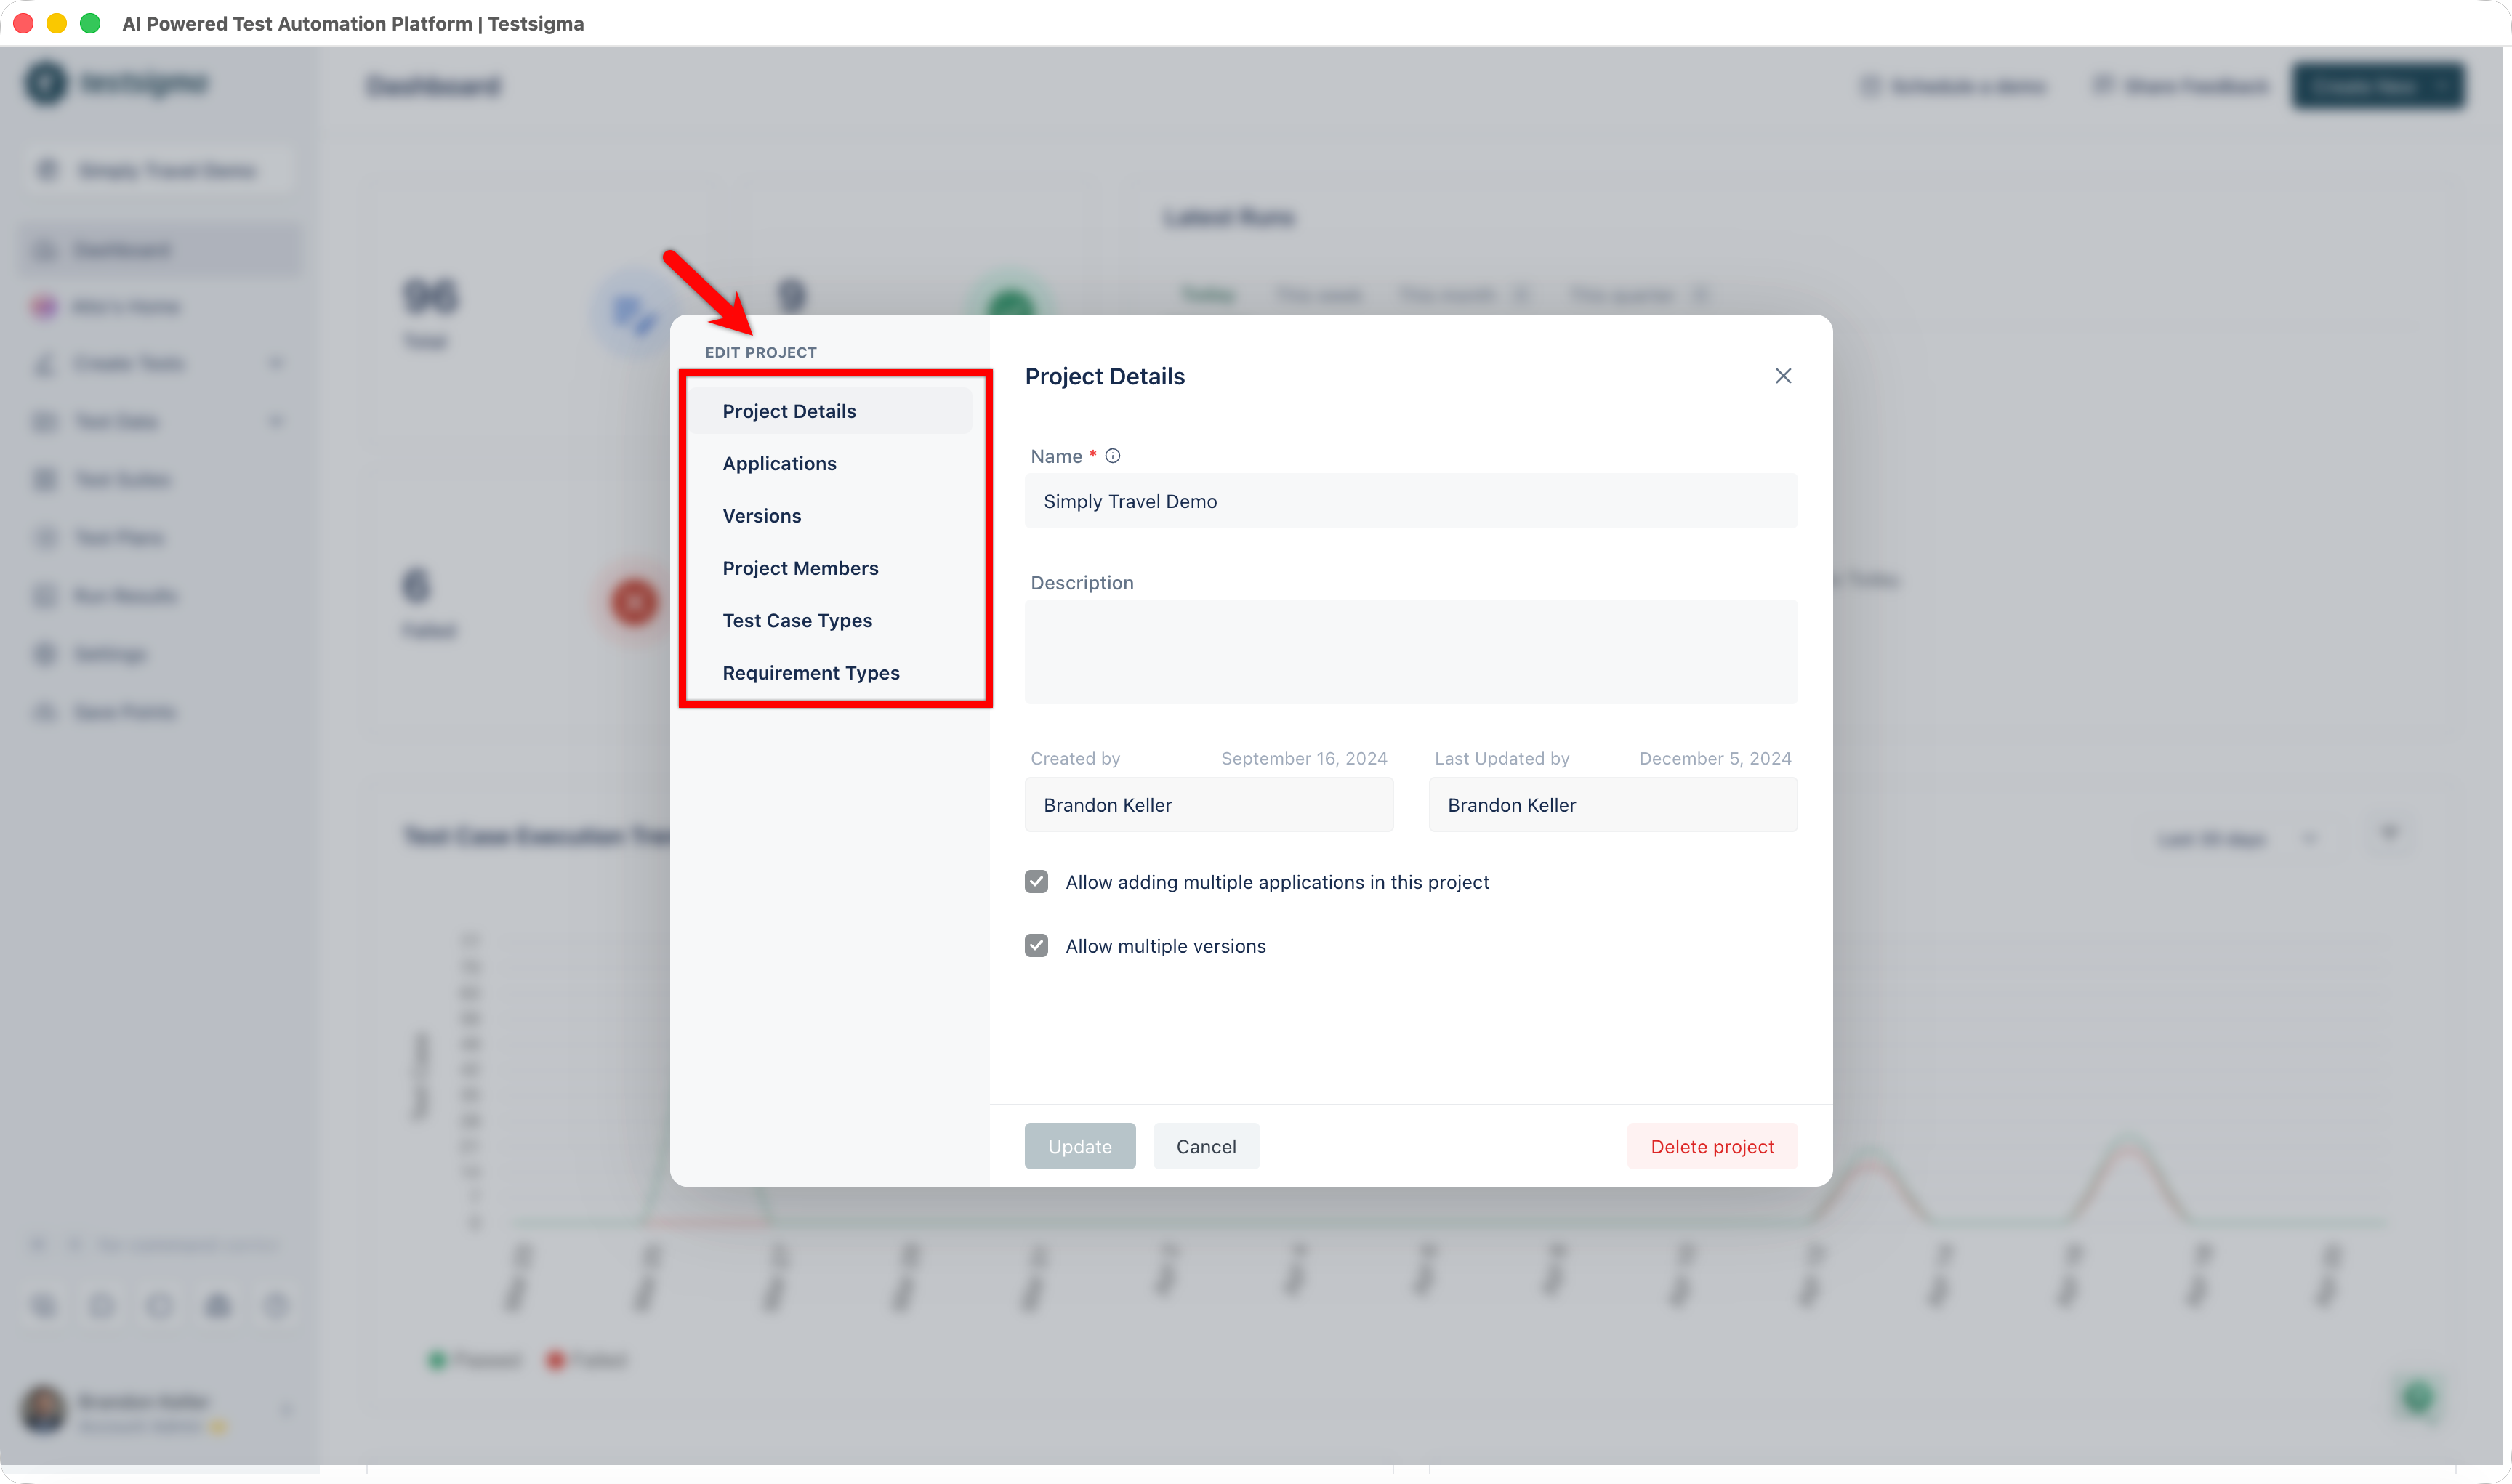
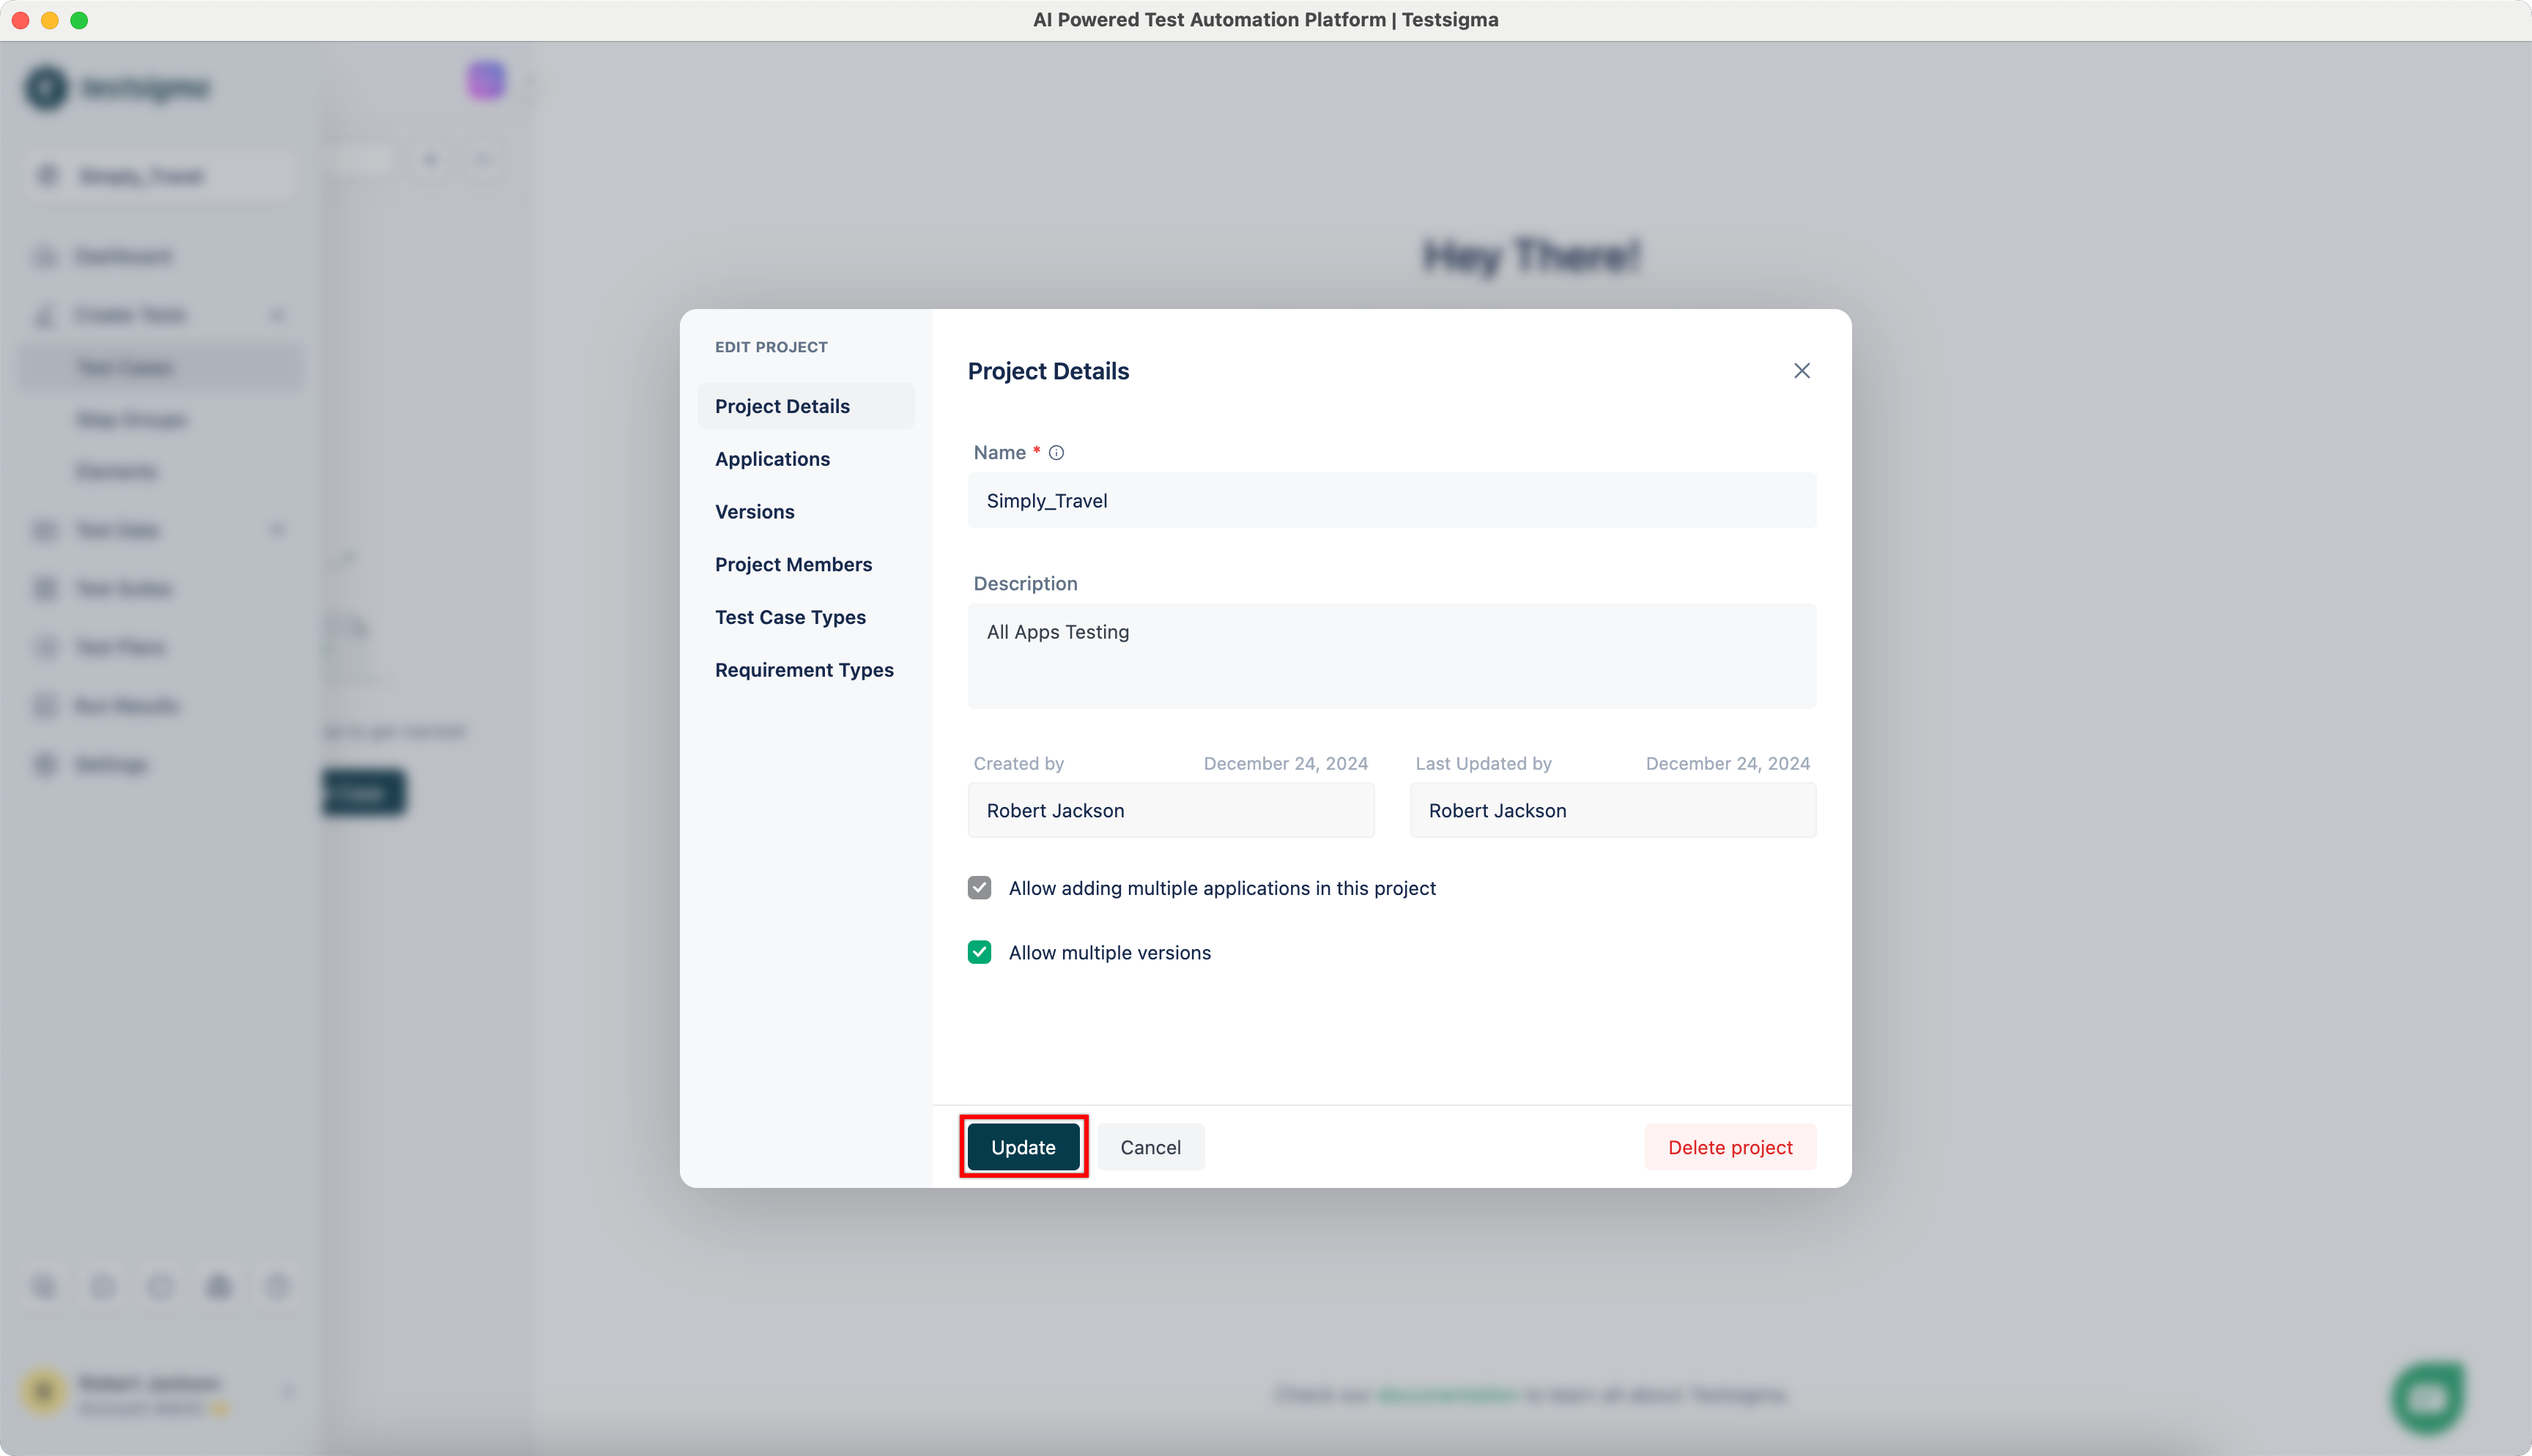
This will open the Edit Project dialog.
-
You can update Project Details, Multiple Applications and Versions from here. Also, you can add Project Members, Test Case Types, and Requirement Types on the same dialog.
-
Click on Update to save the changes.
Adding, Editing, and Deleting Applications & Versions can be done under Project Settings > Applications.
Try this interactive demo to learn how to edit a Project!
Section titled “Try this interactive demo to learn how to edit a Project!”Switching Projects
Section titled “Switching Projects”-
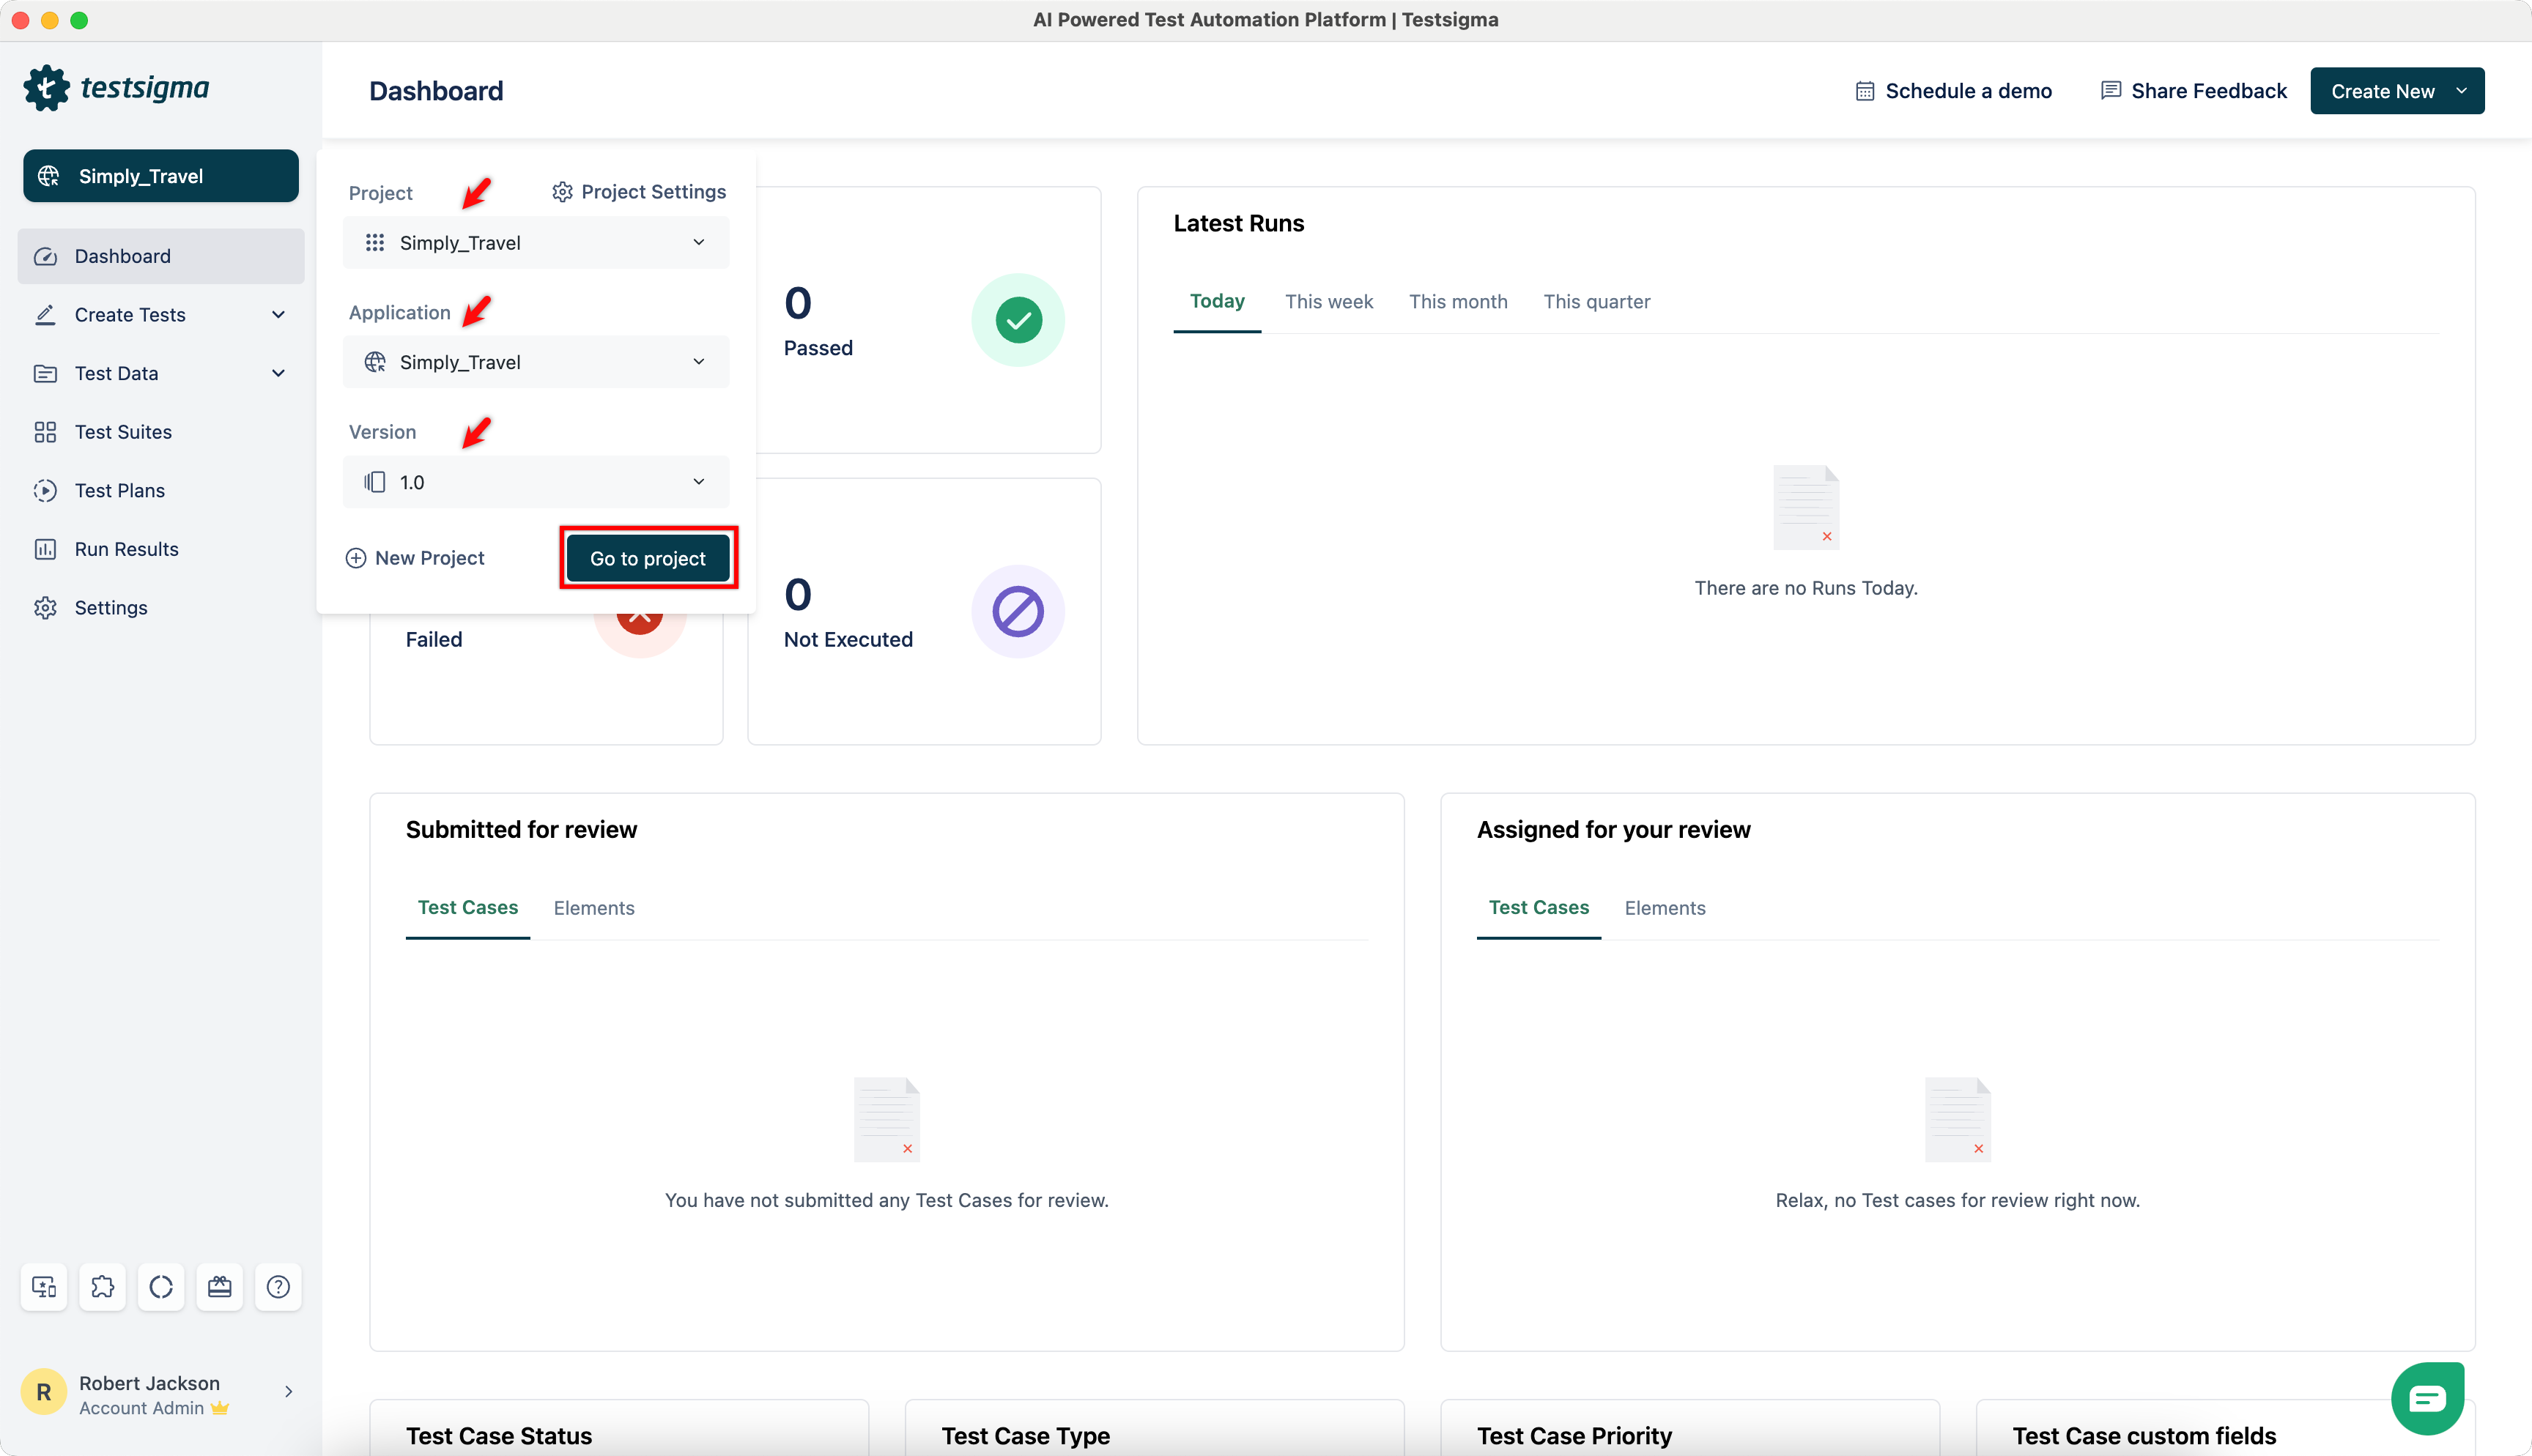
Click on the current Project from Dashboard.

-
Select Project, Application, and Version from respective dropdowns and click on Go to project.
-
You’ll be redirected to the dashboard of the selected project.
Deleting a Project
Section titled “Deleting a Project”-
Navigate to Project > Project Settings.
-
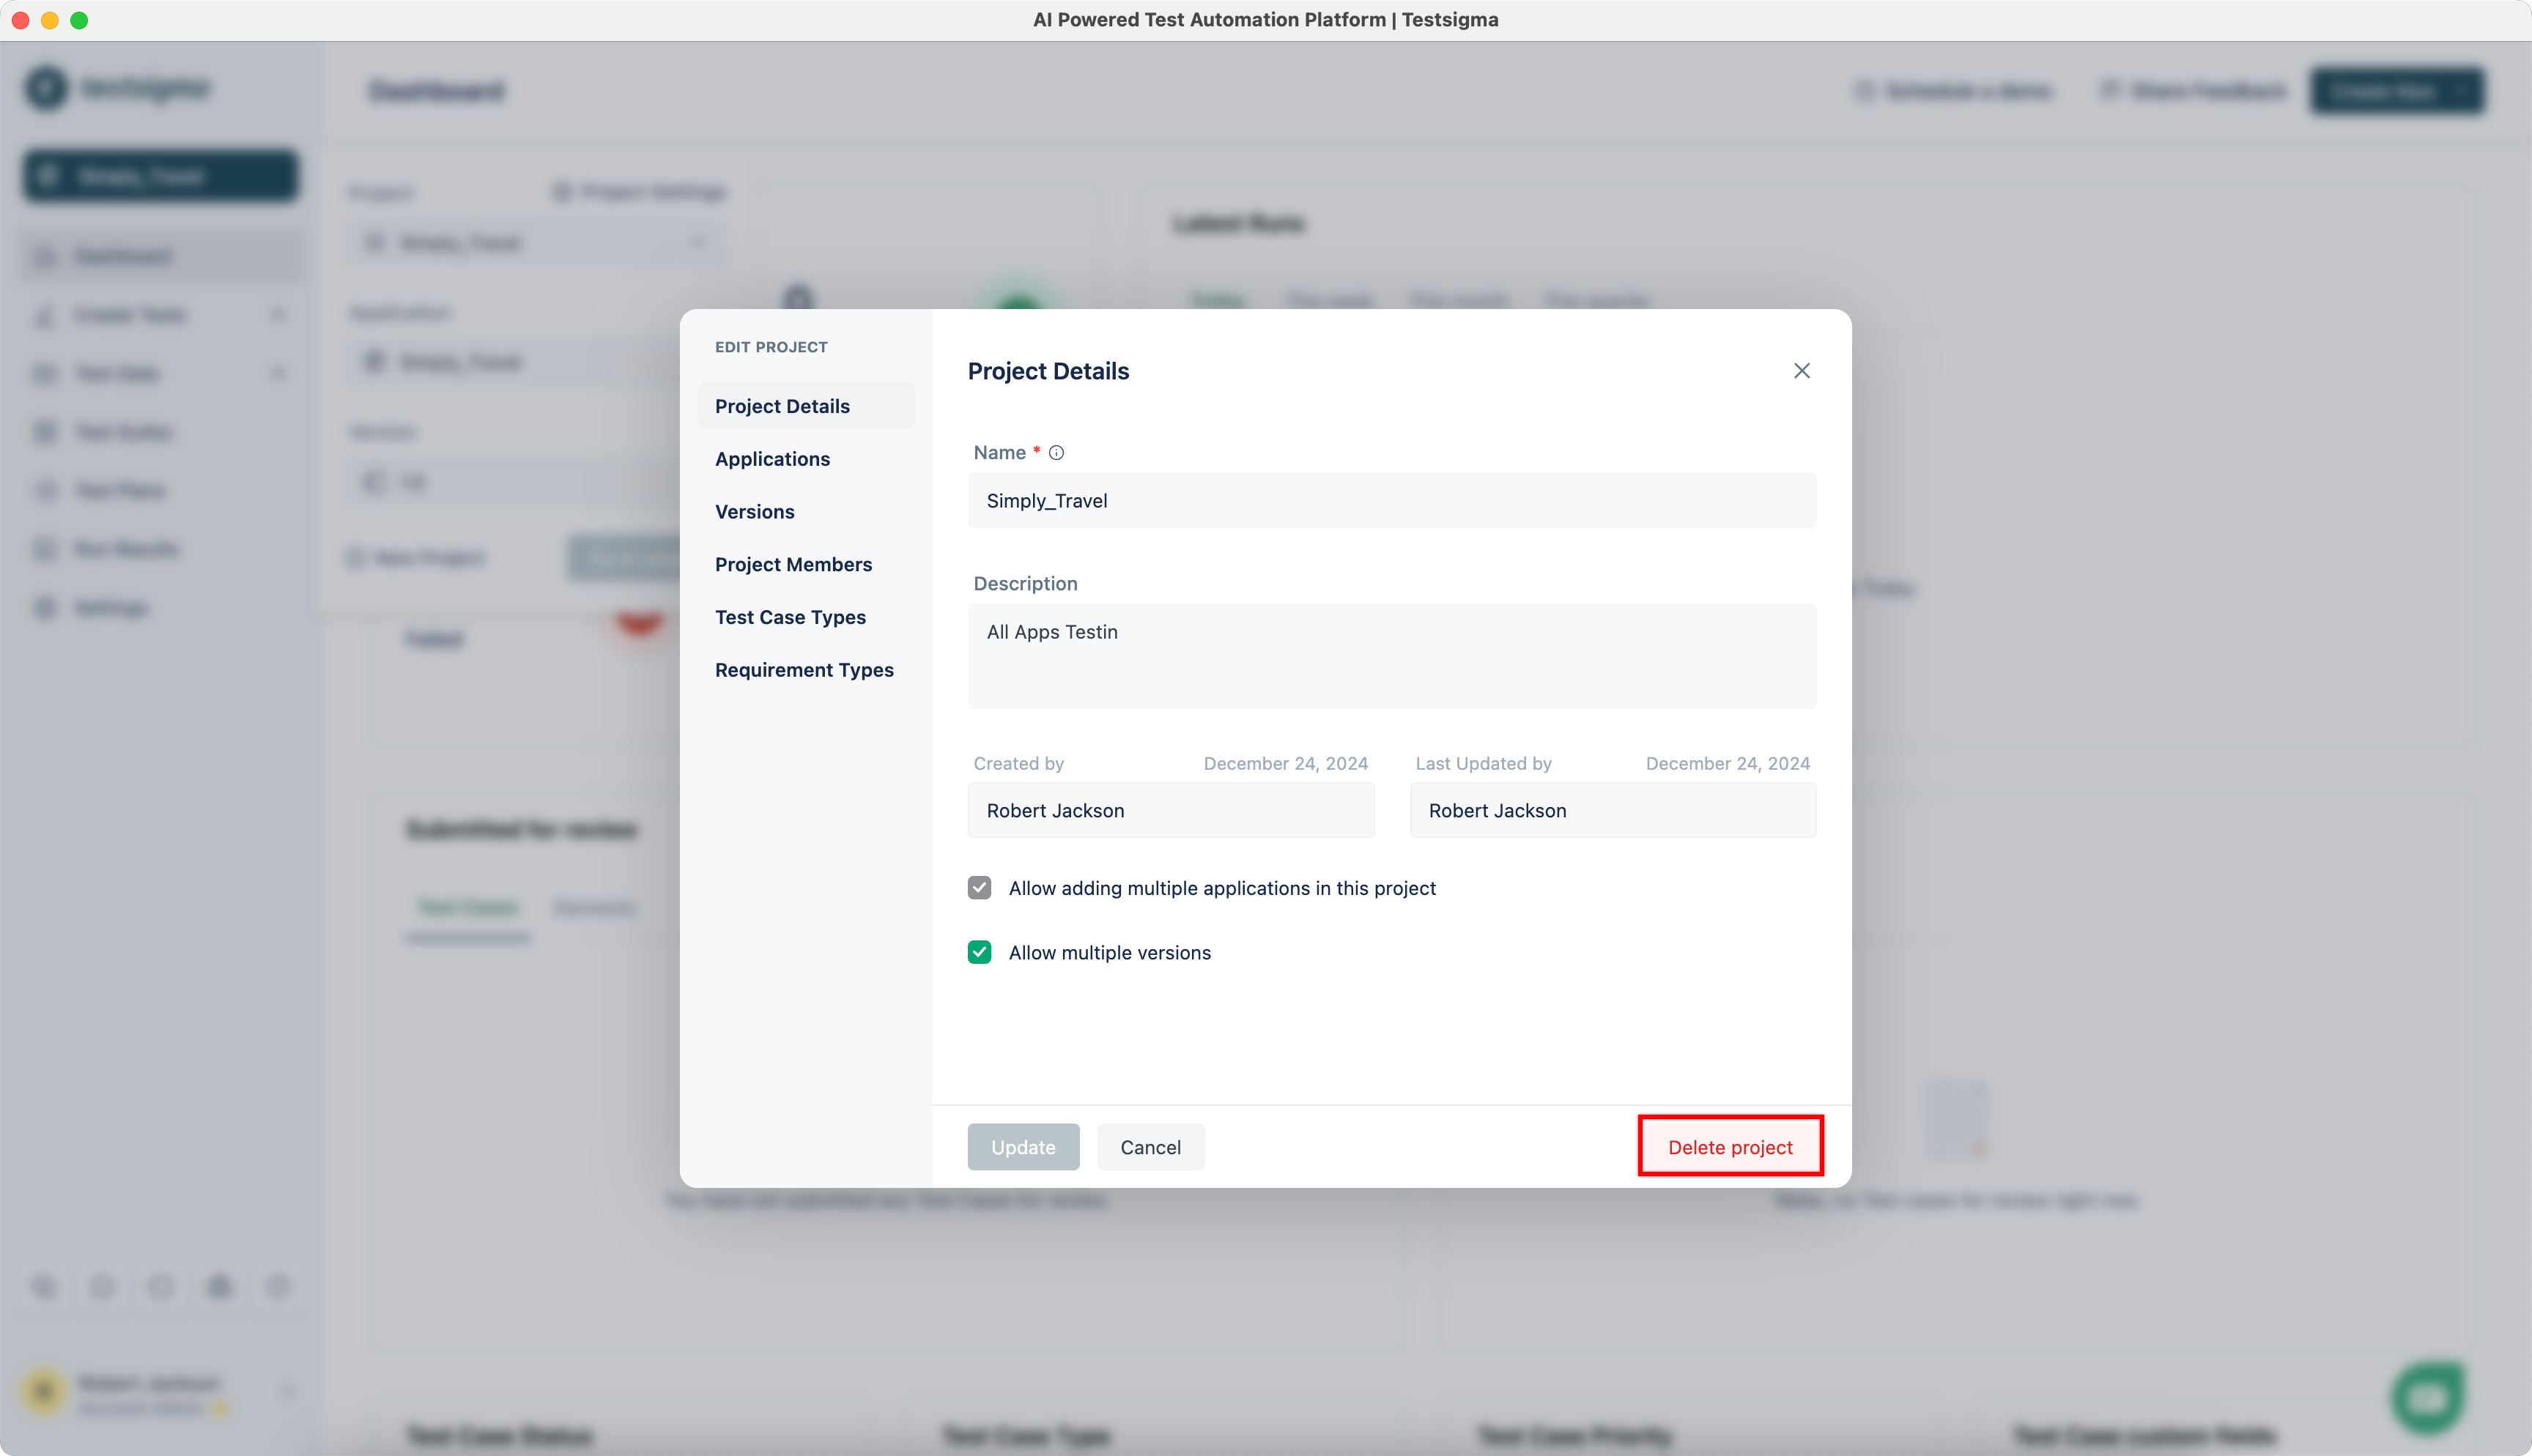
Click on Delete.
-
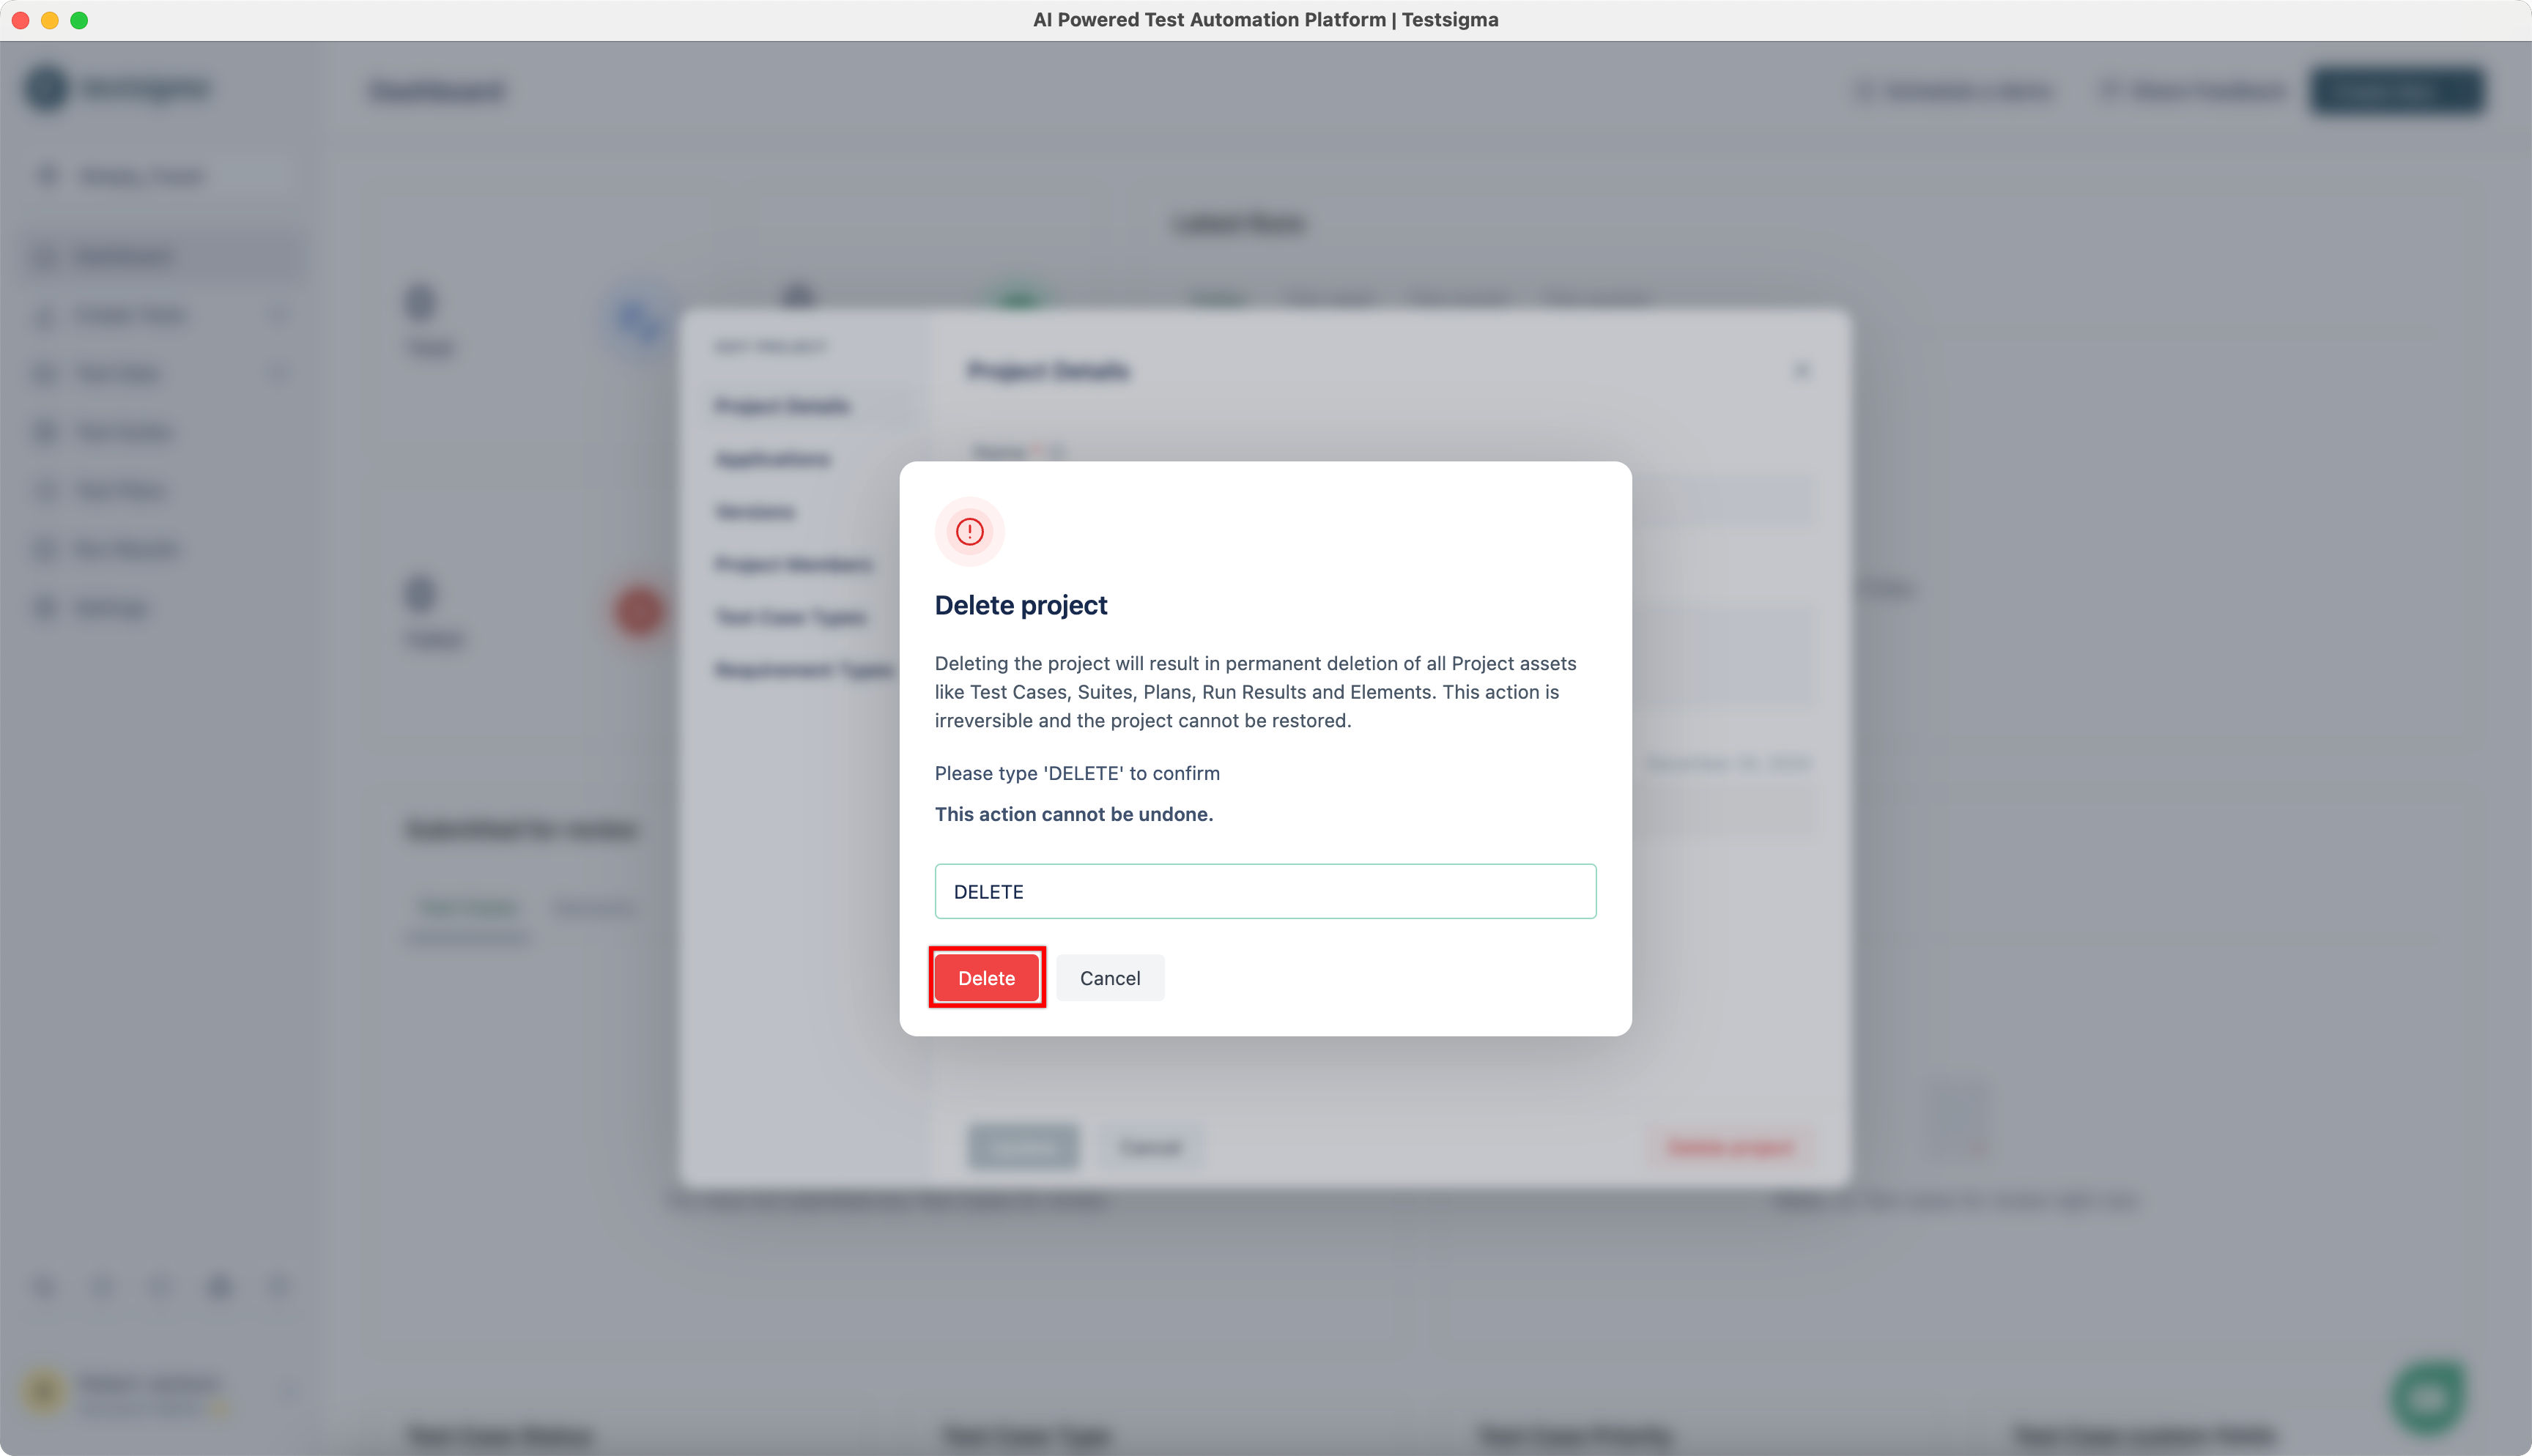
On the Delete project dialog, enter DELETE and click on Delete.

-
On the Delete project prompt, enter DELETE and click on Delete.