Test Cases
Organizing Test Cases in Folders
With Testsigma’s new folder structure, you can organize test cases by features, which provides a comprehensive view of test coverage. Each feature will have multiple scenarios, each with its respective test cases. This structure helps manage test cases based on specific scenarios and scenarios based on Features.
Why Do We Have Folder Structure?
Section titled “Why Do We Have Folder Structure?”Introducing folder structure for test cases simplifies finding and managing tests. In large test setups, organizing tests is very important as it plays a key role in quickly locating specific test cases. This will save you much time and increase productivity. This folder structure also prevents duplication of test cases, streamlining the workflow. A well-organized folder system helps teams easily find and create test cases, improving collaboration and reducing confusion.
Understanding Folder Structure
Section titled “Understanding Folder Structure”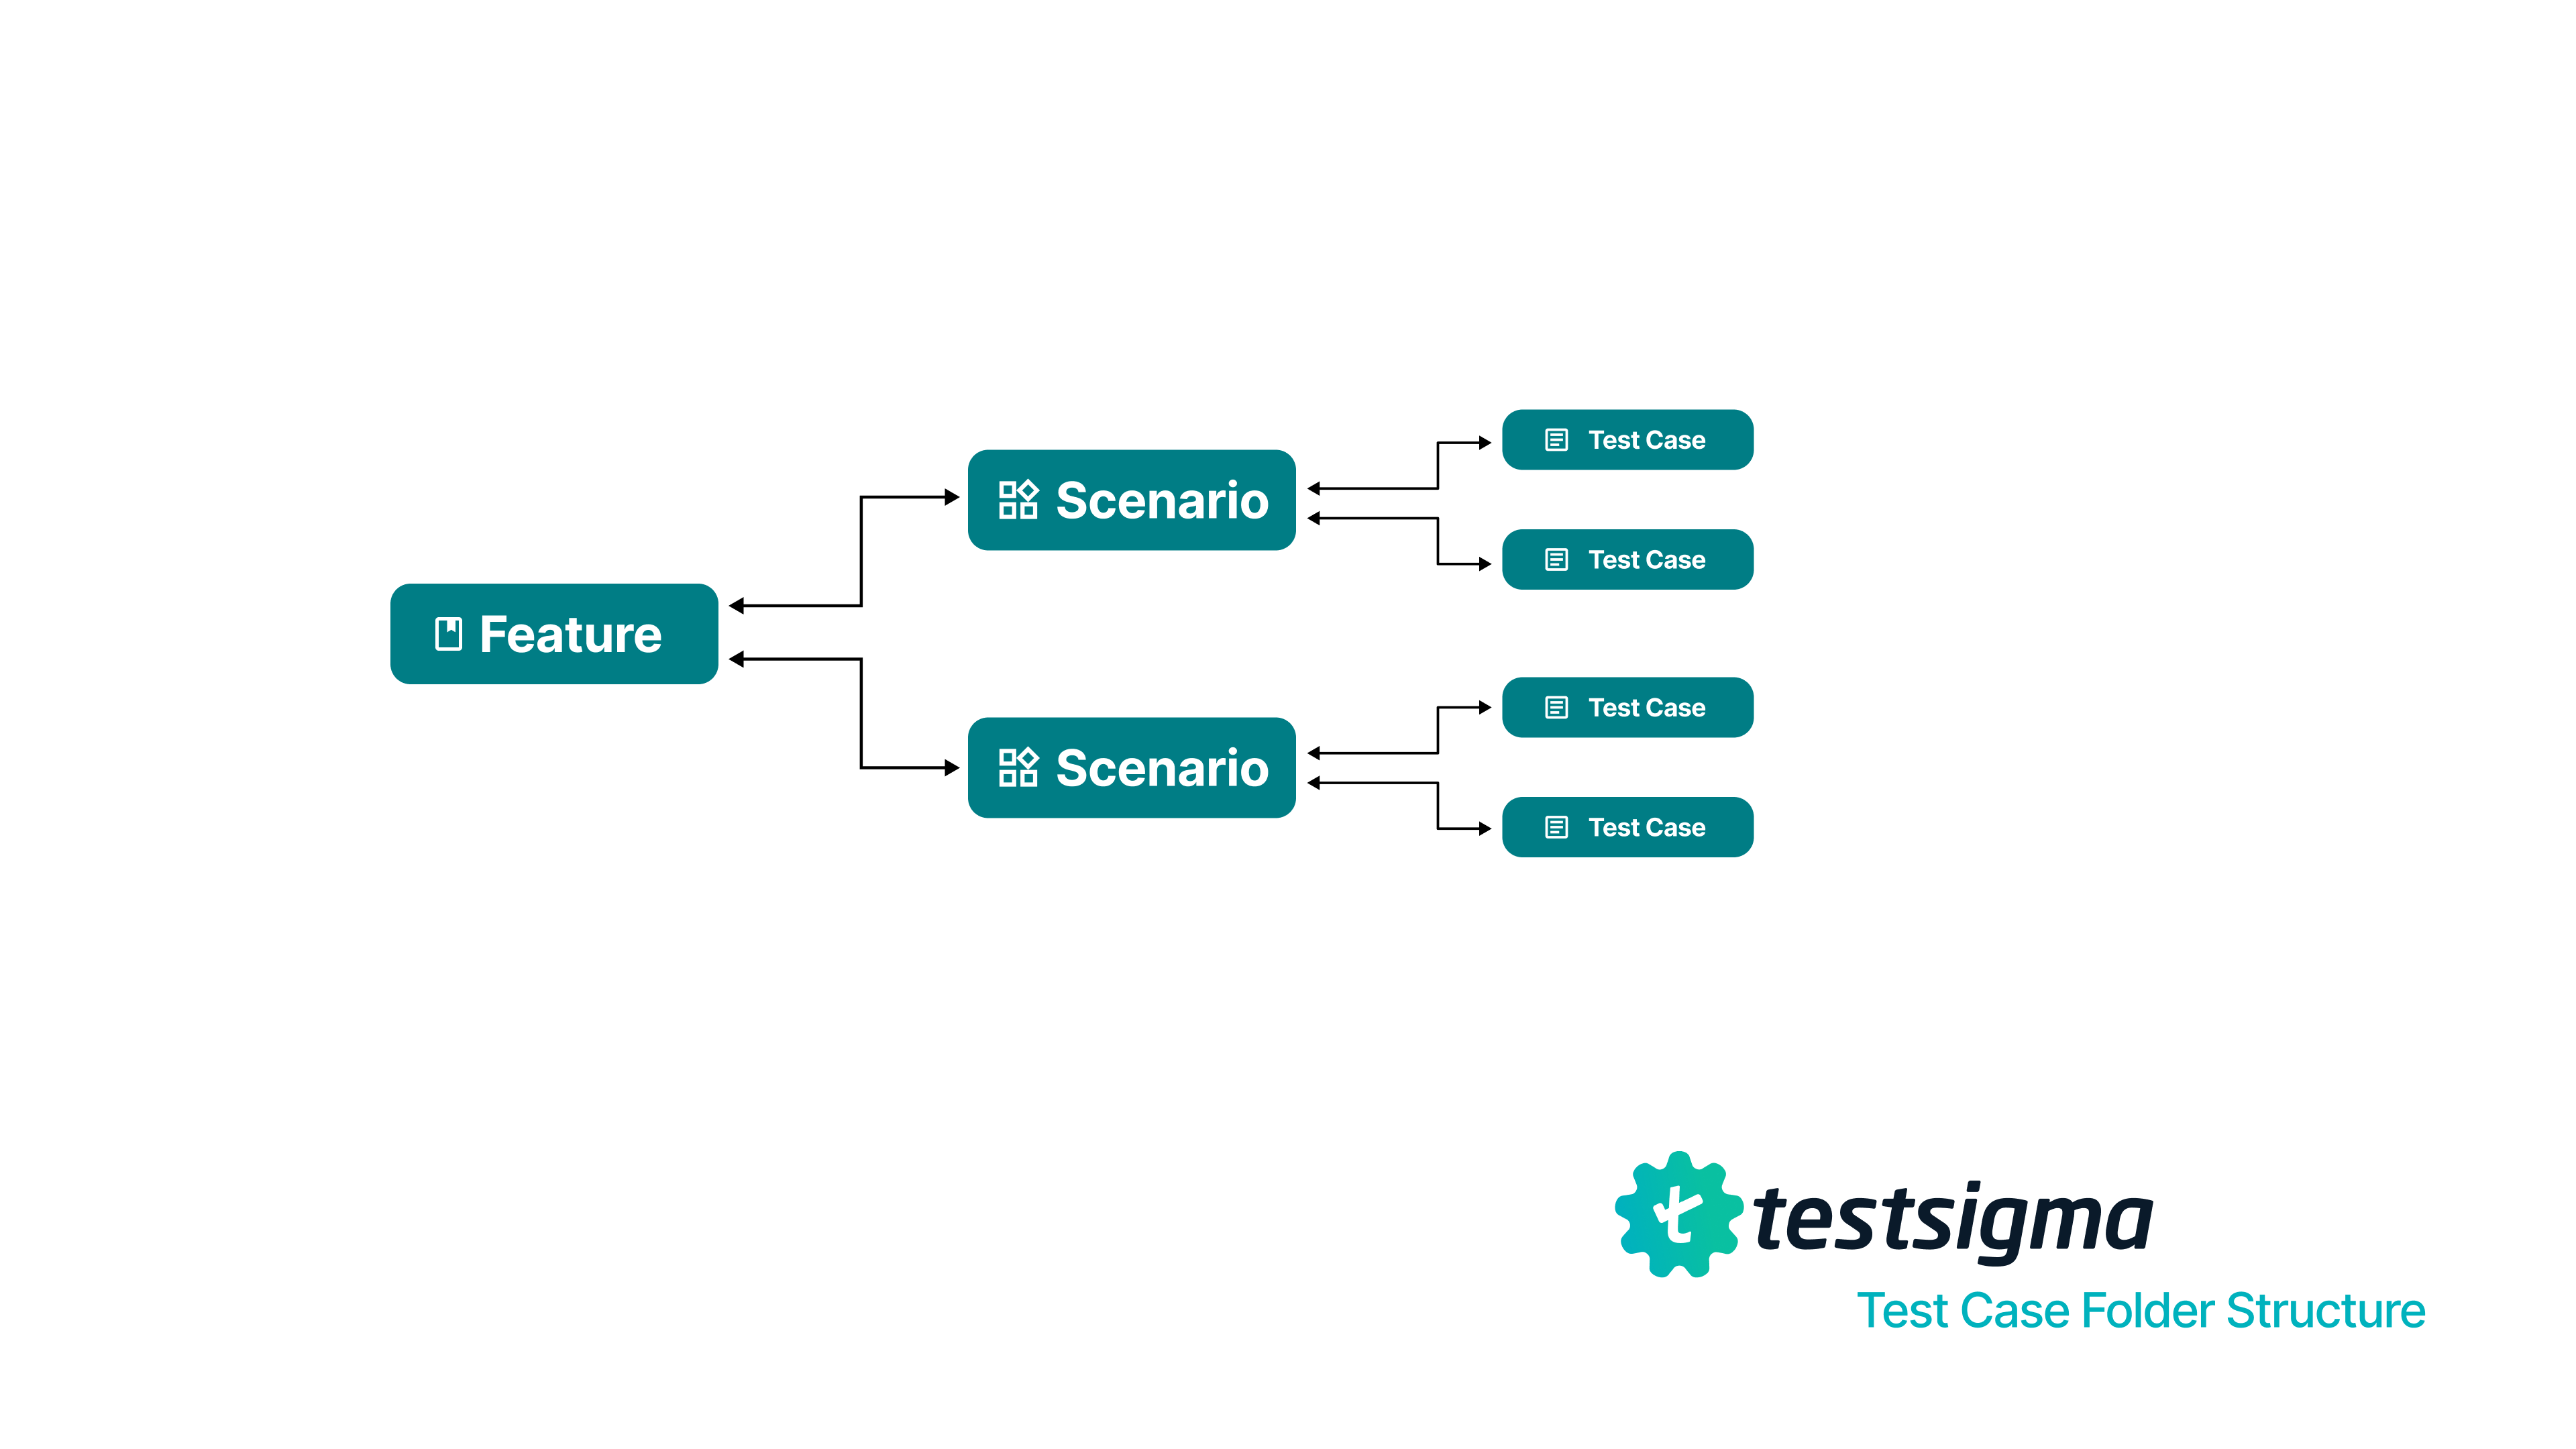
Let’s say you’re creating test cases for an Online Shopping App.
-
In this case, you can have User Authentication, Product Search, and Shopping Cart as Features under Test Cases.
-
Each Feature can have multiple Scenarios like the examples mentioned below:
📁 Test Cases (Master Folder)
-
User Authentication
- Login
- Logout
-
Product Search
- Search by Keyword
- Filter Results
-
Shopping Cart
- Add to Cart
- Remove from Cart
-
The scenarios will have multiple test cases. In this cases, for Login & Logout scenarios, we can have the following test cases:
- Login
- Login with valid credentials
- Login with invalid credentials & verify error message
- Logout
- Verify successful logout
- Verify session expiration after logout
- Login
Prerequisites
Before you begin, ensure that you have referred to:
Steps to Create Features
Section titled “Steps to Create Features”-
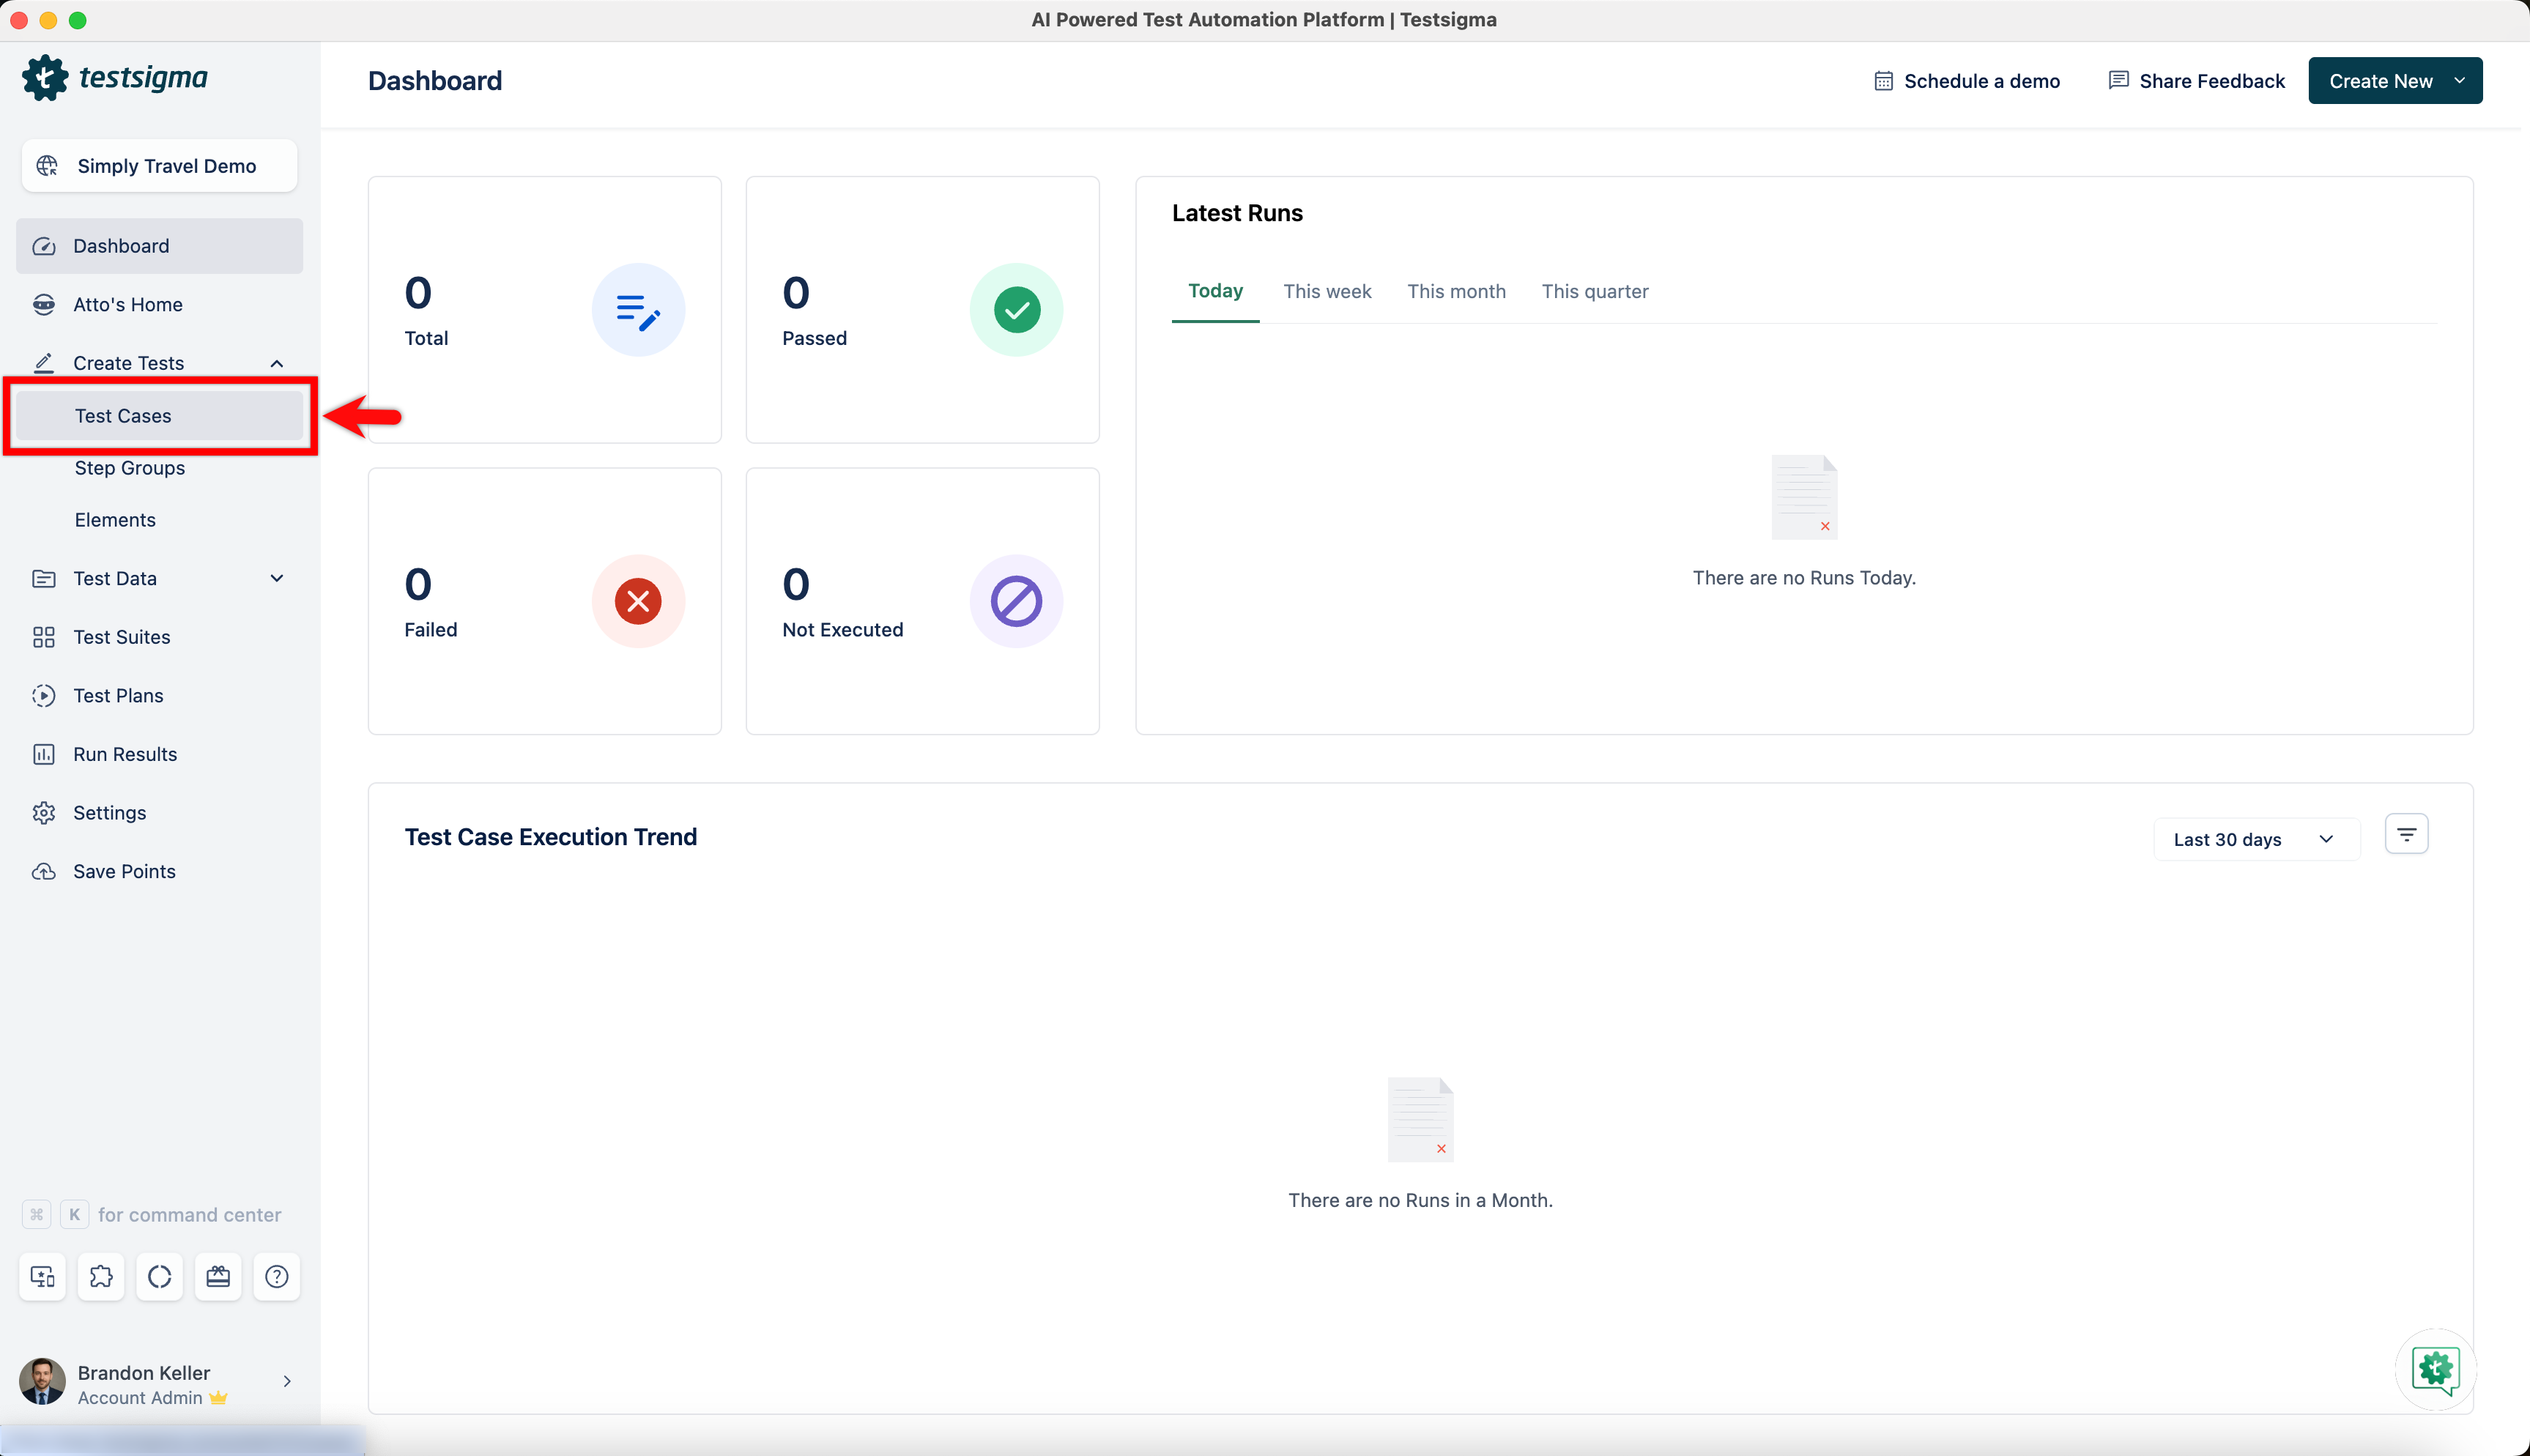
From the left navigation bar, go to Create Tests > Test Cases.
-
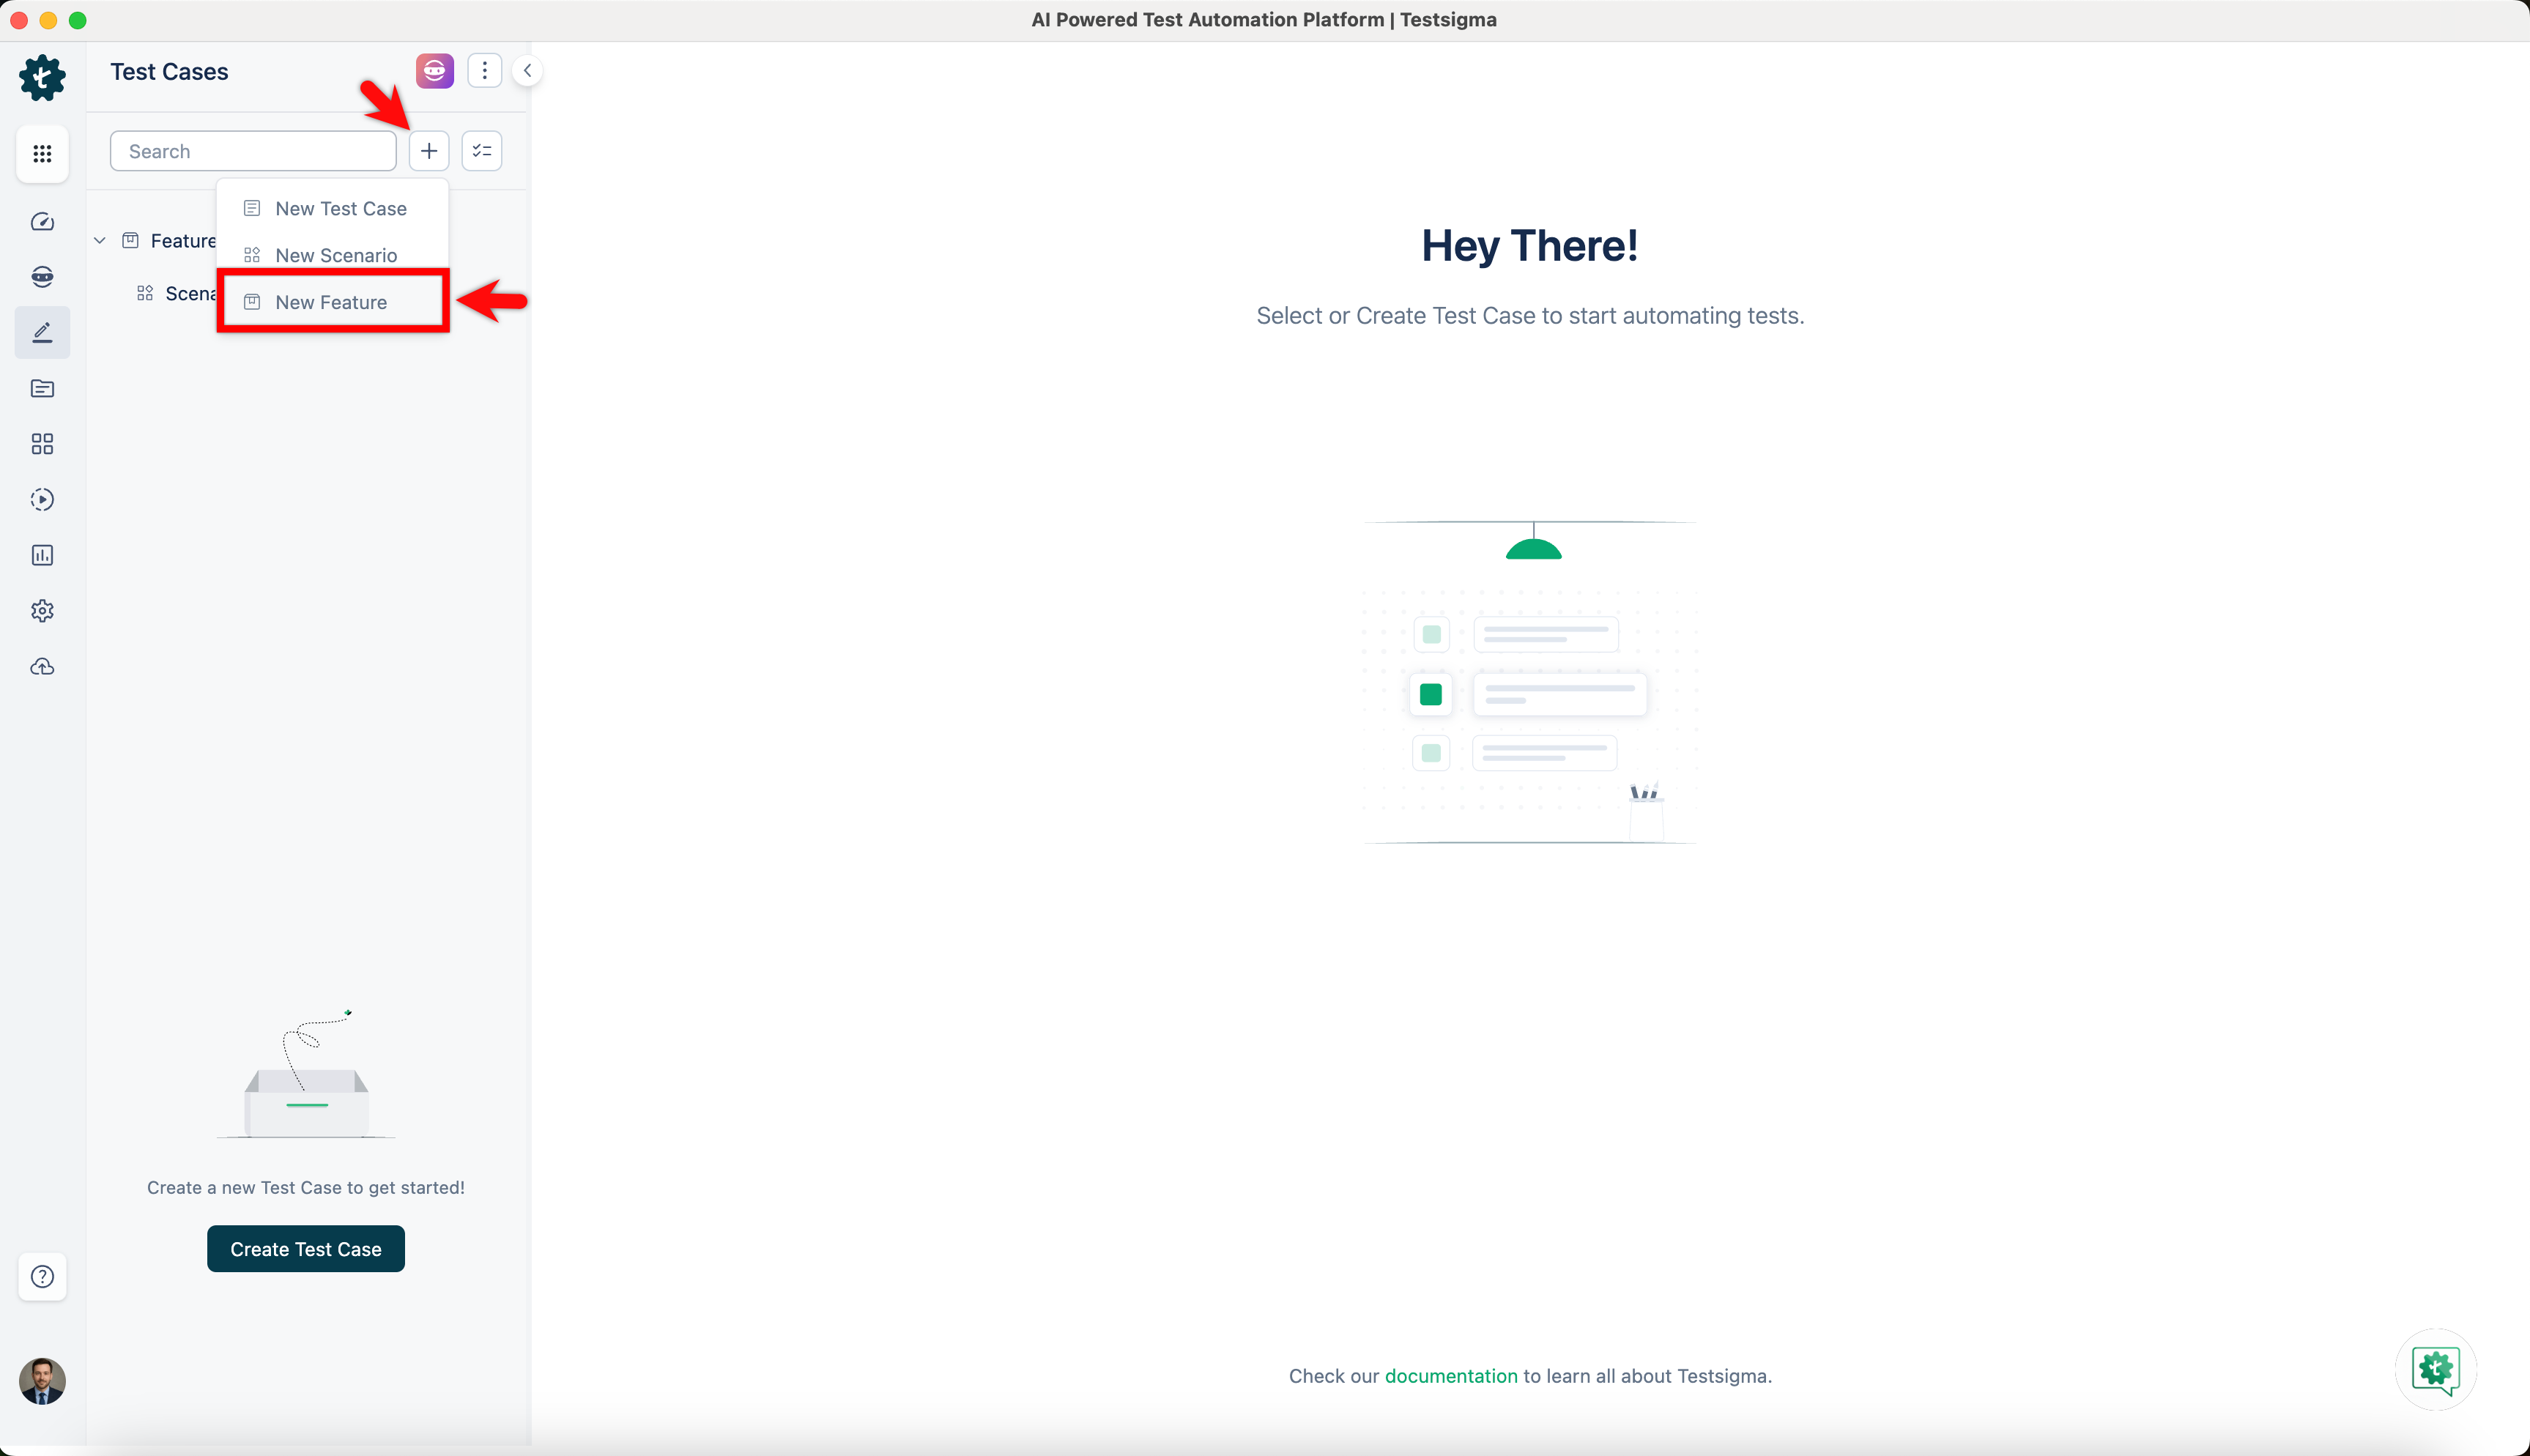
Click + and choose New Feature from the dropdown menu.
-
In the New Feature dialog, enter a name for the feature and click Add.
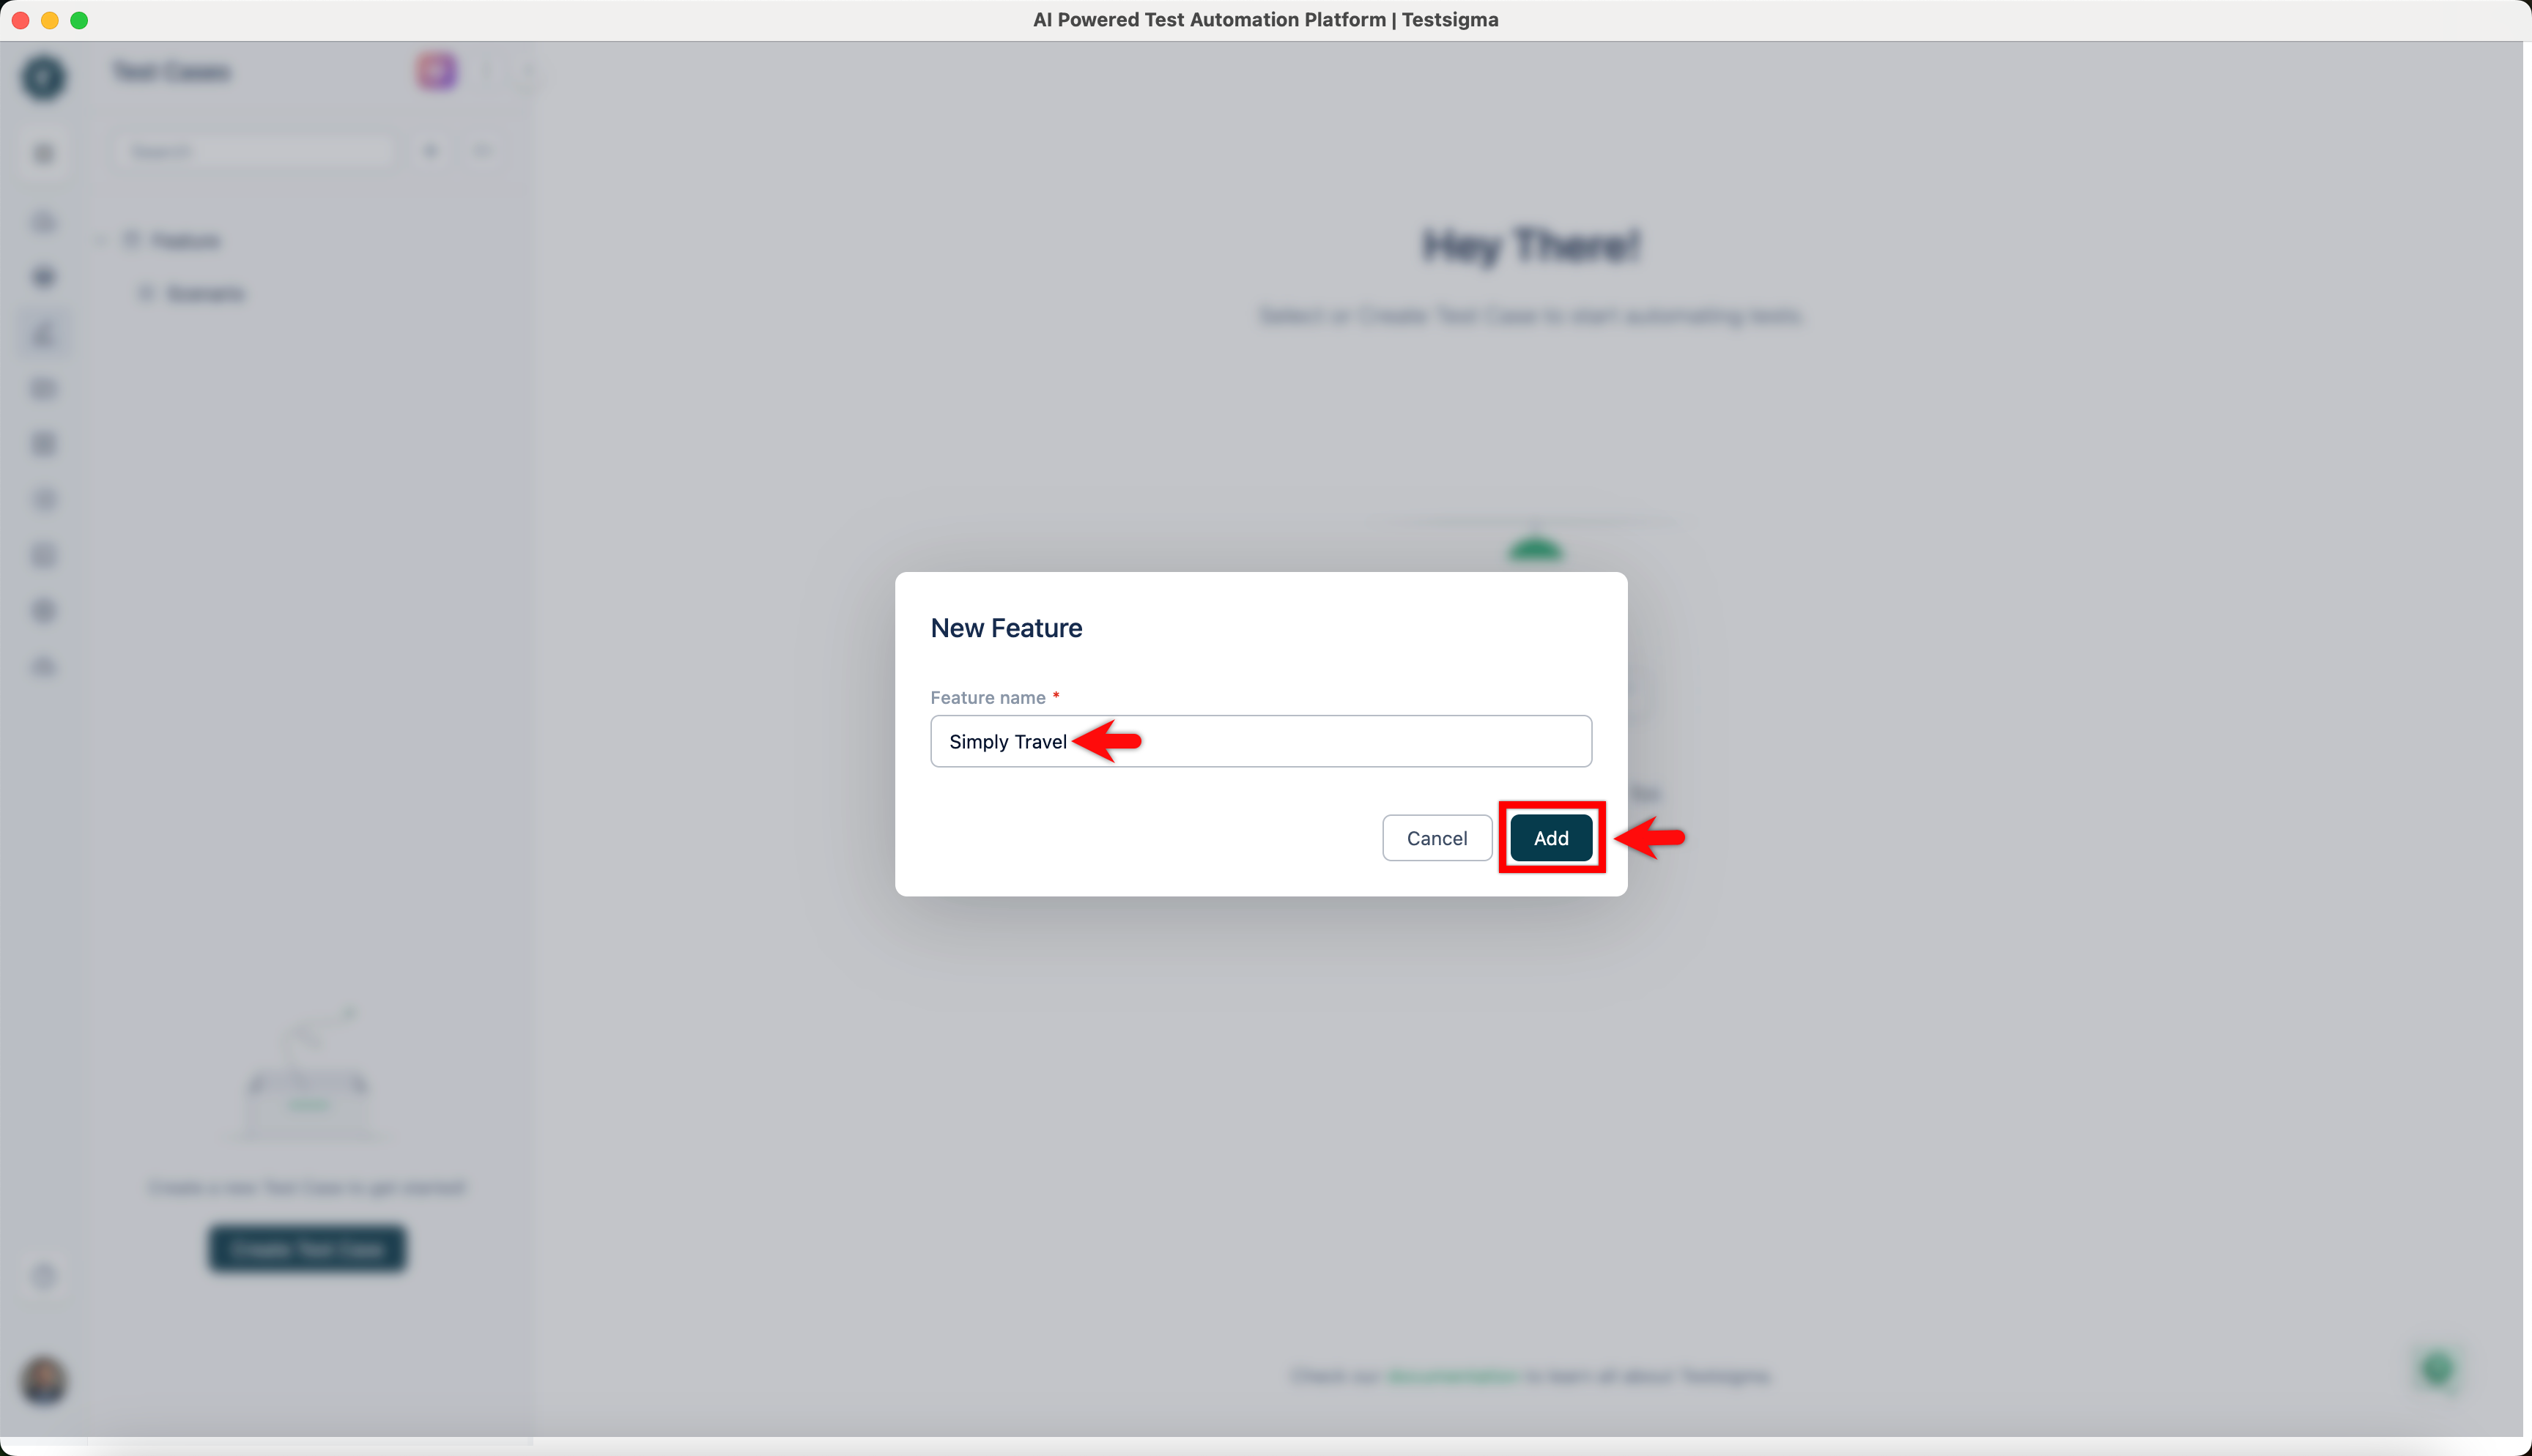
-
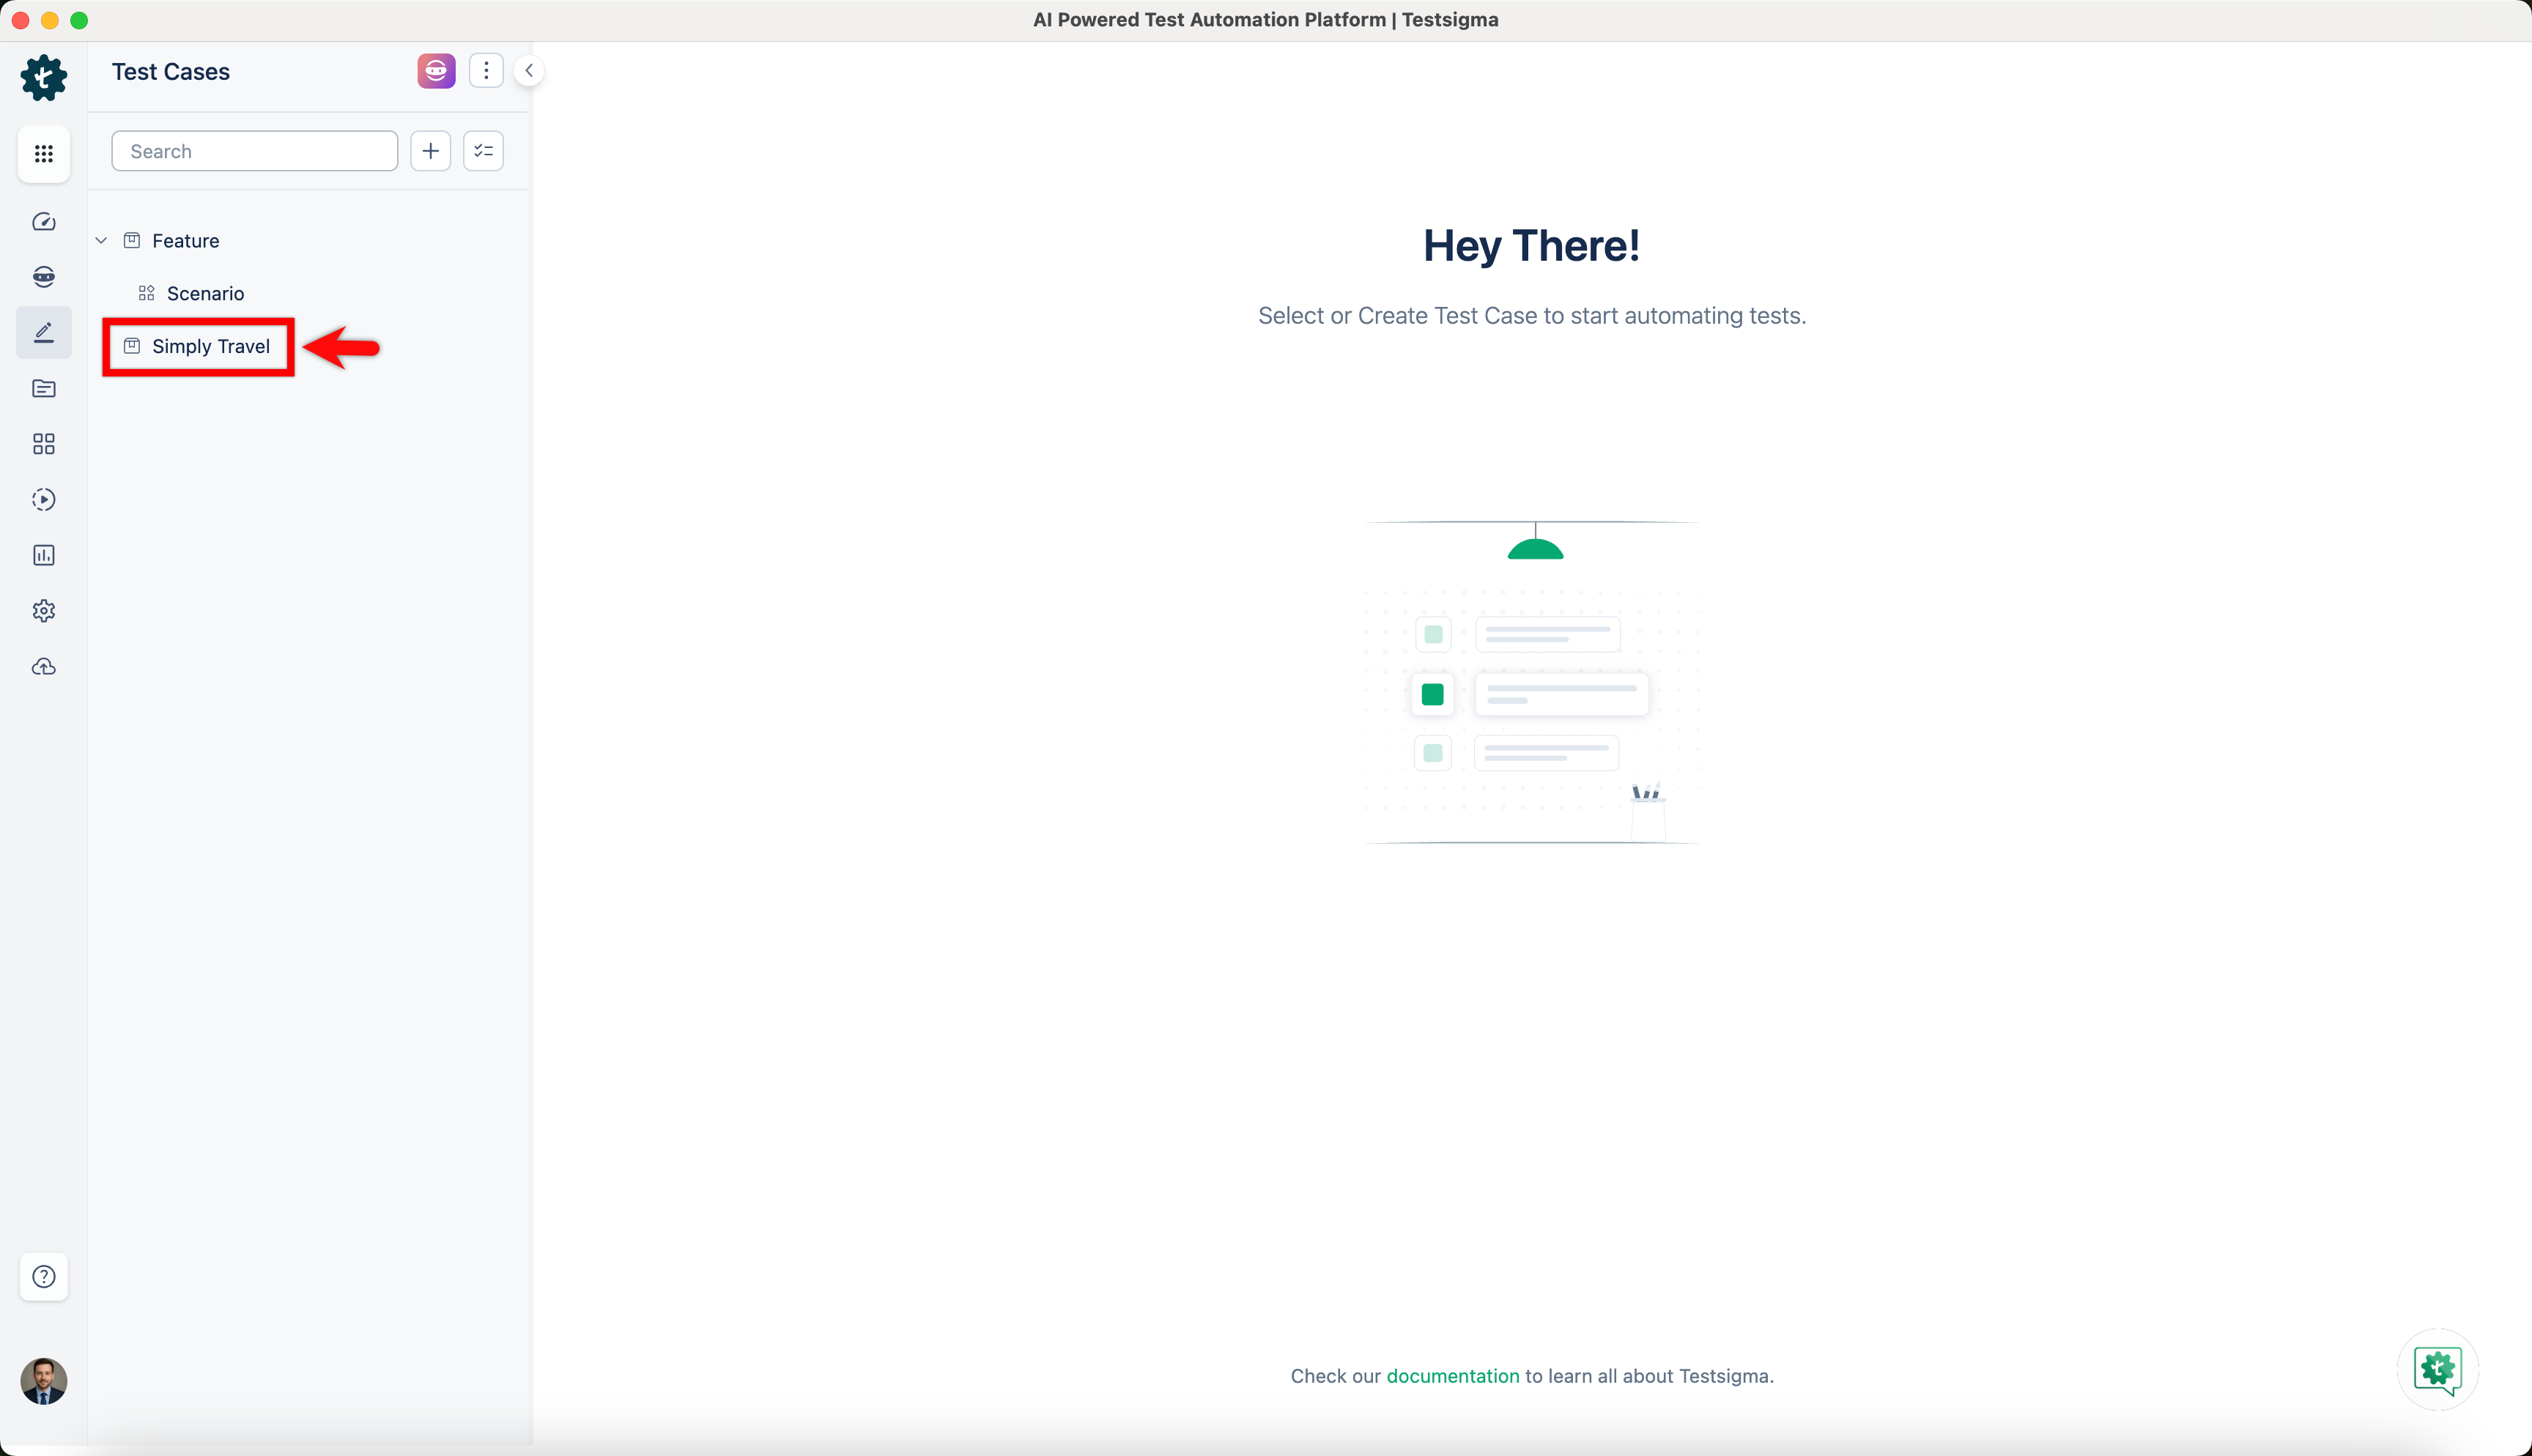
The new feature will appear under the Test Cases section.
Steps to Create Scenarios
Section titled “Steps to Create Scenarios”-
From the left navigation bar, go to Create Tests > Test Cases.
-
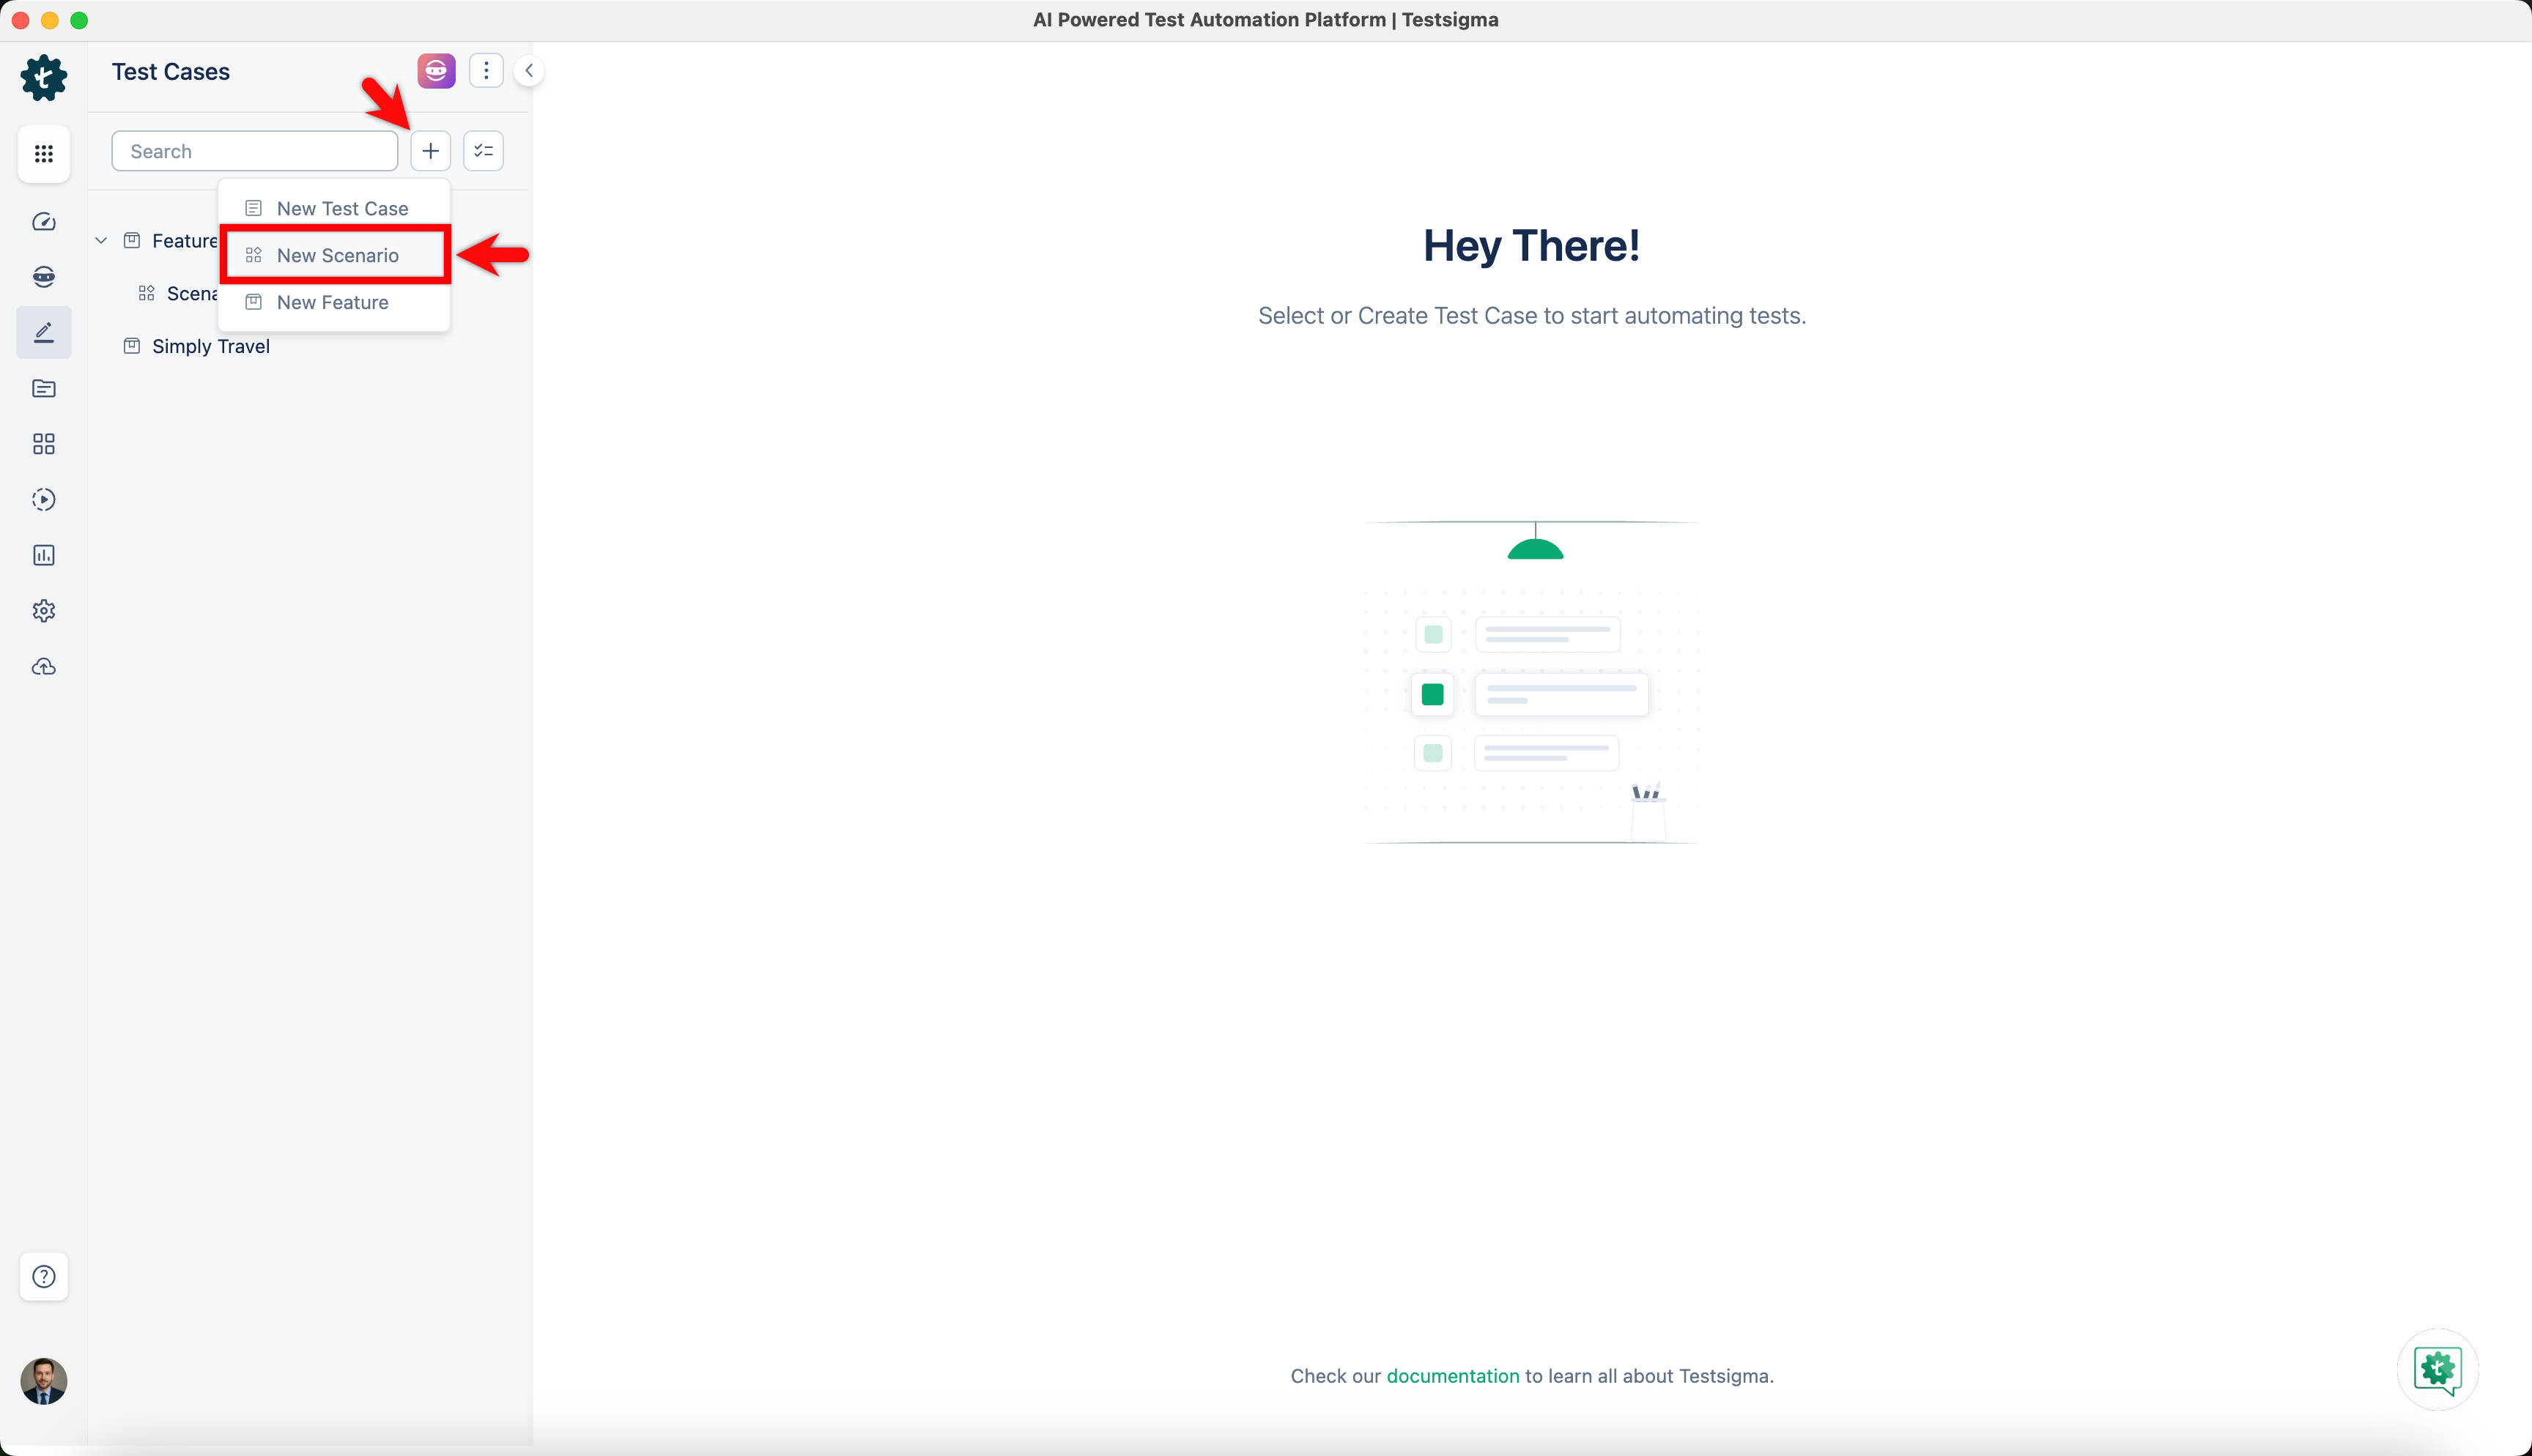
Click + and choose New Scenario from the dropdown menu.
-
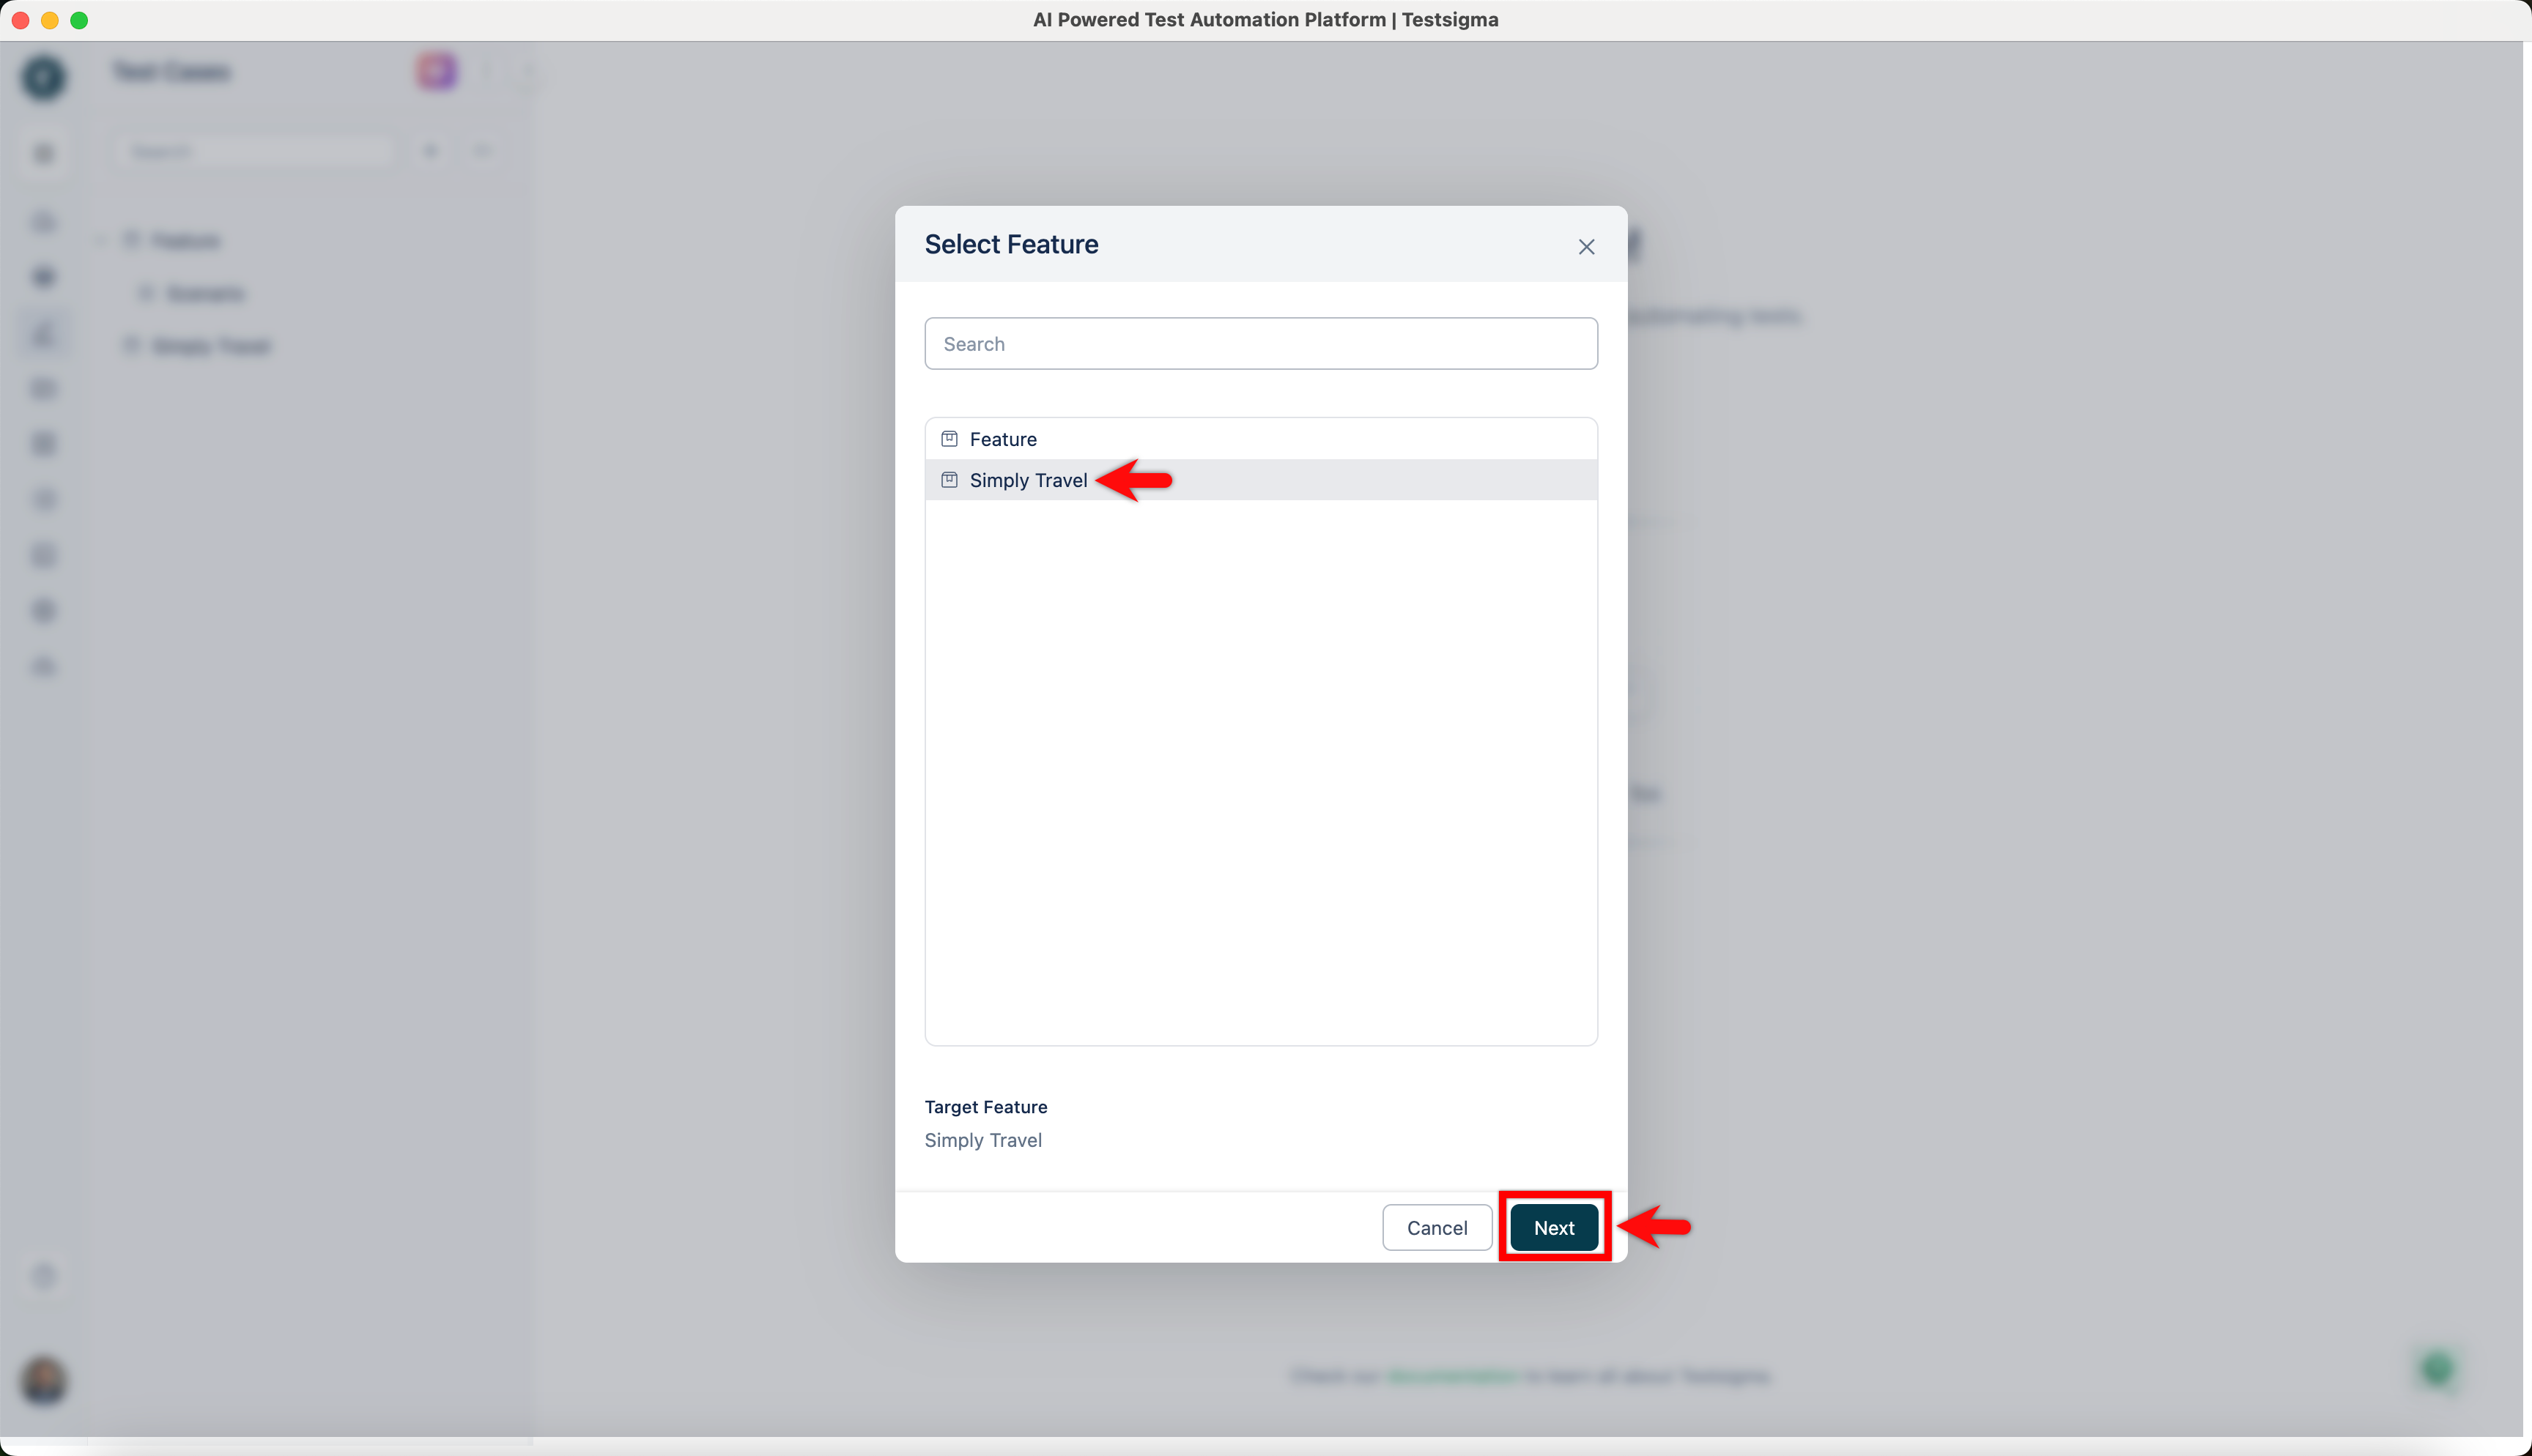
In the Select Feature dialog, choose the target feature and click Next.
-
In the dialog box that pops up, enter a name for the scenario and click Create.

-
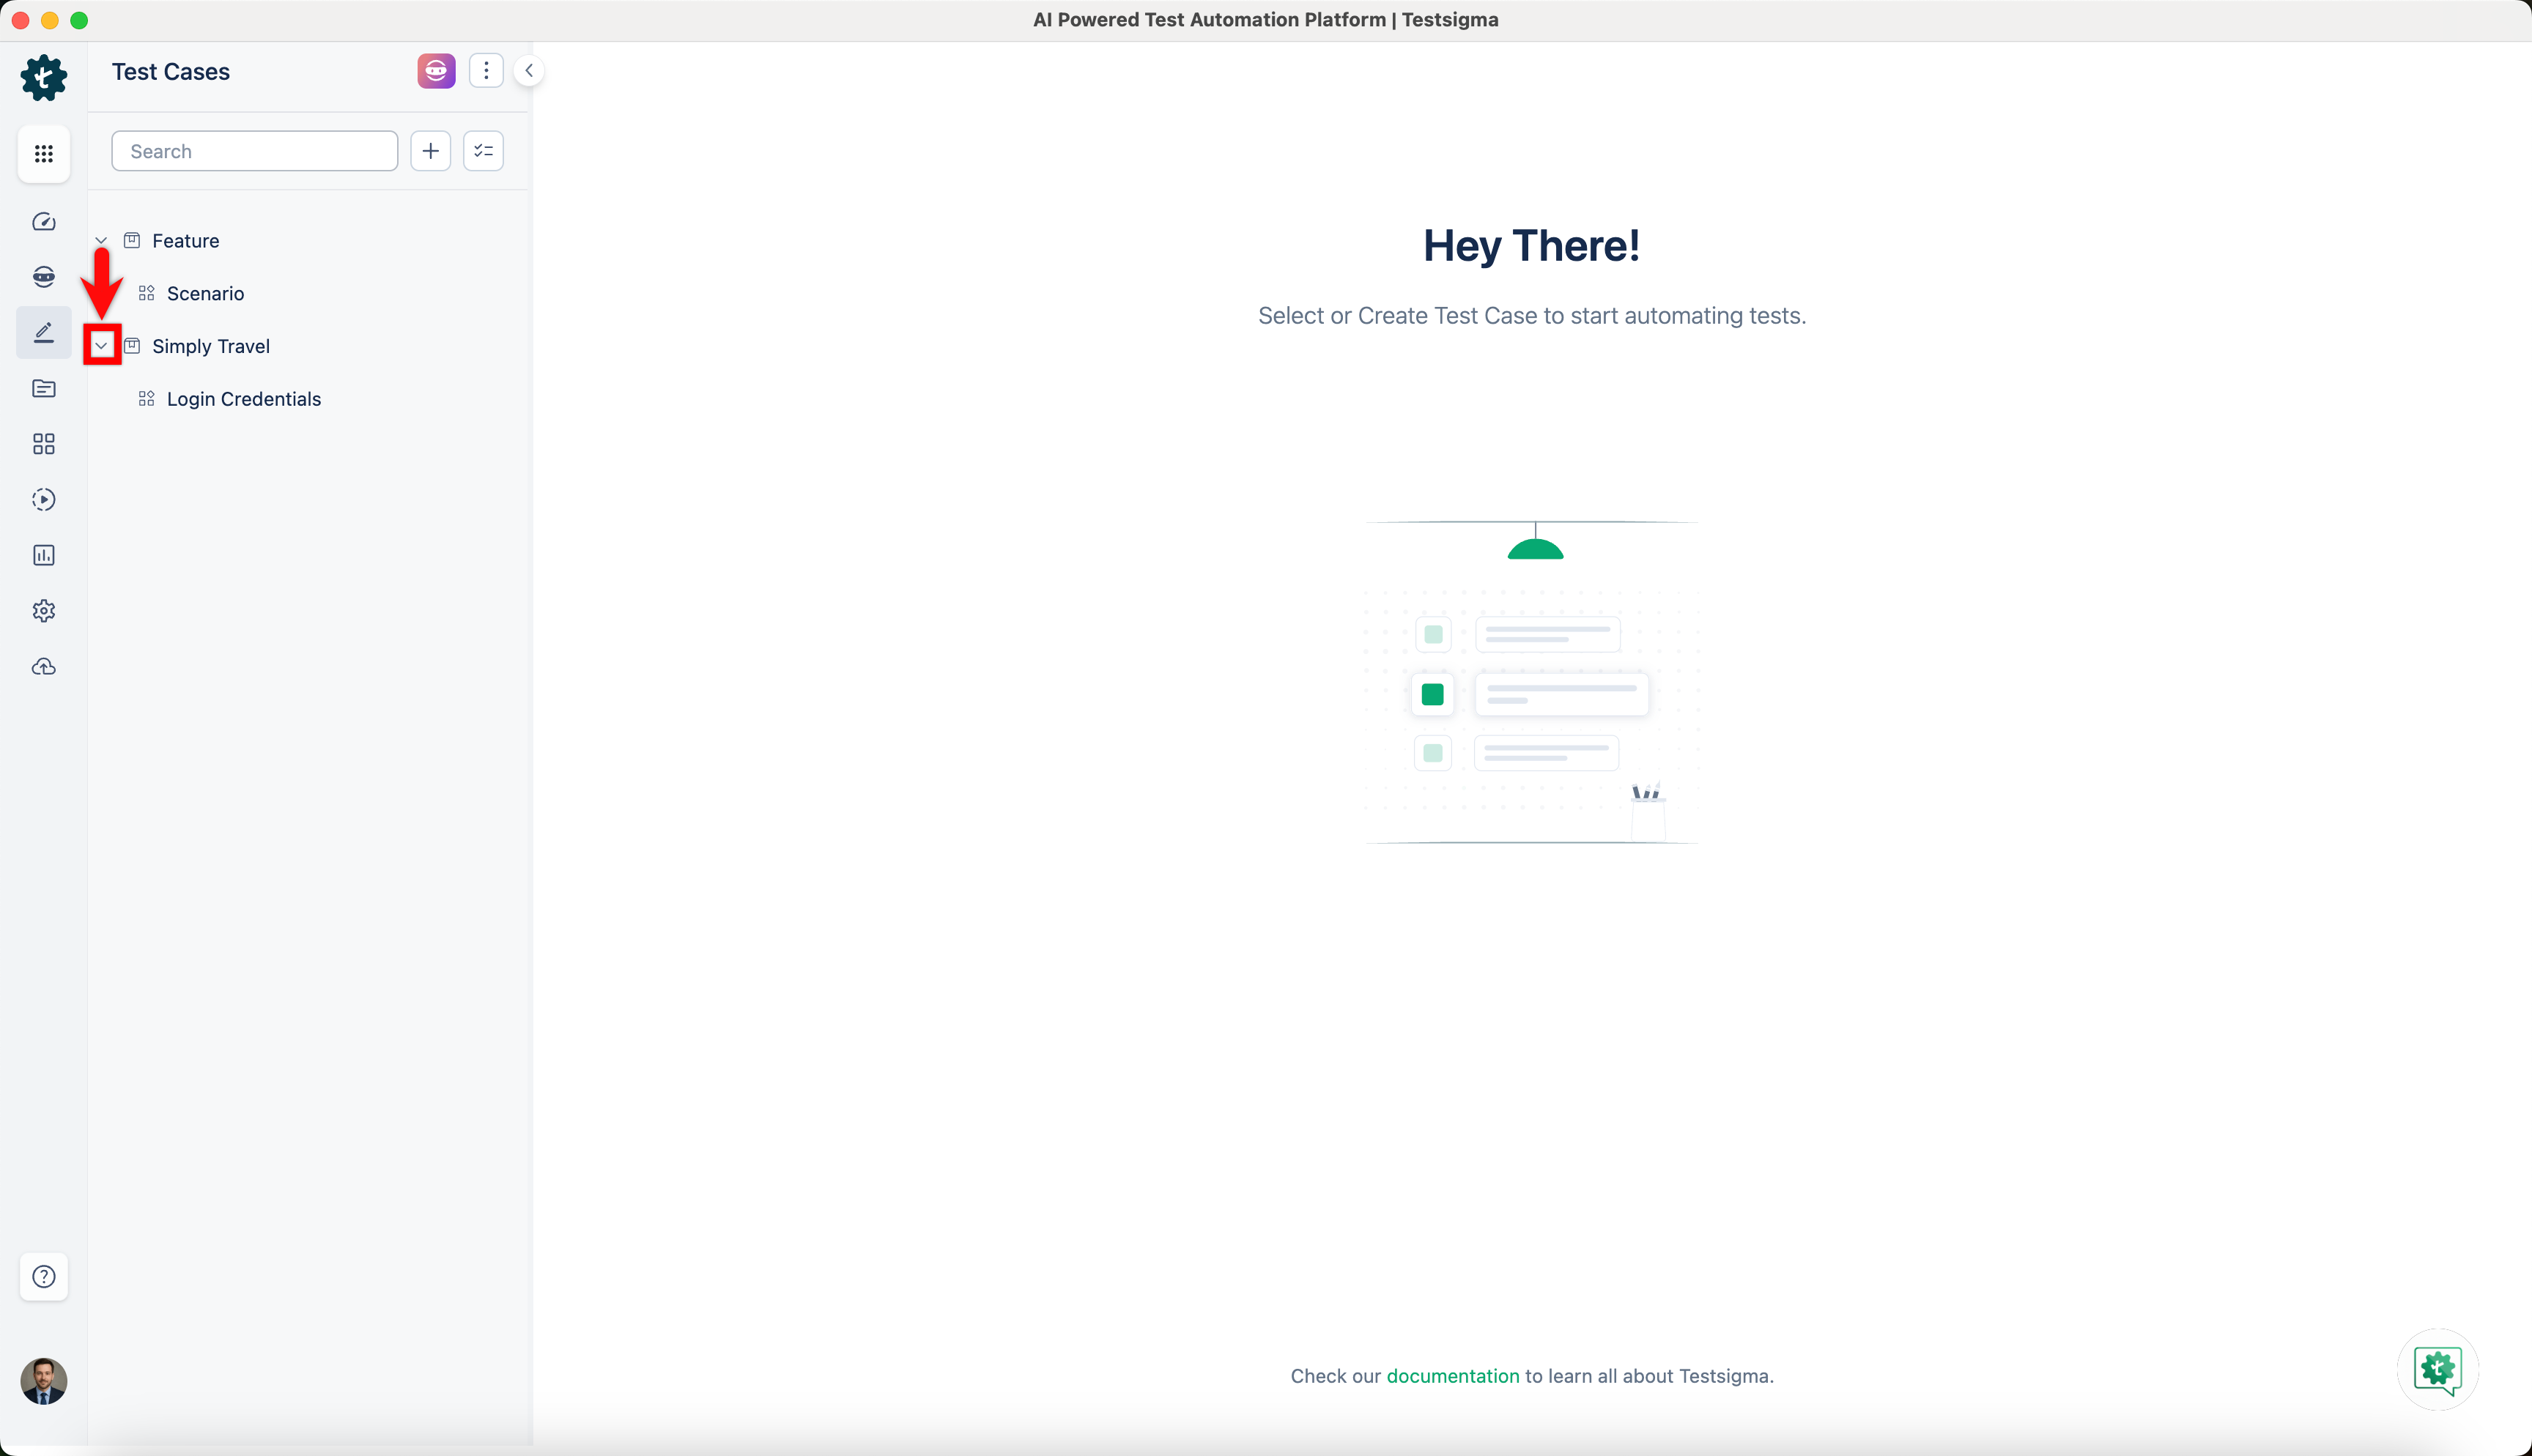
The new scenario will appear under Test Cases > Feature.
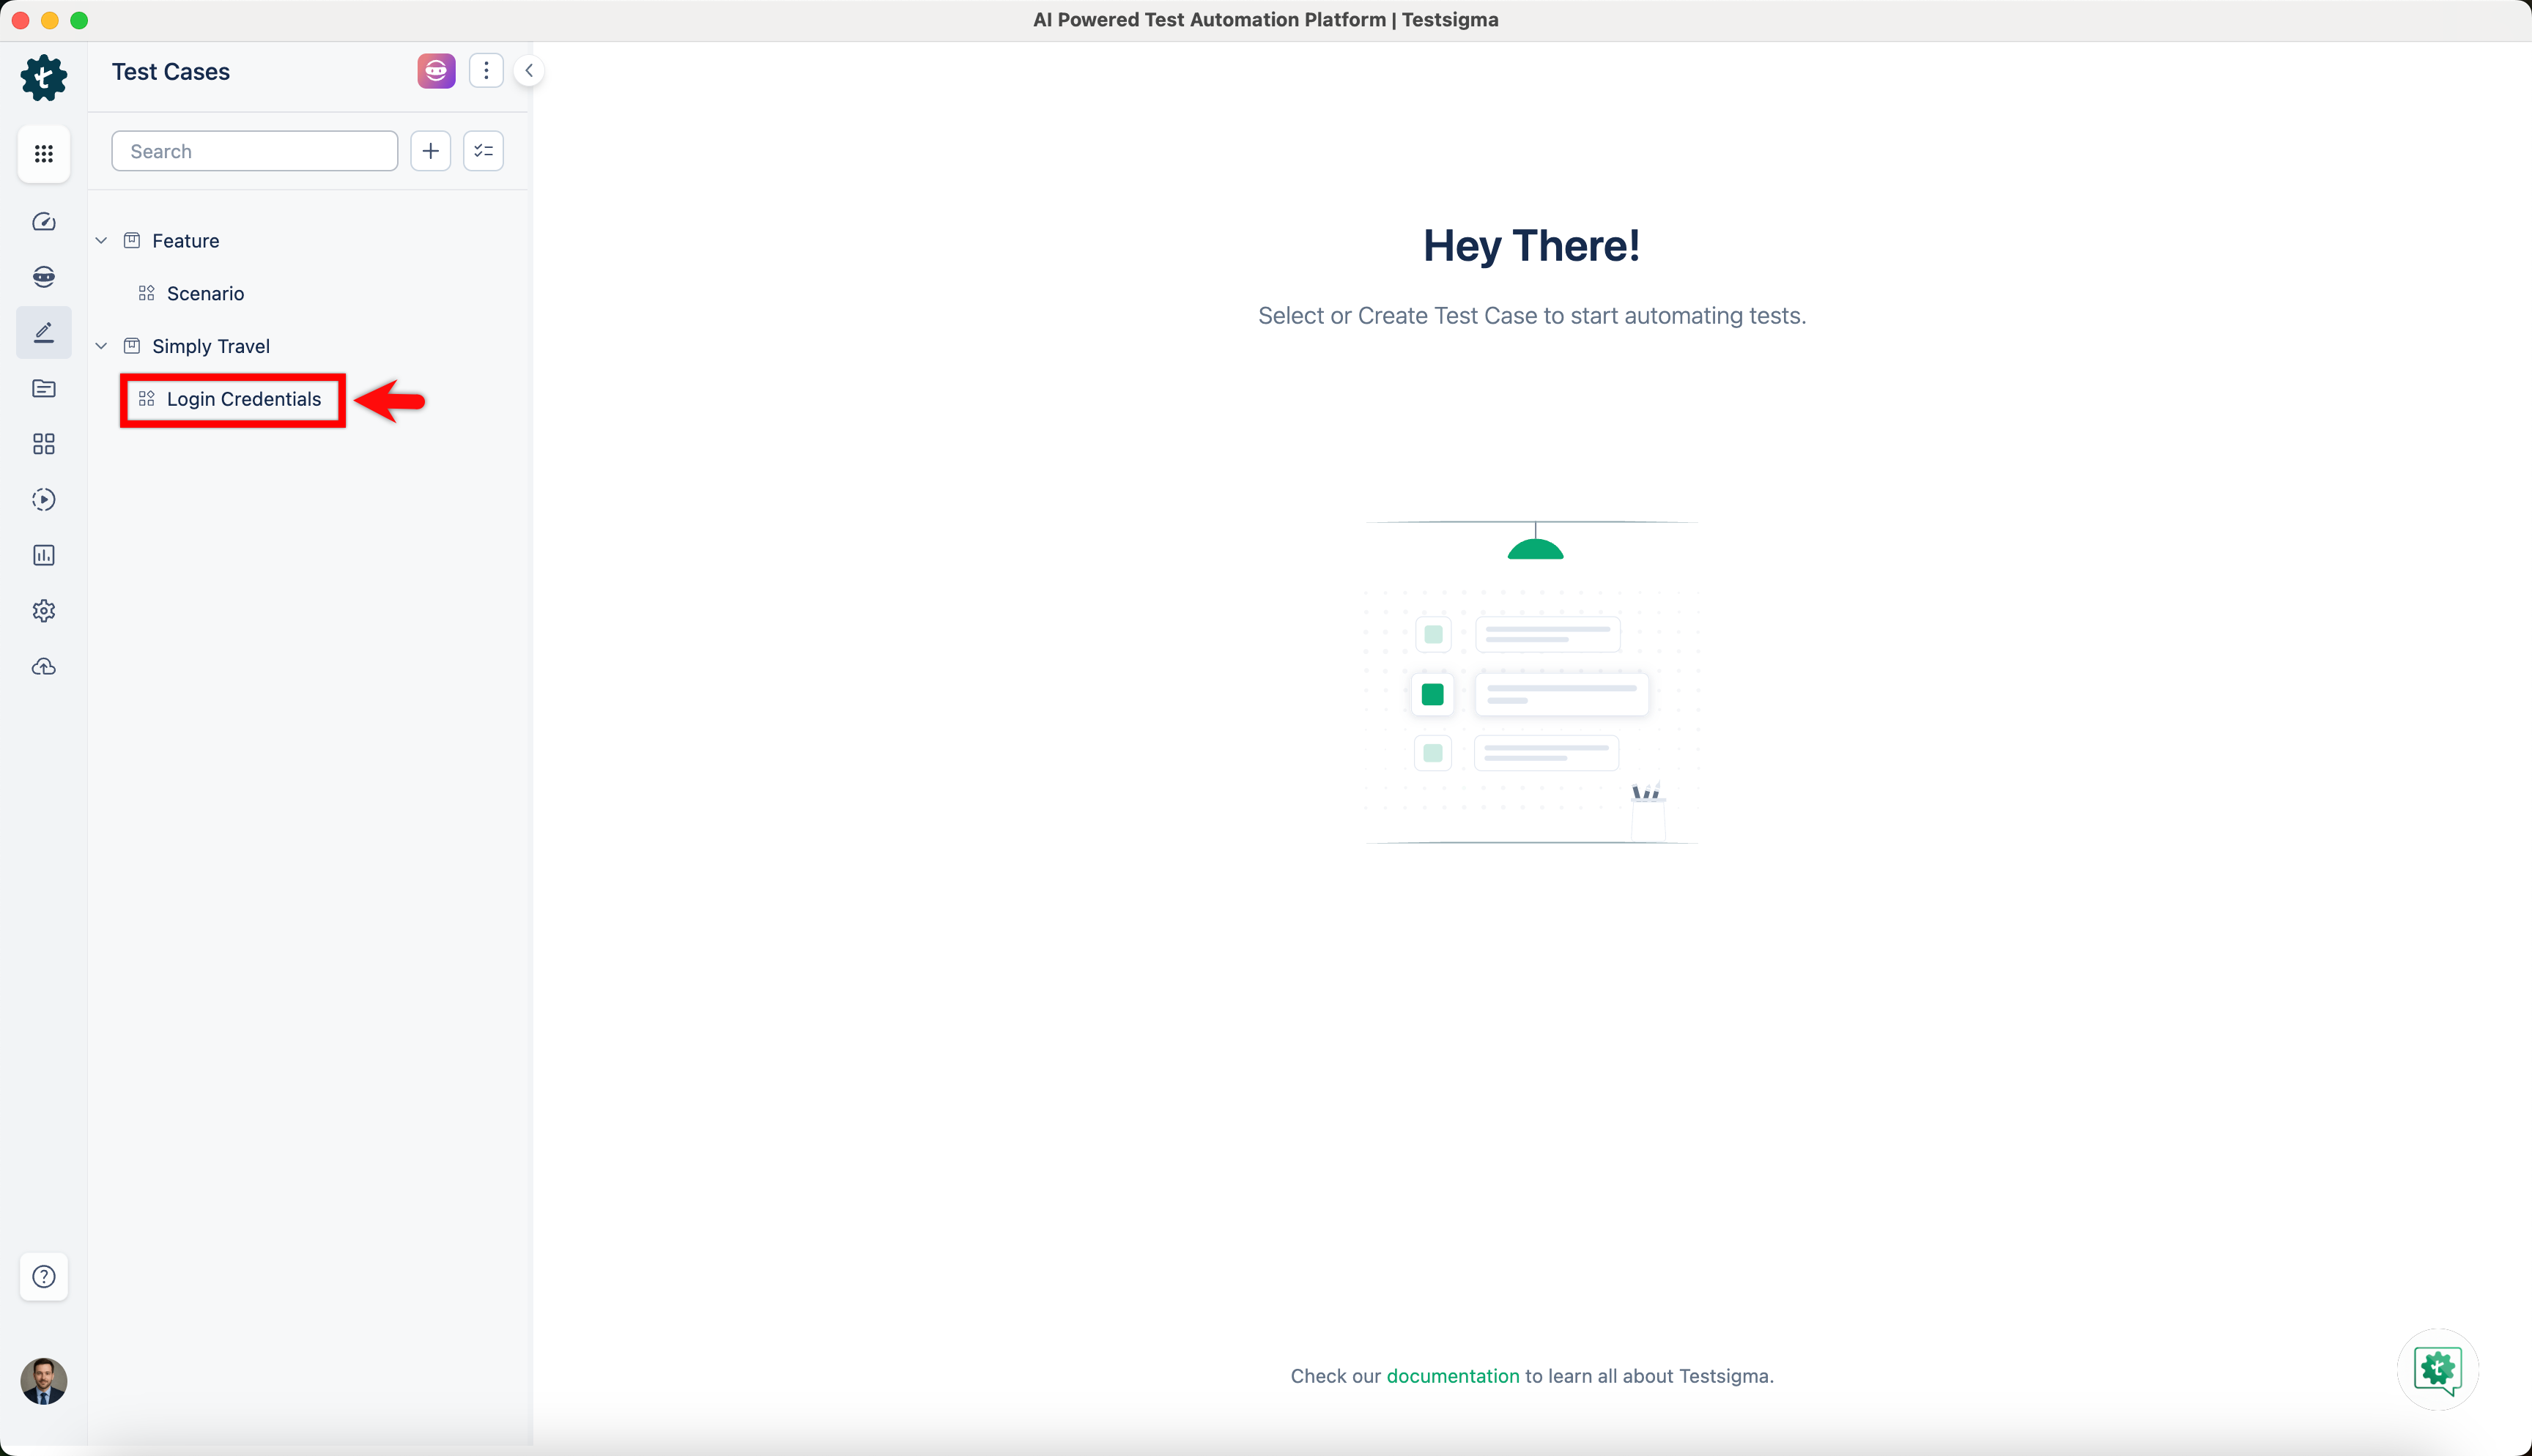
-
Click < to minimize the Features & Scenarios section.