Salesforce Testing
Creating a Connected App
Creating a connected app is important to link external applications and the Salesforce ecosystem. With a connected app, you can integrate APIs, enable single sign-on (SSO), and build applications. This article discusses how to create a connected app in Salesforce.
Prerequisites
- Before you begin, ensure you have a Salesforce organization setup.
Steps to Enable Connected Apps
Section titled “Steps to Enable Connected Apps”-
Log into your Salesforce instance.
-
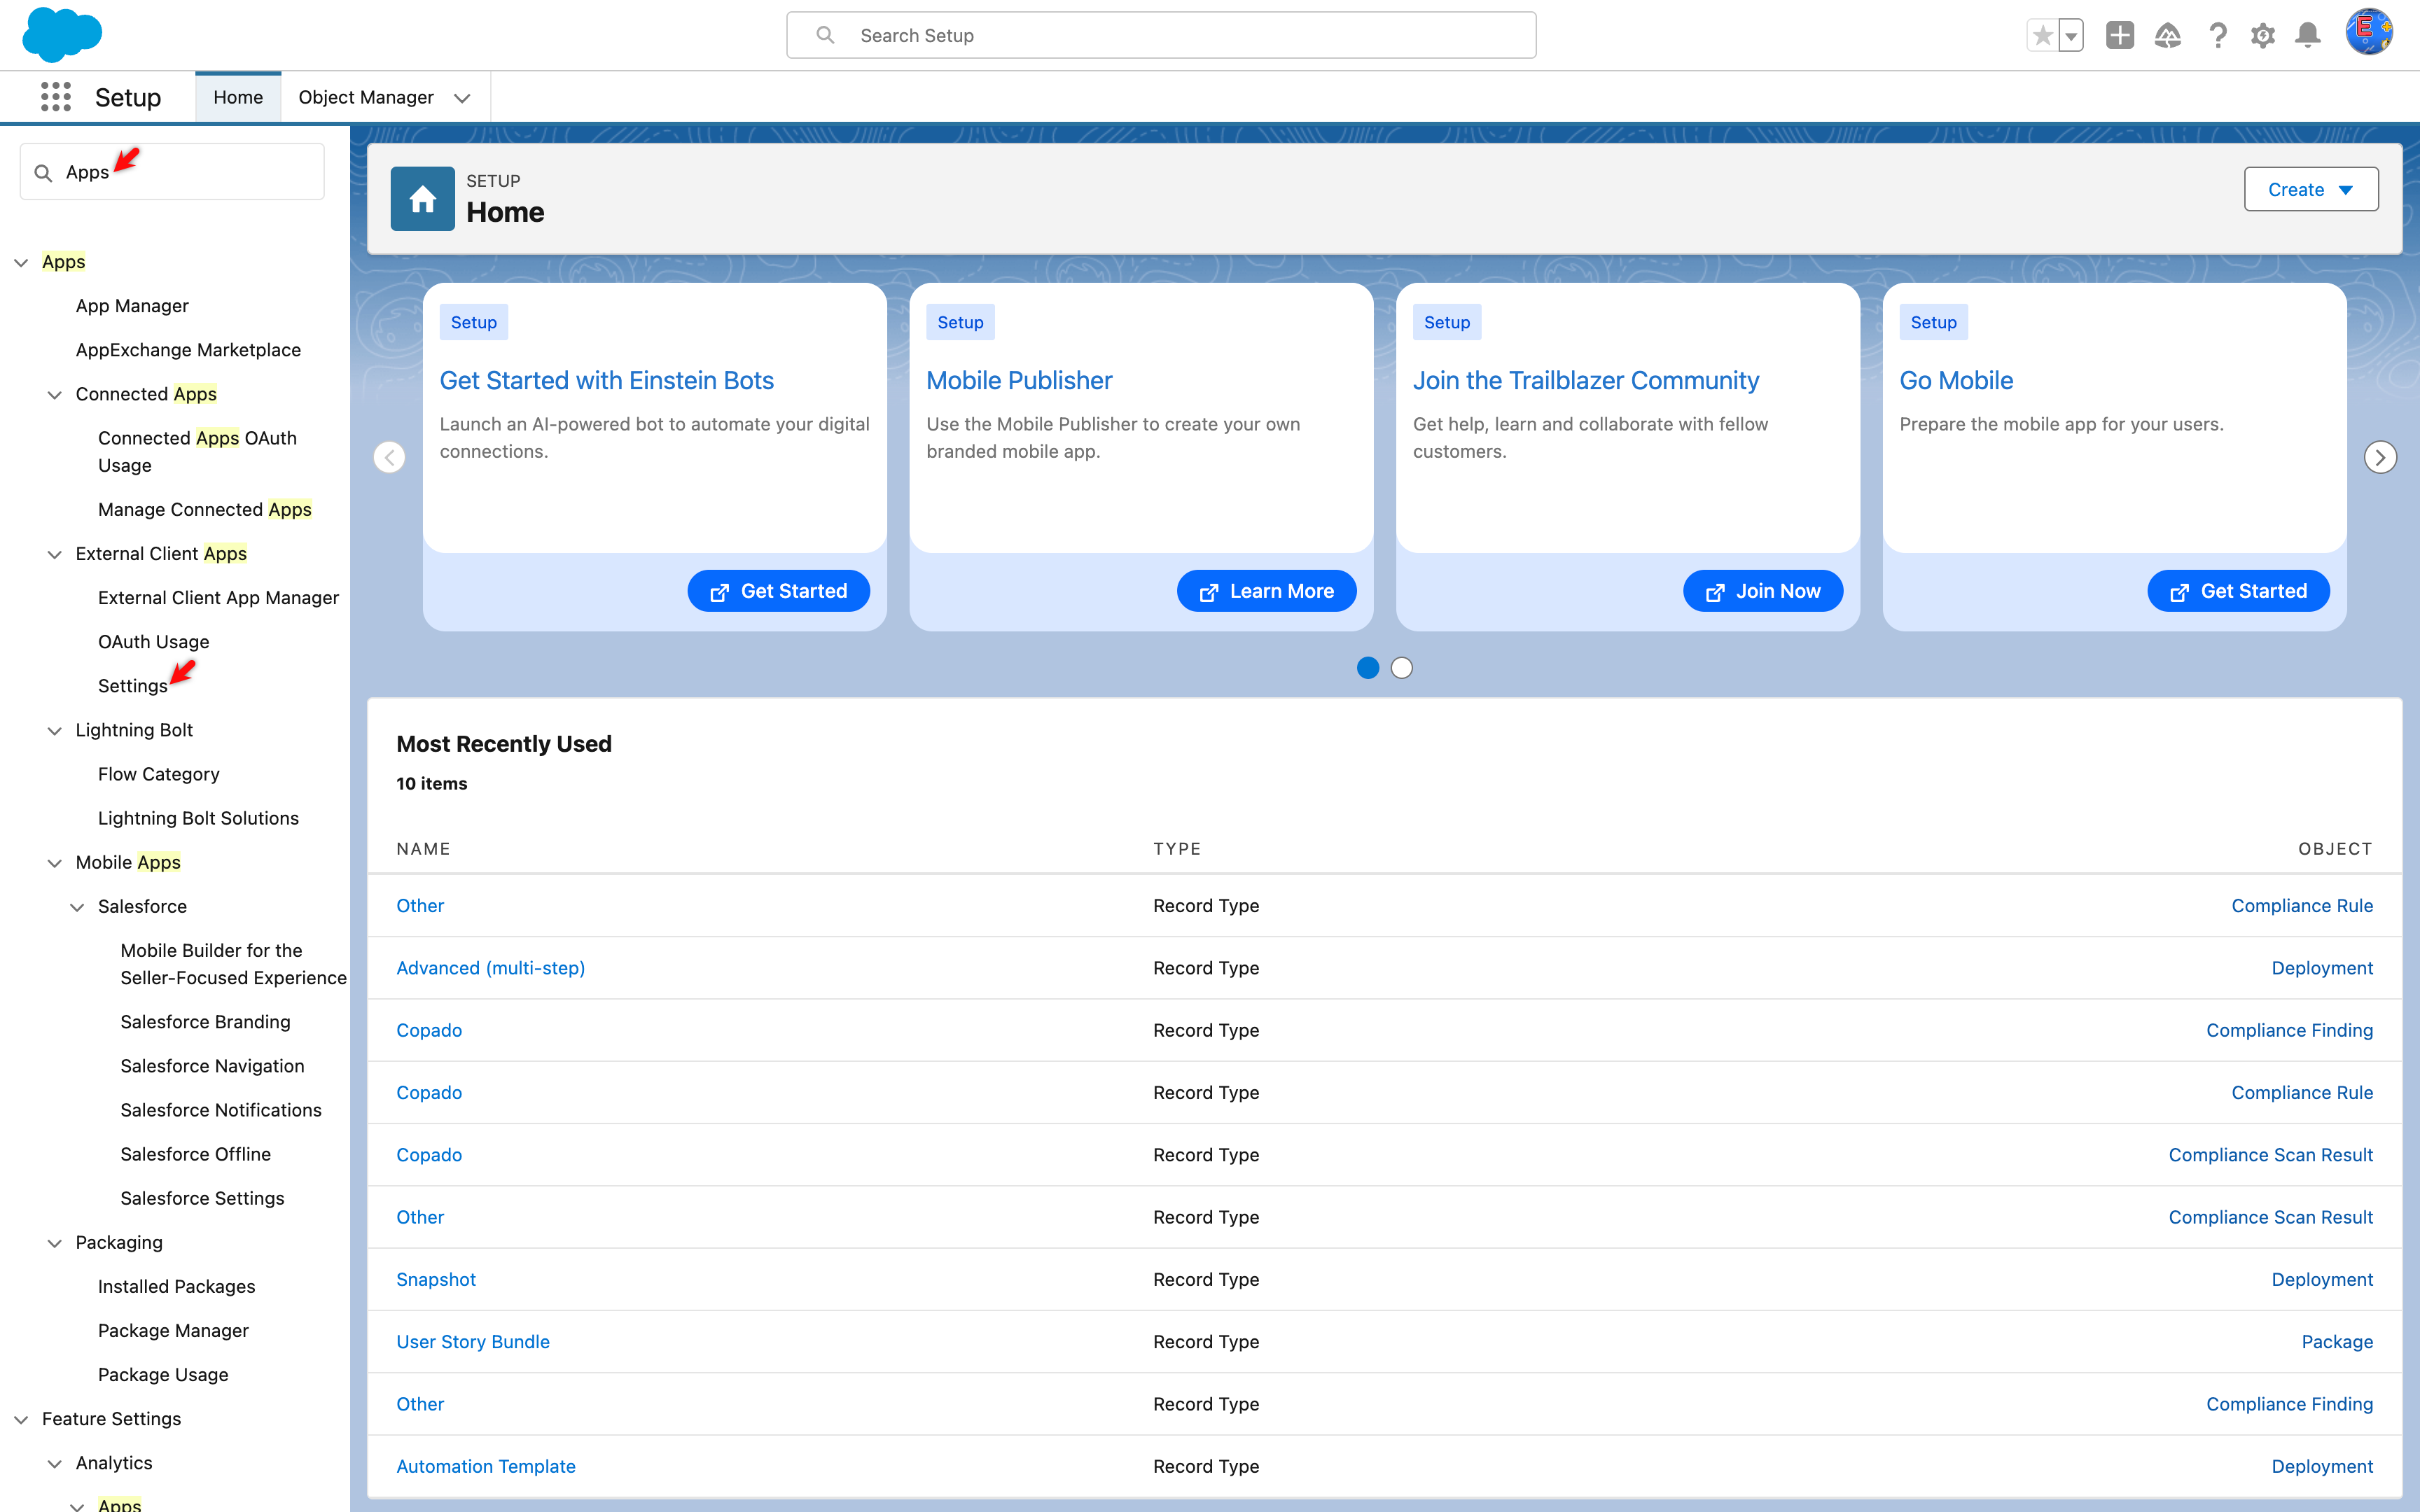
On the Setup page, enter Apps in the quick finder, and click Settings under External Client Apps.
-
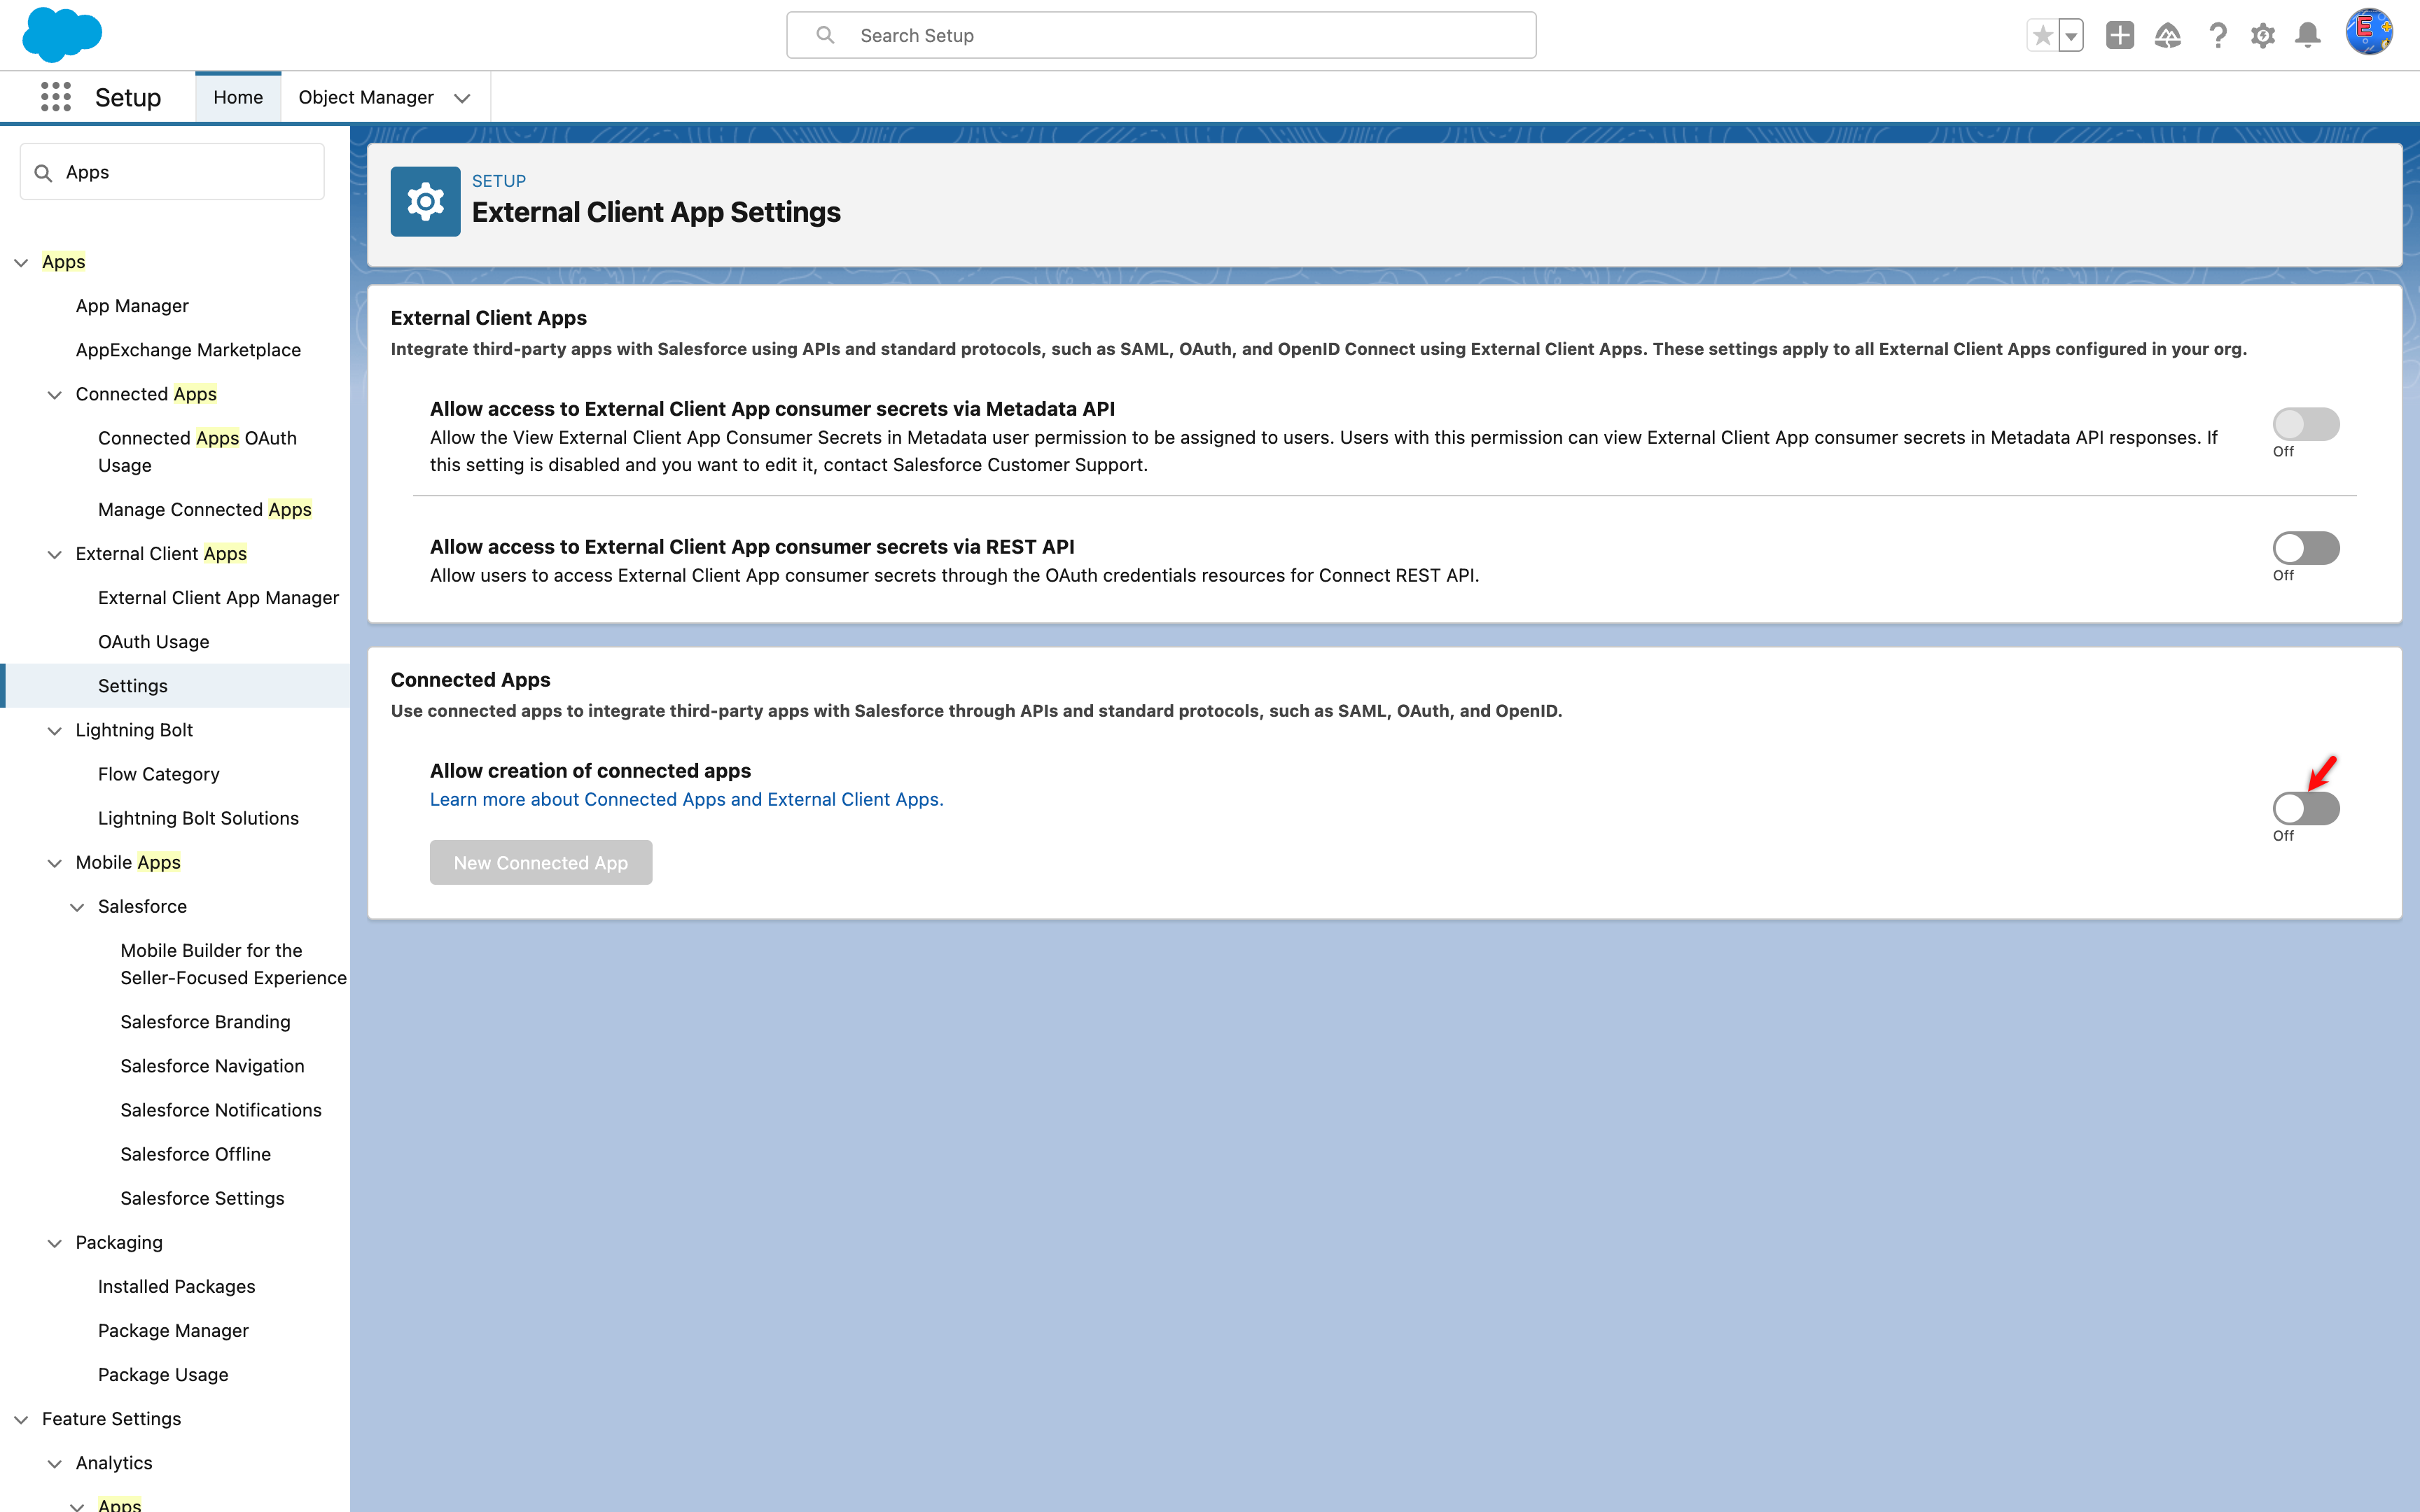
On the External Client App Settings page, under the Connected Apps section, enable the Allow creation of connected apps toggle.
-
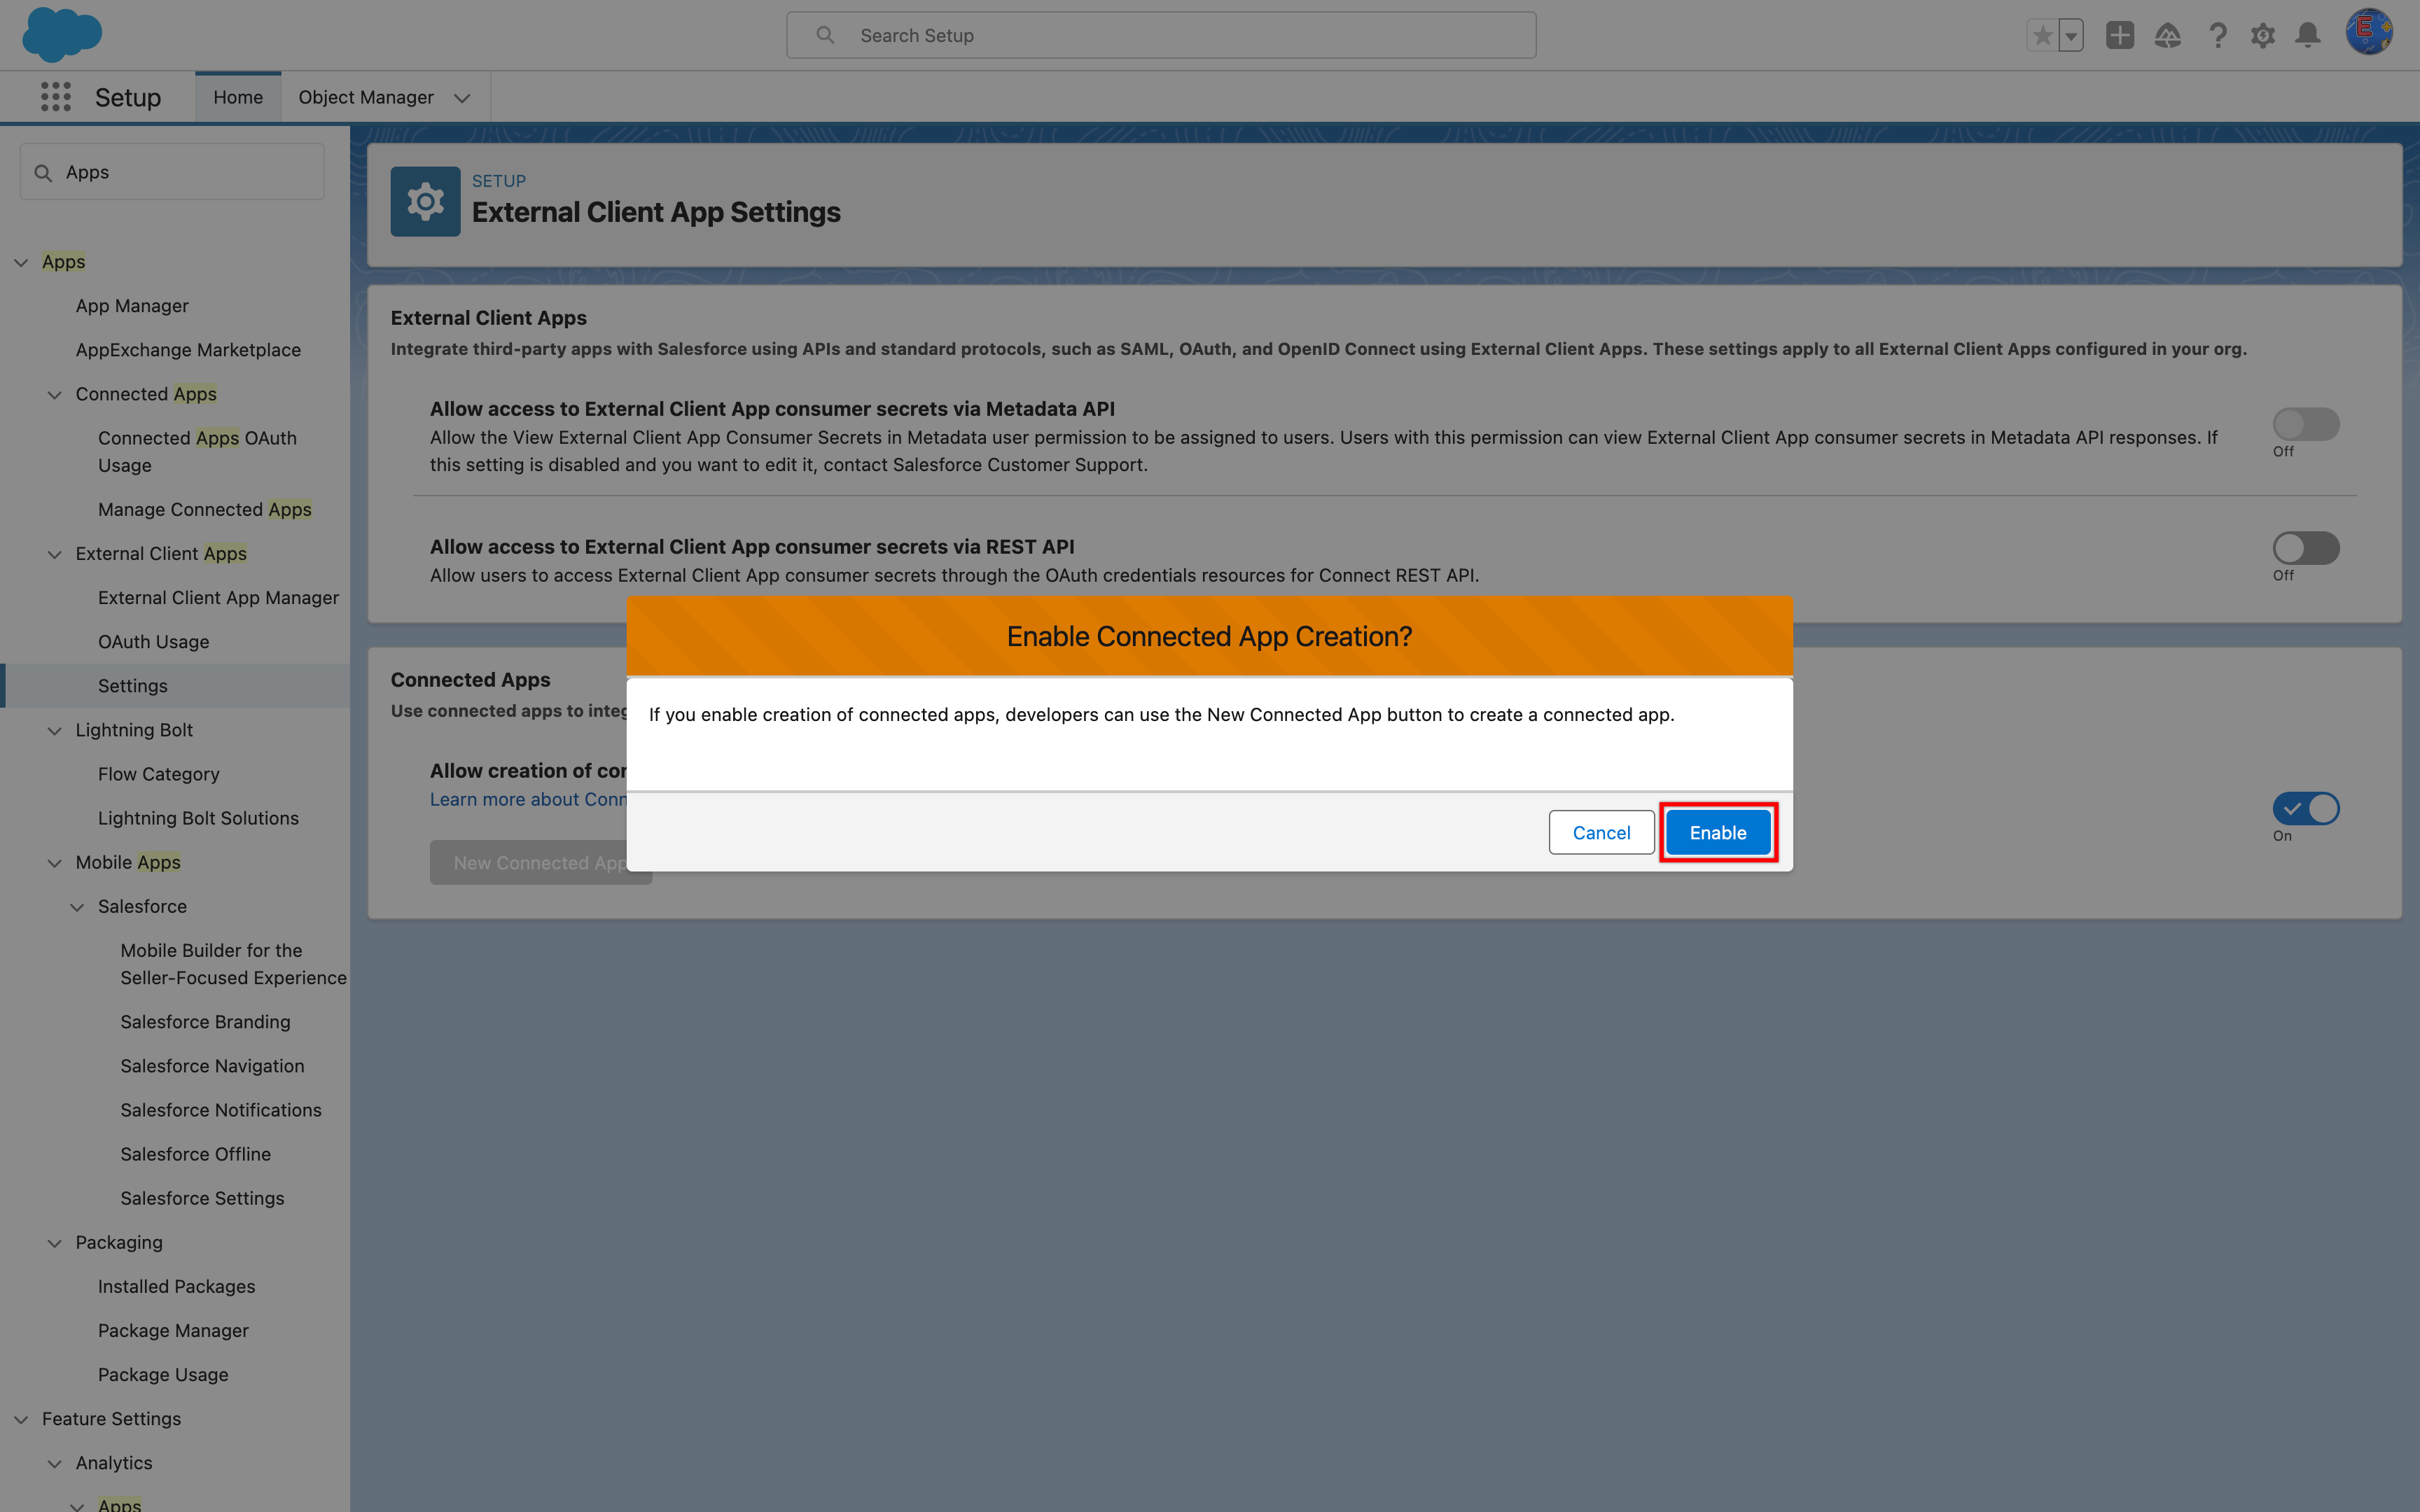
On the Enable Connected Apps Connection? dialog, click Enable.
Steps to Create a Connected App
Section titled “Steps to Create a Connected App”-
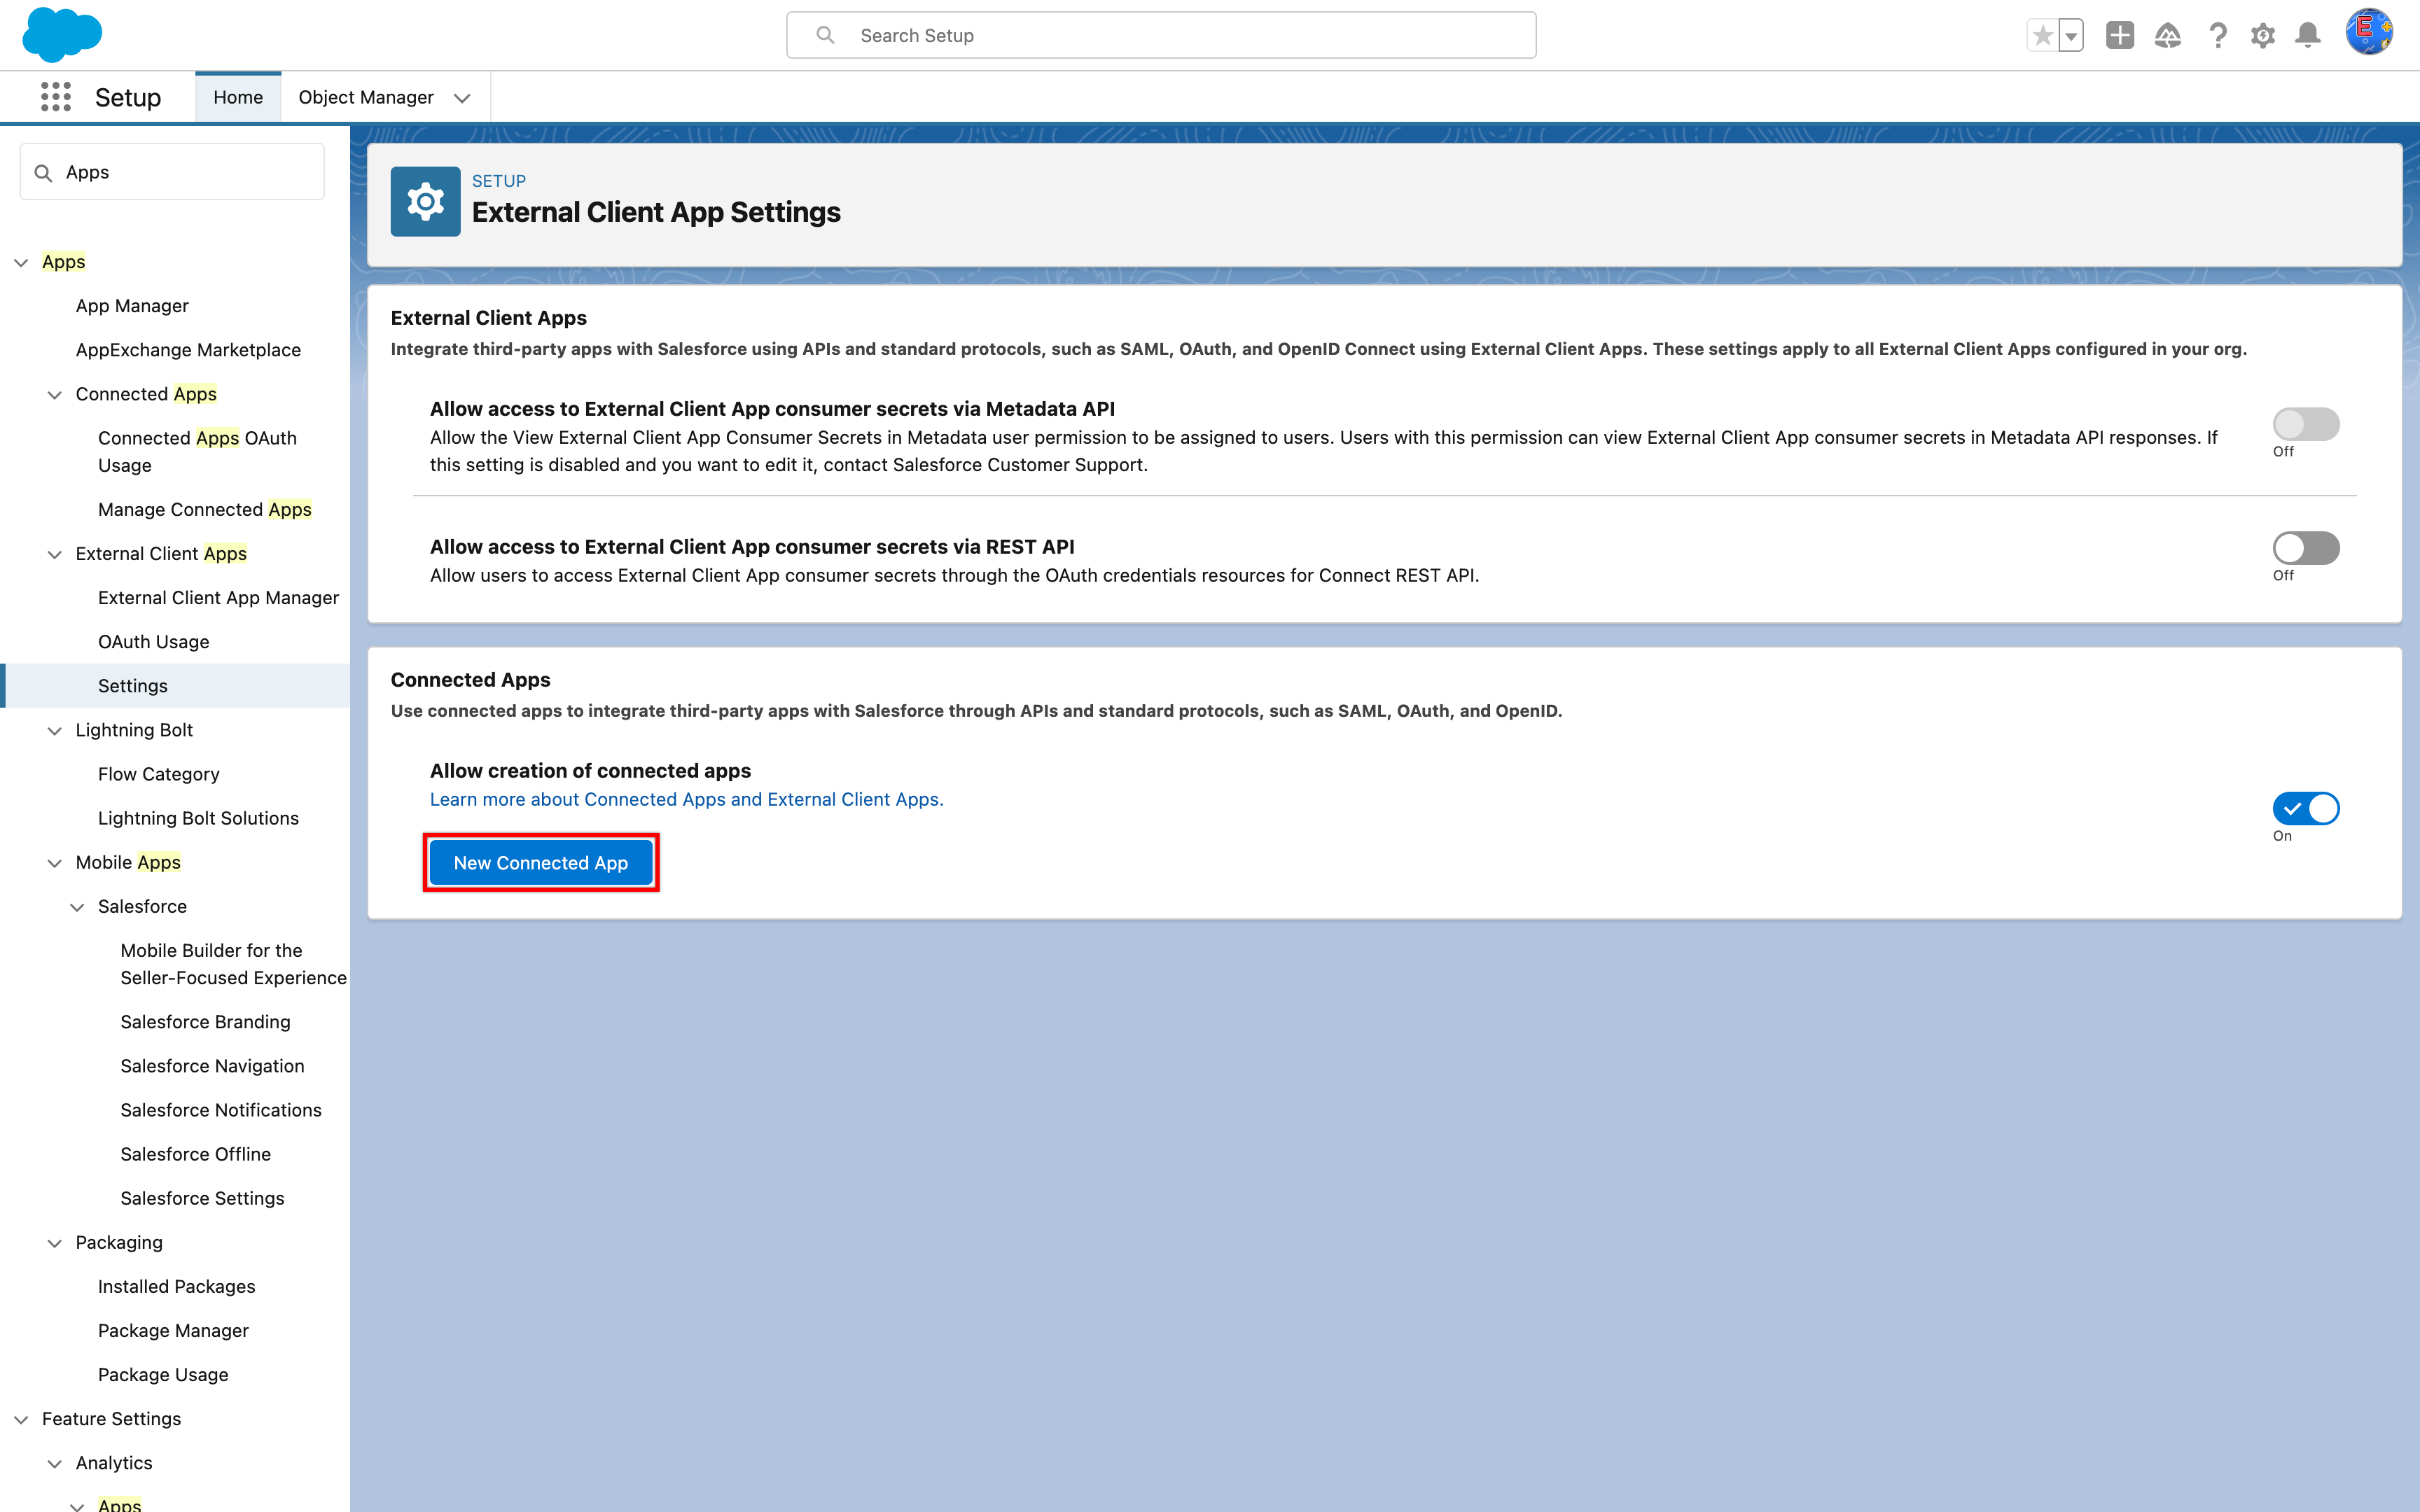
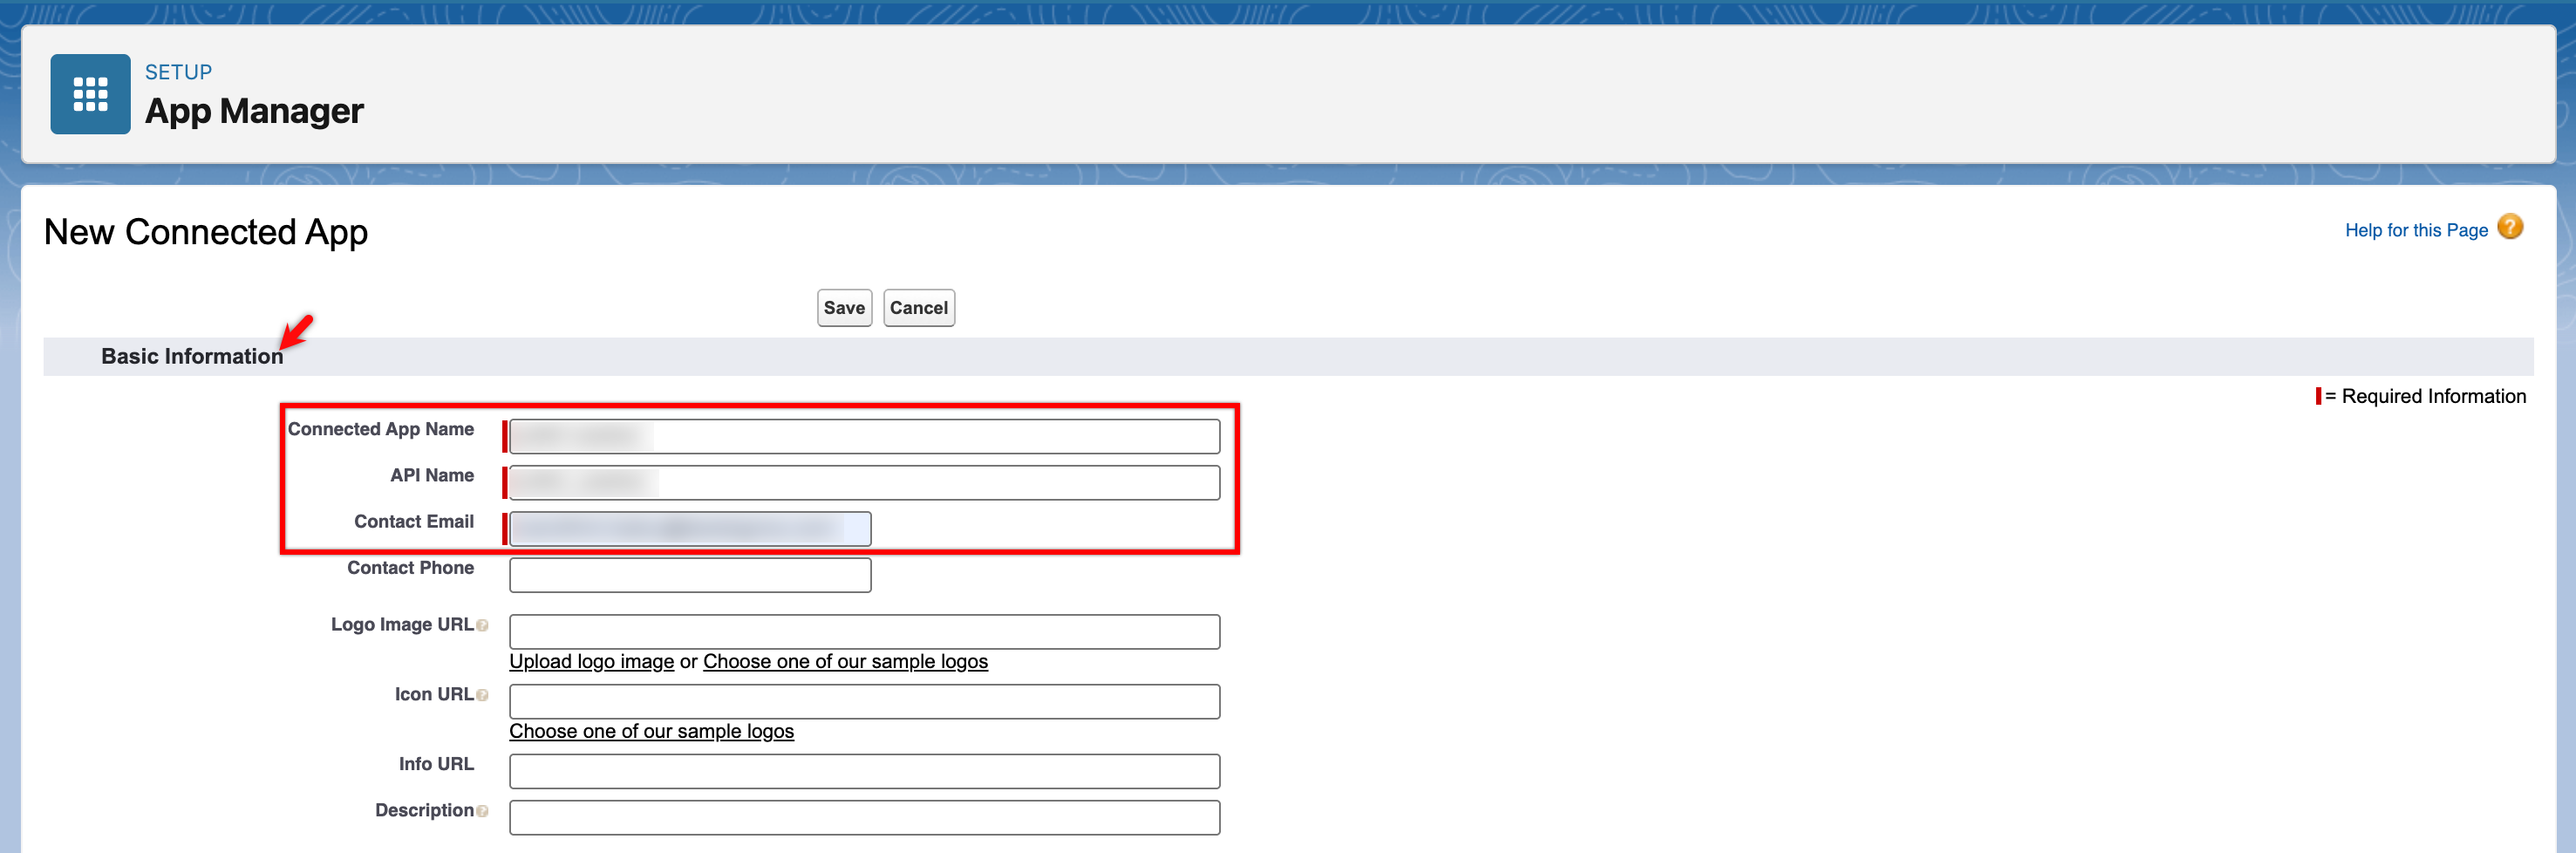
On the External Client App Settings page, click New Connected App.
-
In the Basic Information section, enter Connected App Name, API Name, and Contact Email.
-
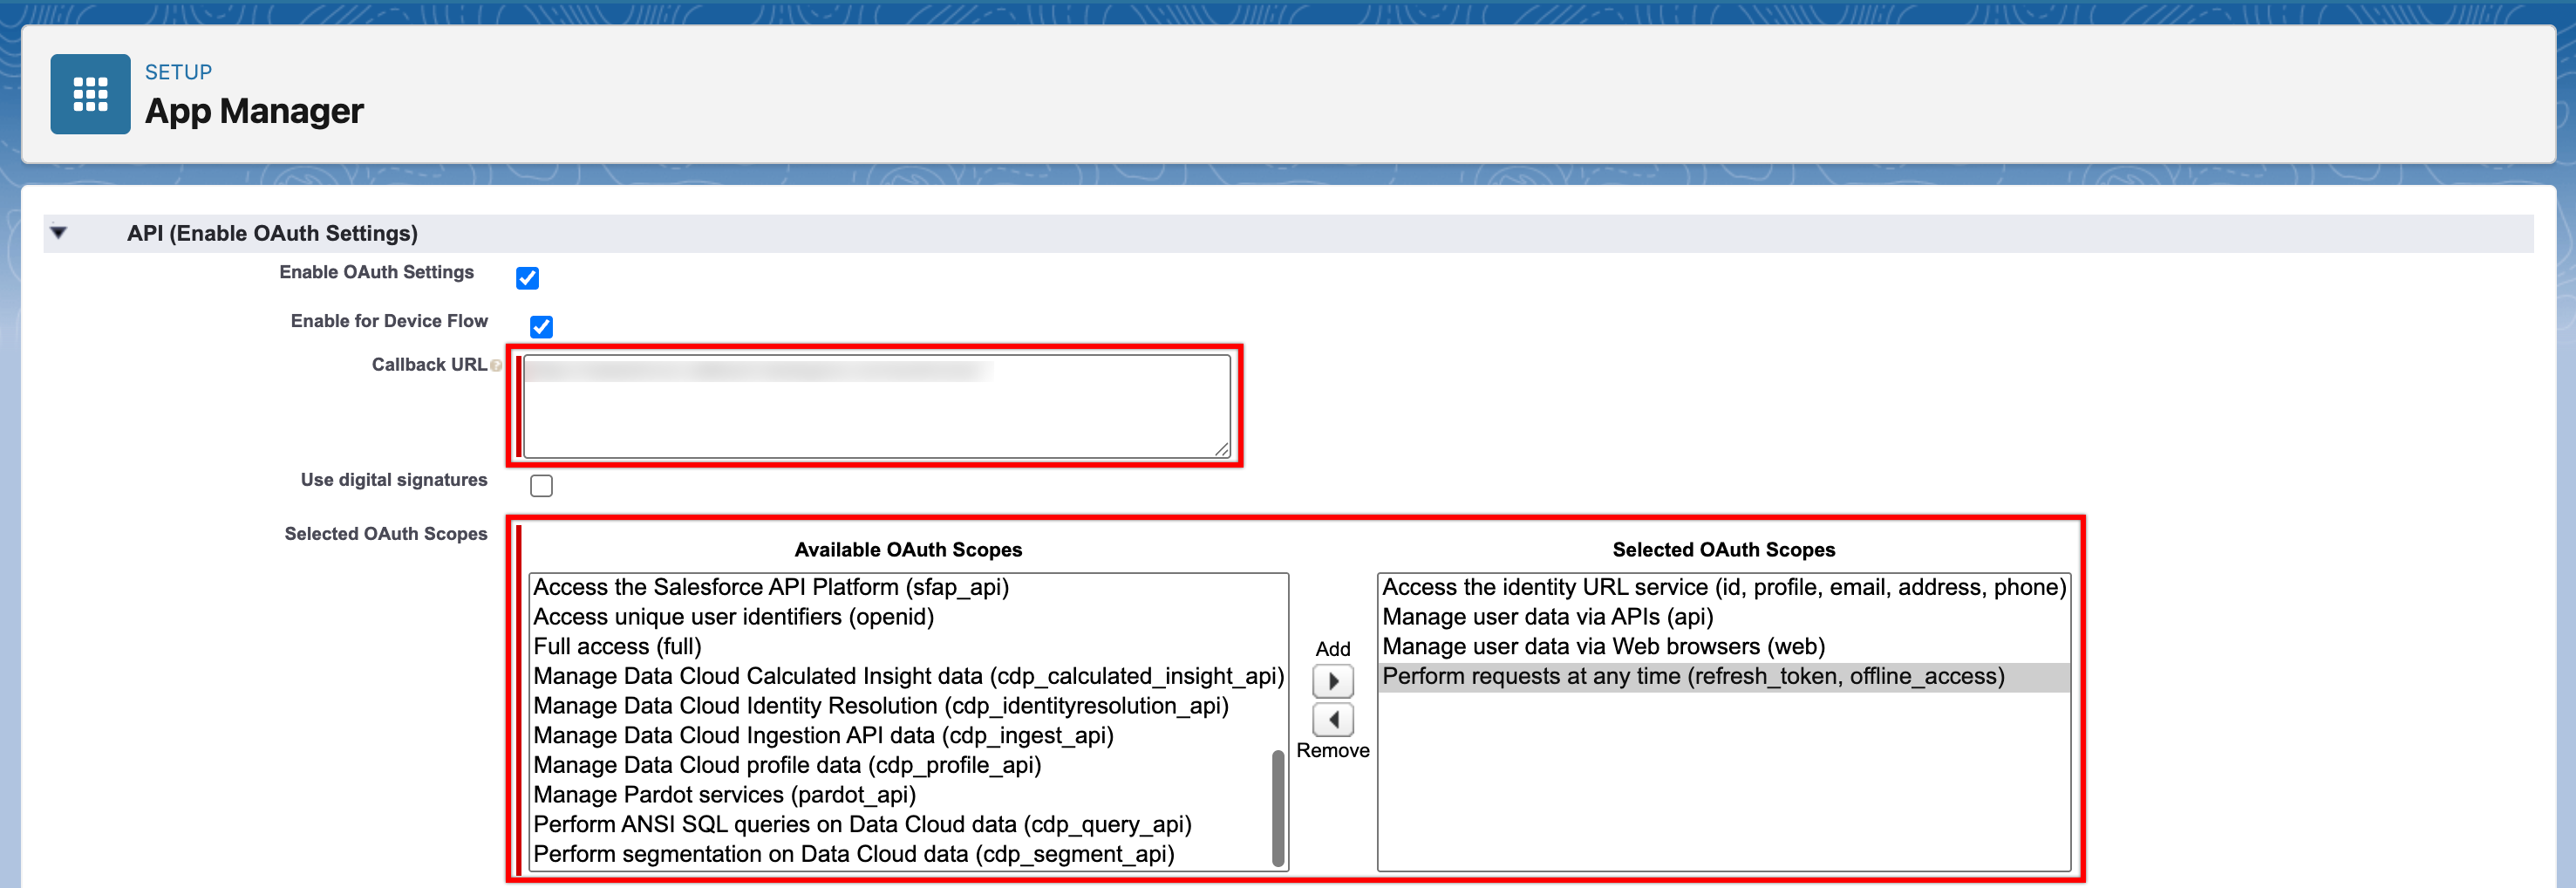
In the API section, select the Enable OAuth Settings checkbox to set Callback URL and Selected OAuth Scopes. The Selected OAuth Scopes are mandatory in the Connected App to connect & download the metadata.
- Use this Callback URL: https://salesforce-callback.testsigma.com/authorize/
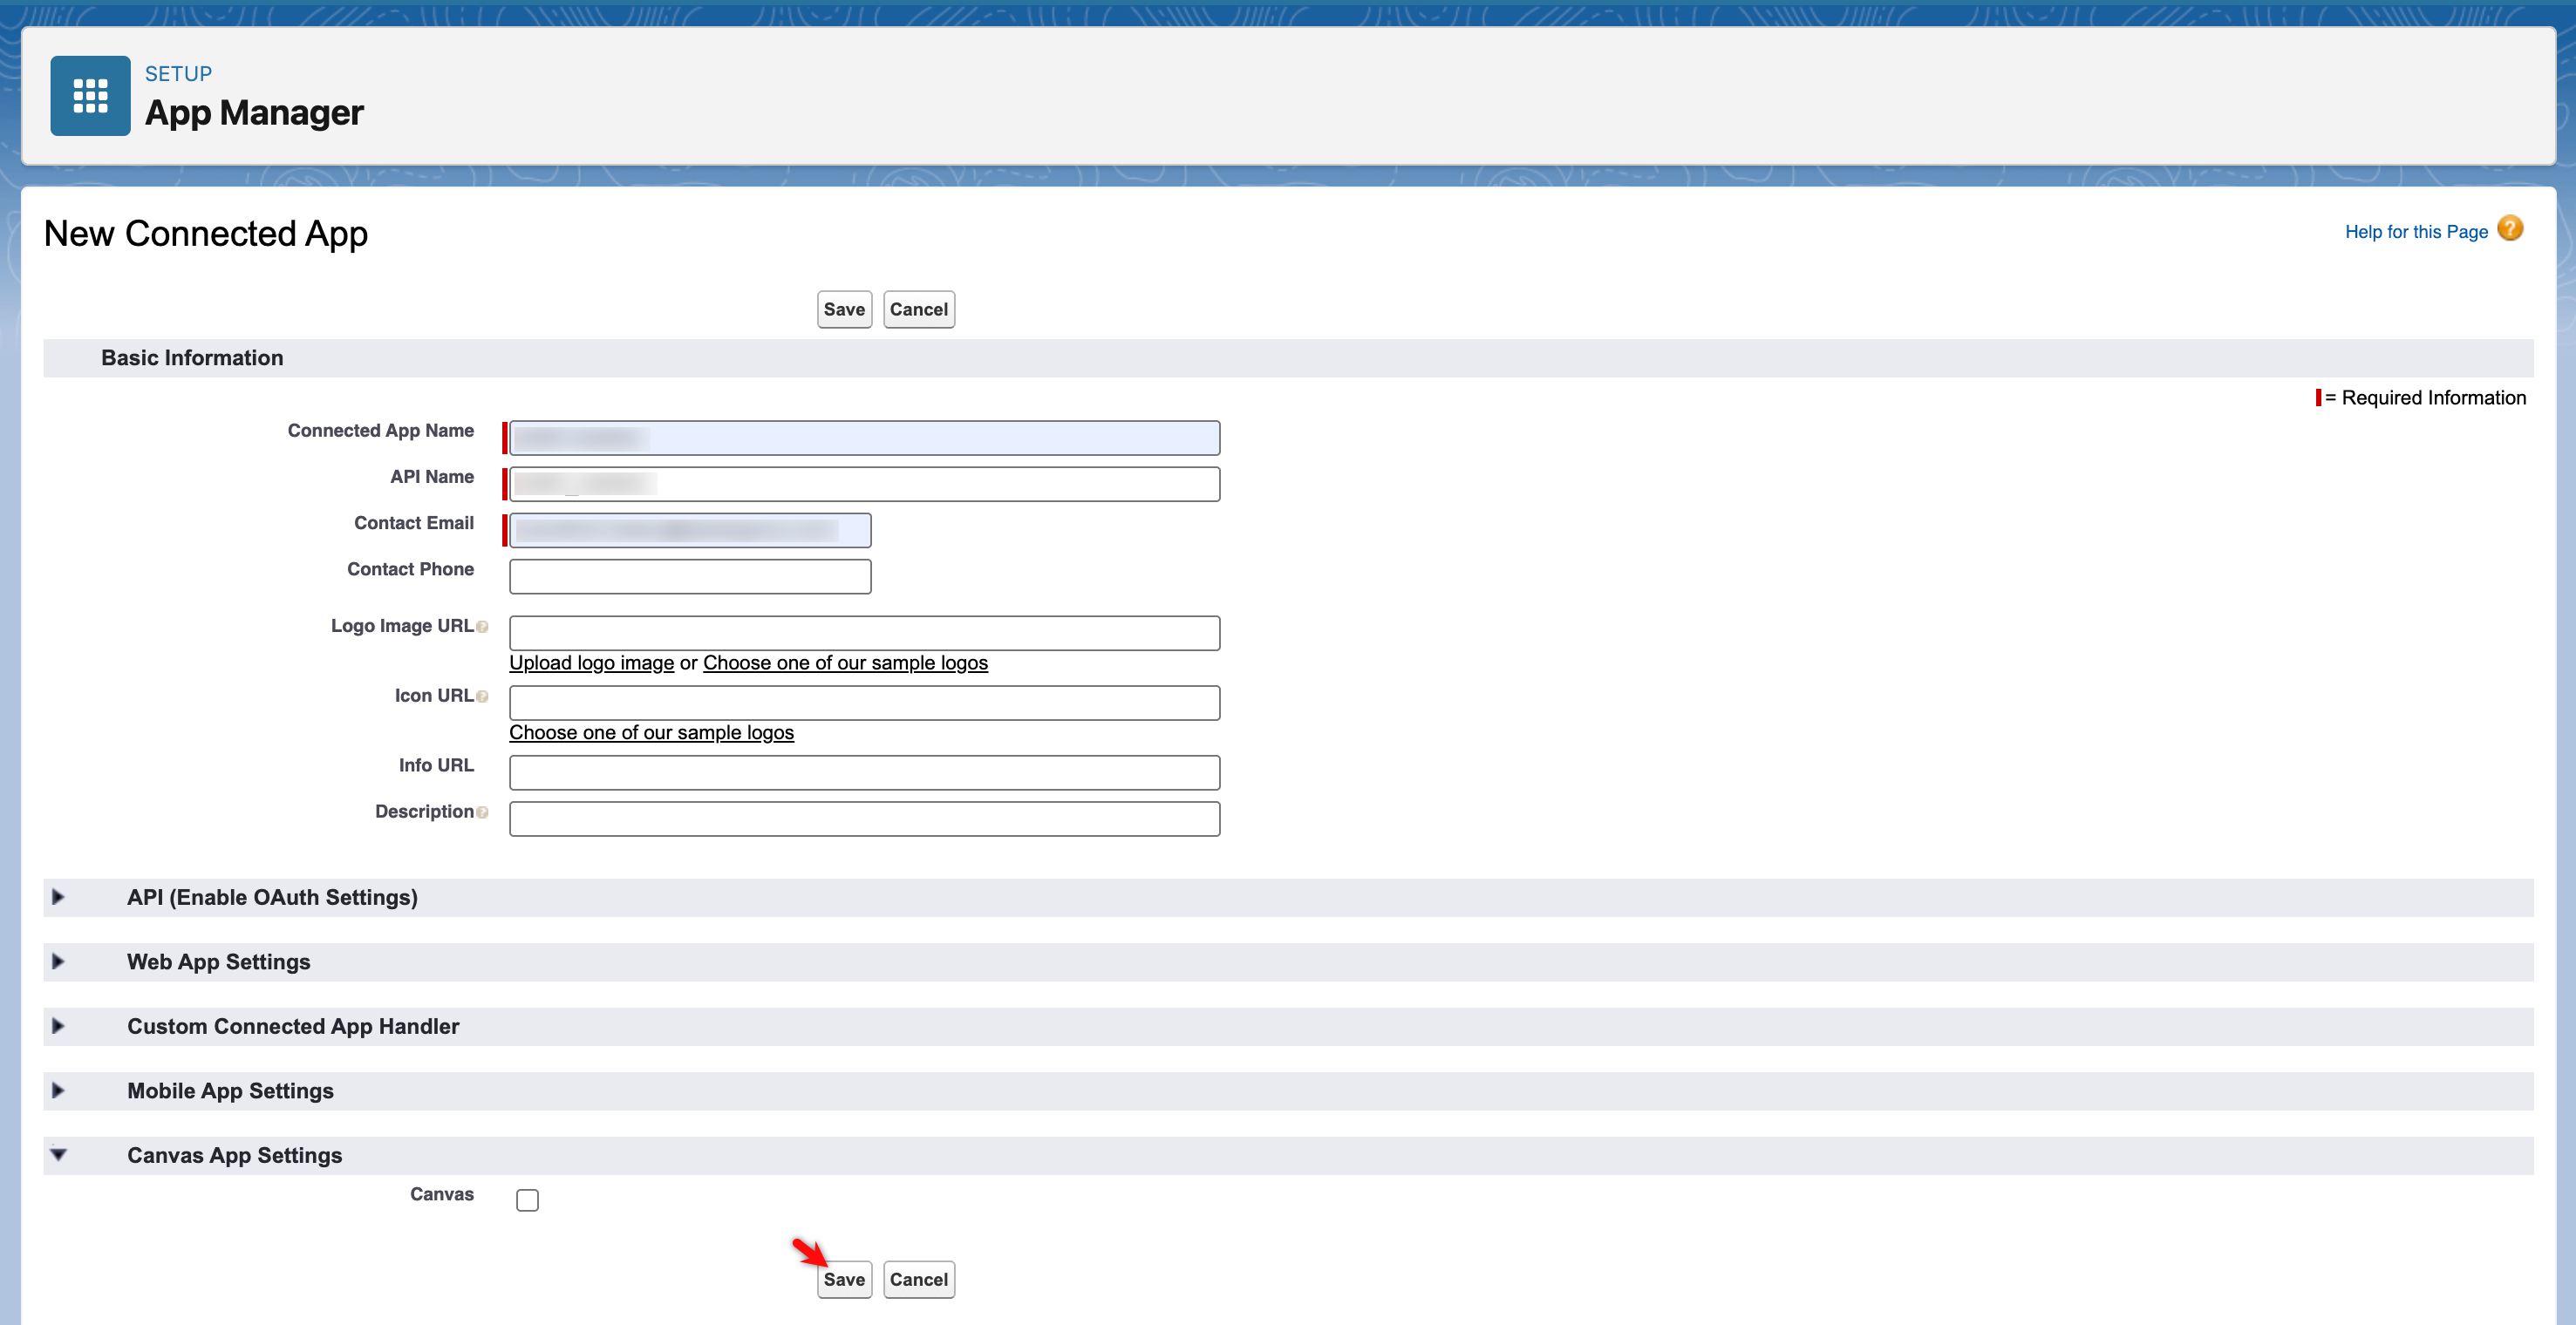
- Click on Save.
Fetch Consumer Details
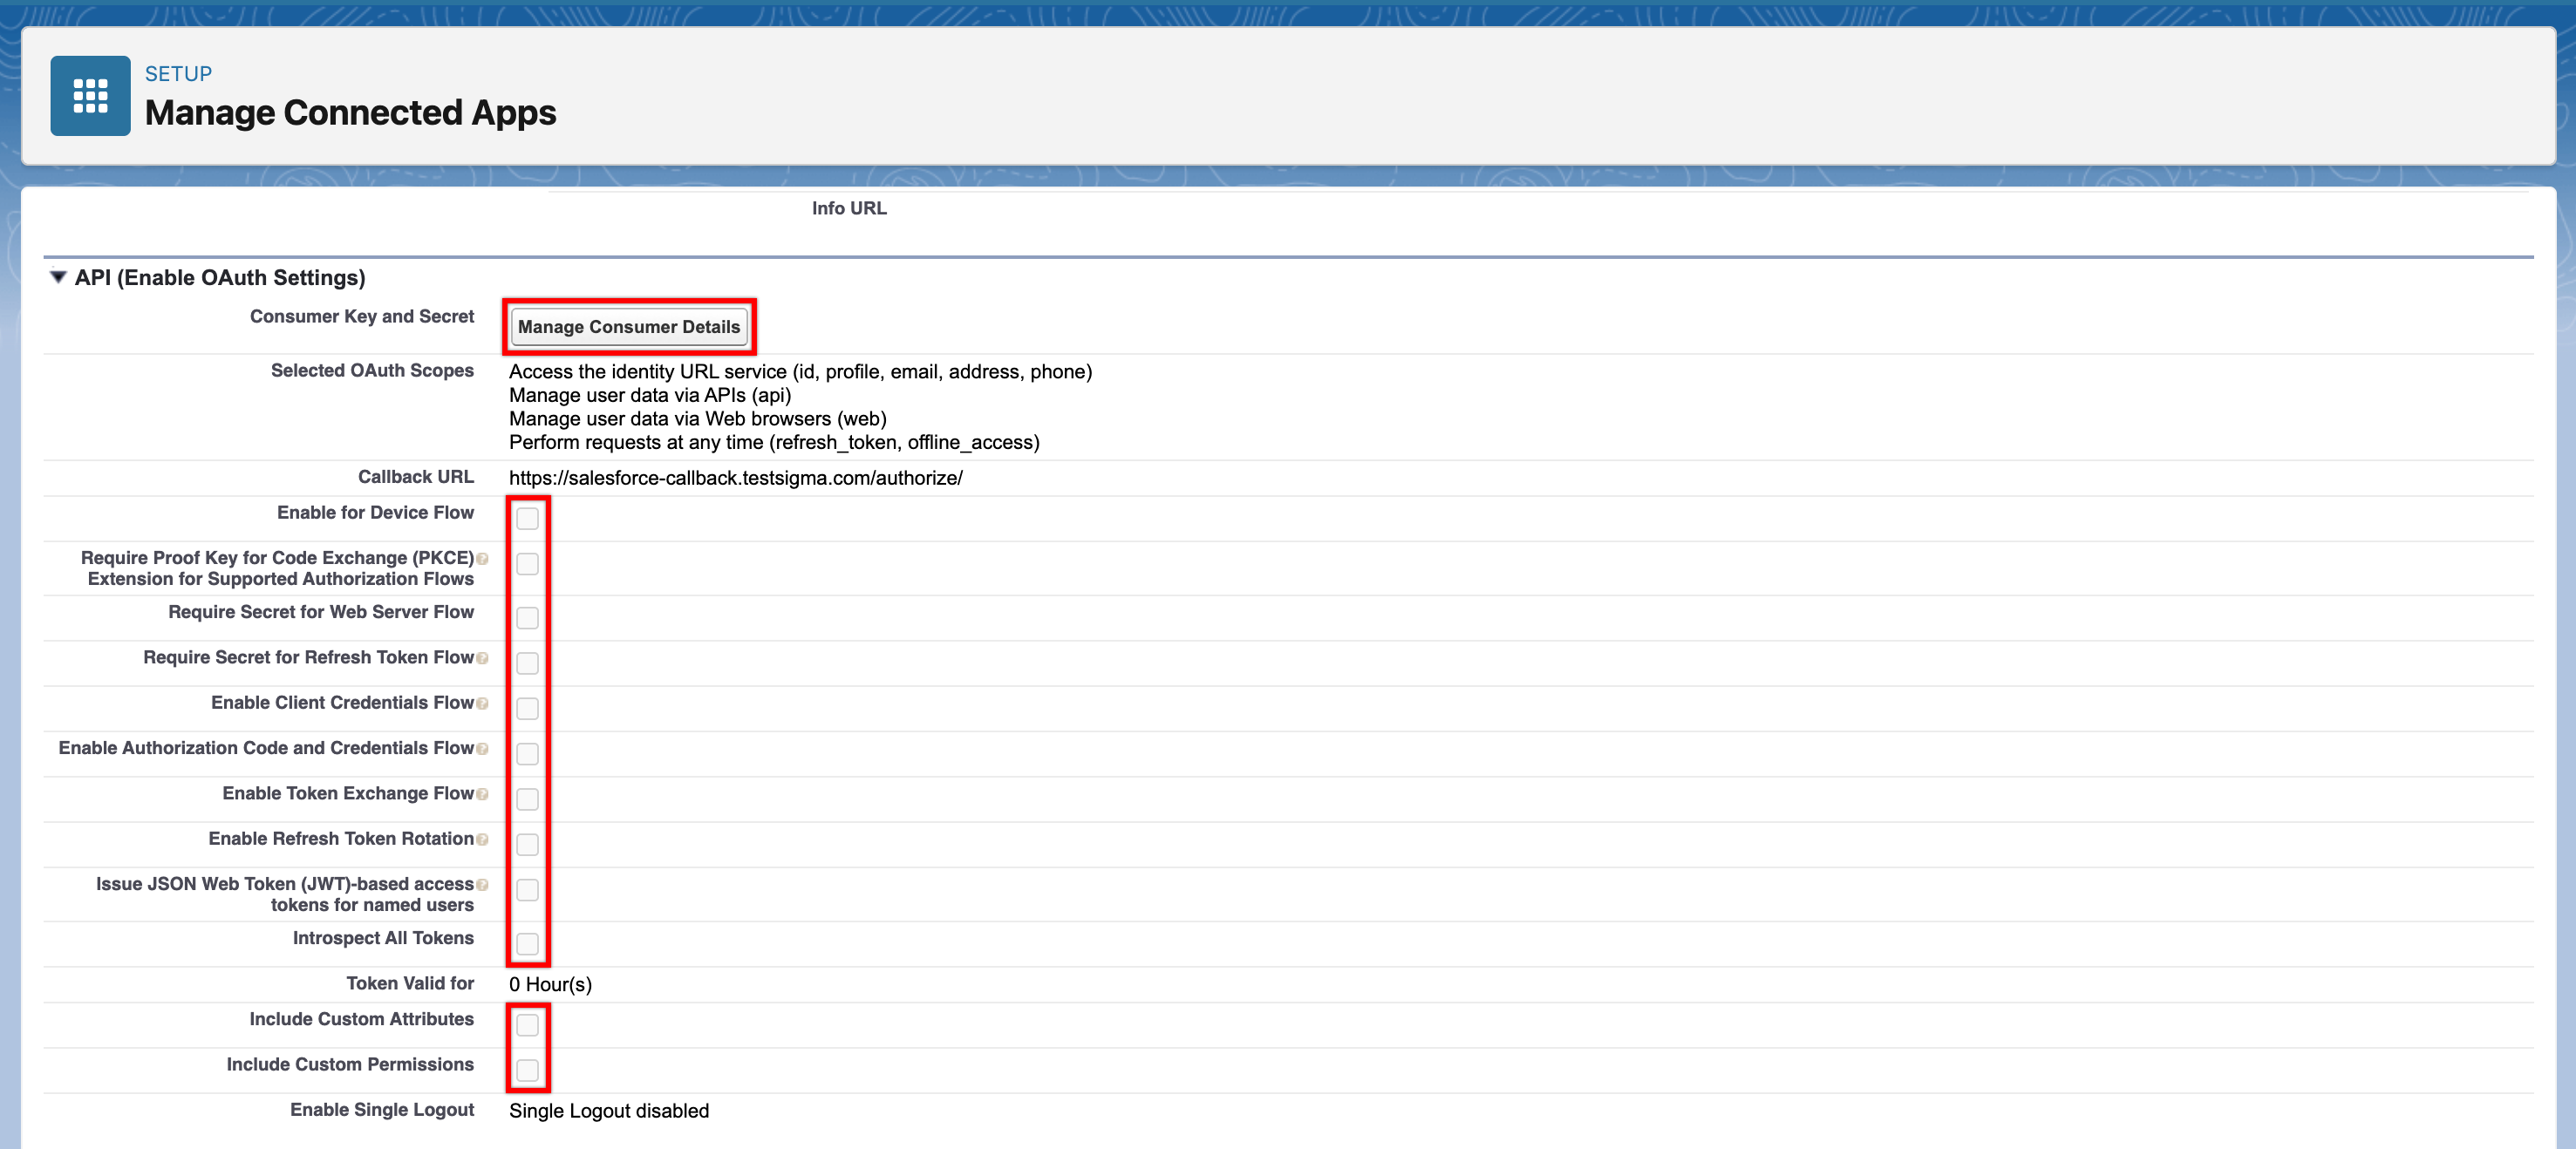
Section titled “Fetch Consumer Details”- Edit the connected app and click on Manage Consumer Details. This will open a new window.
-
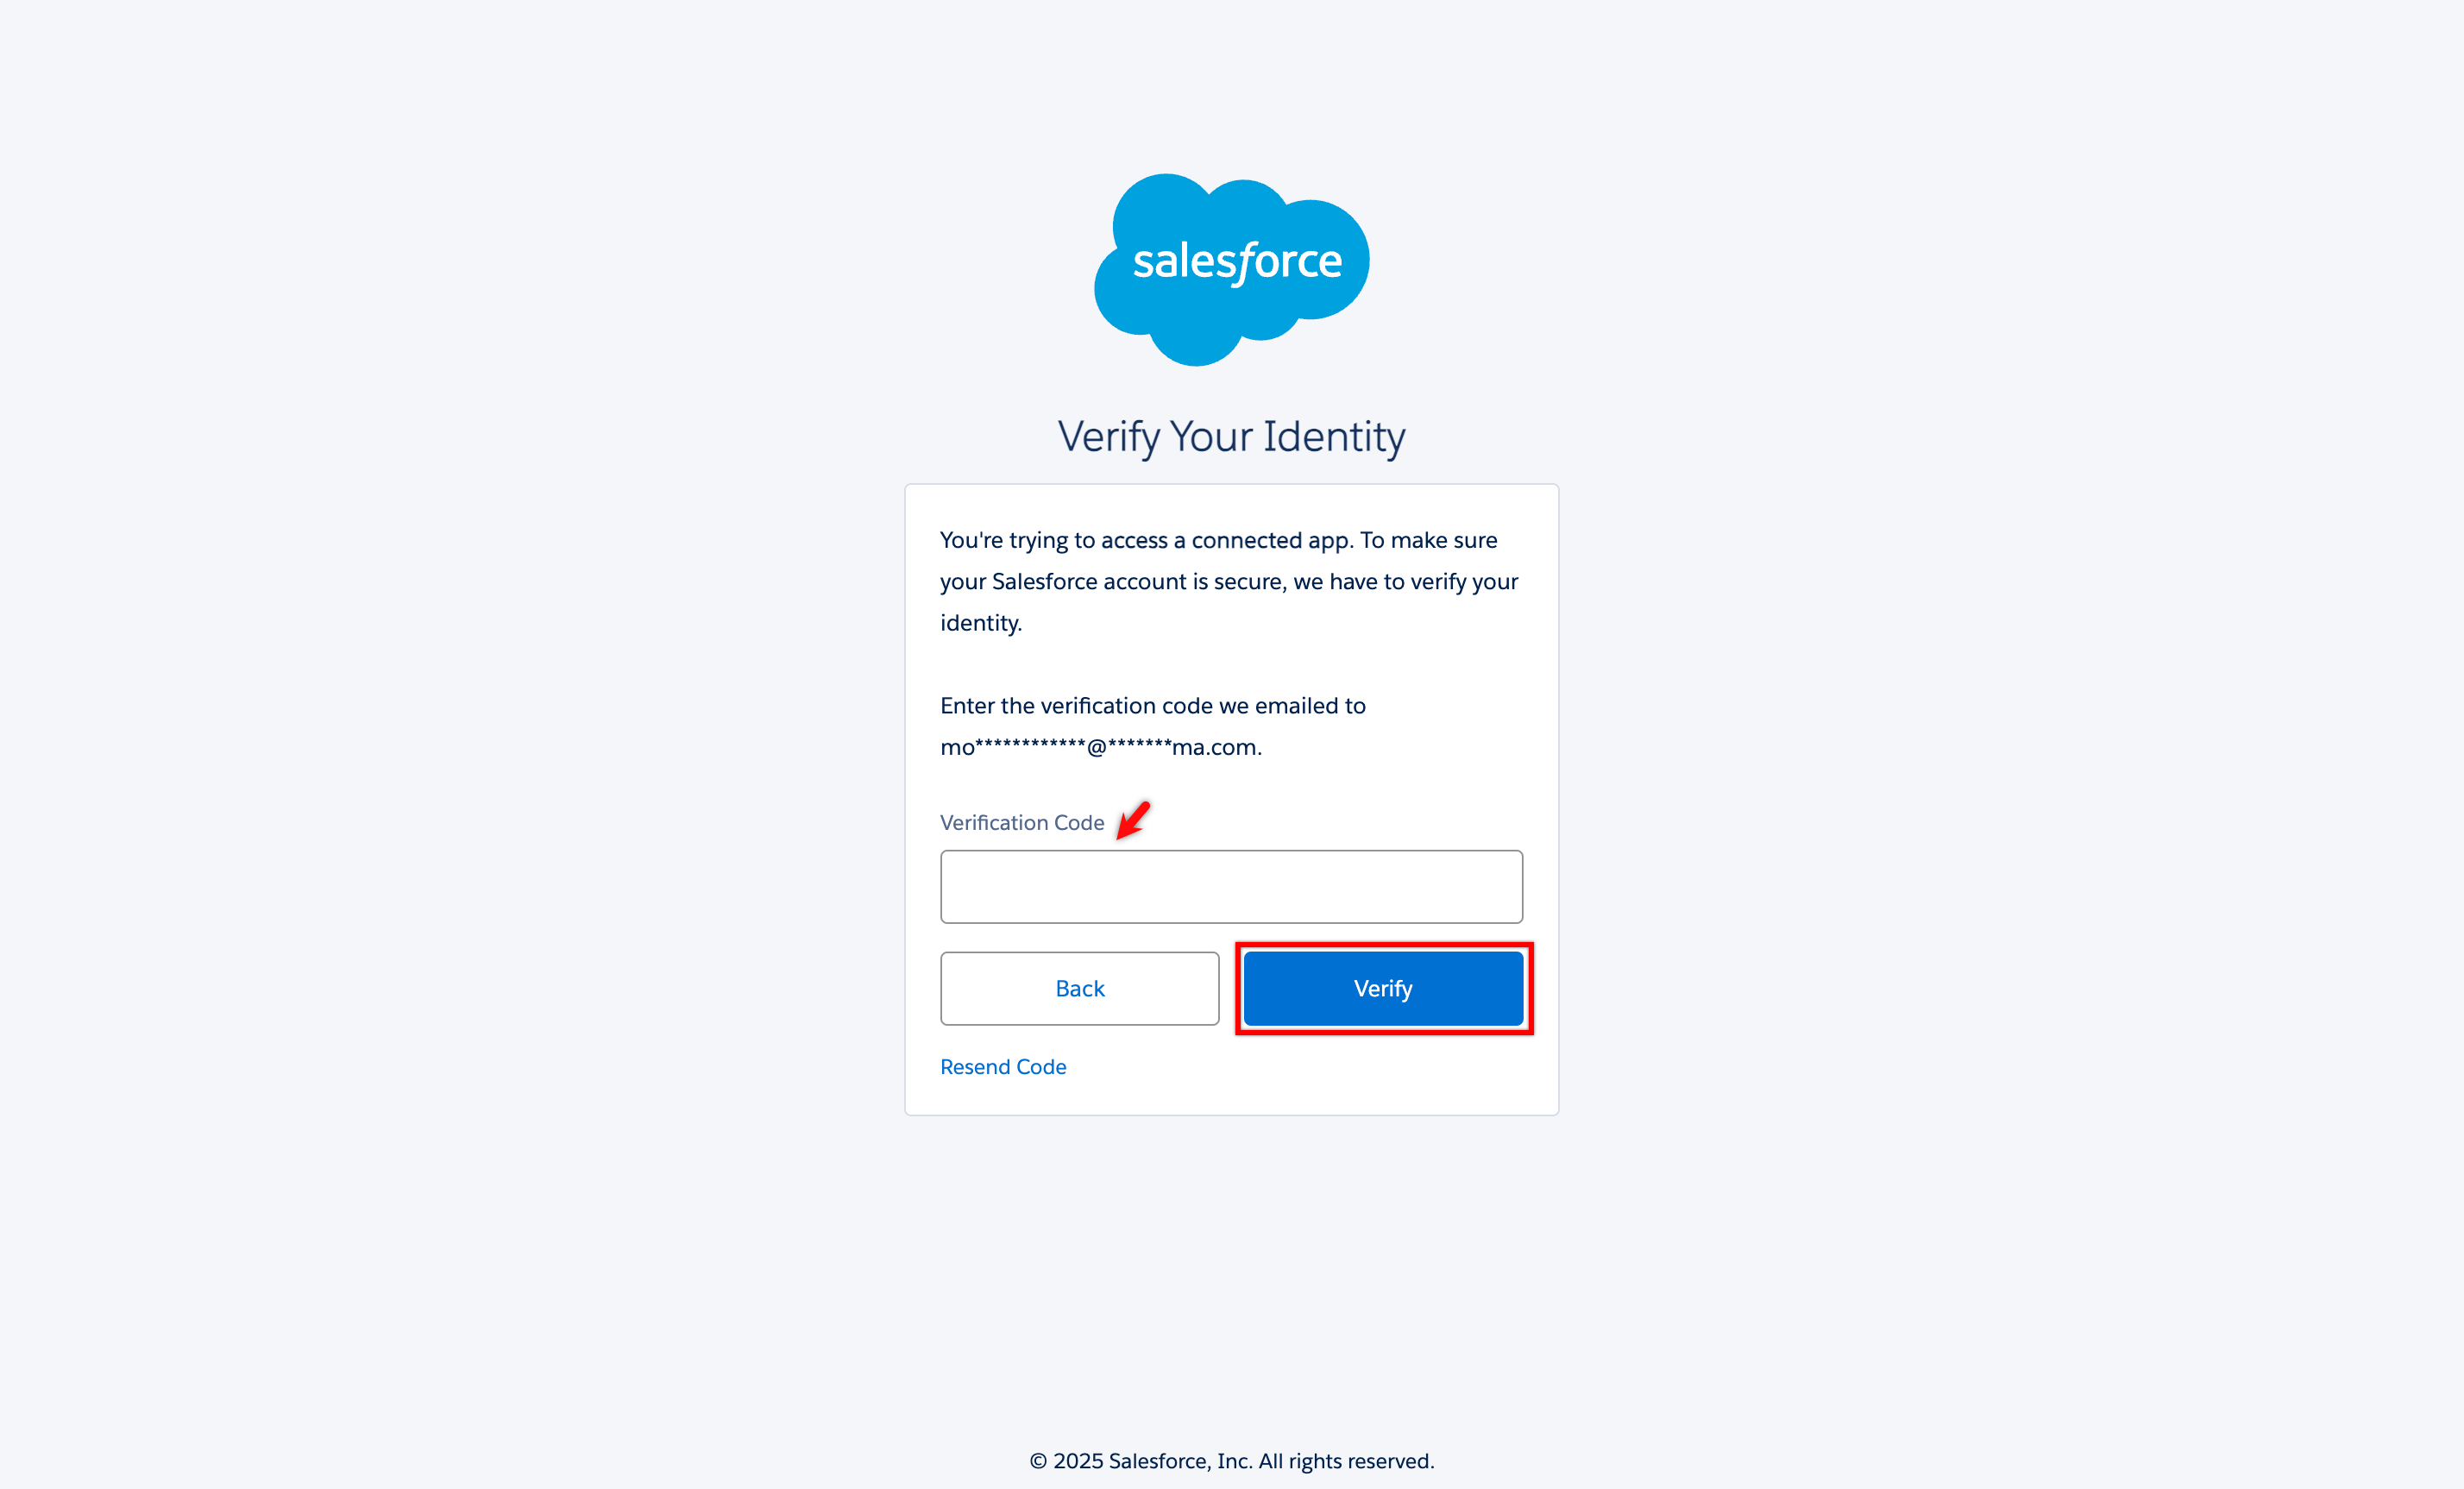
On the Verify Your Identity window, enter OTP sent to the admin email.
-
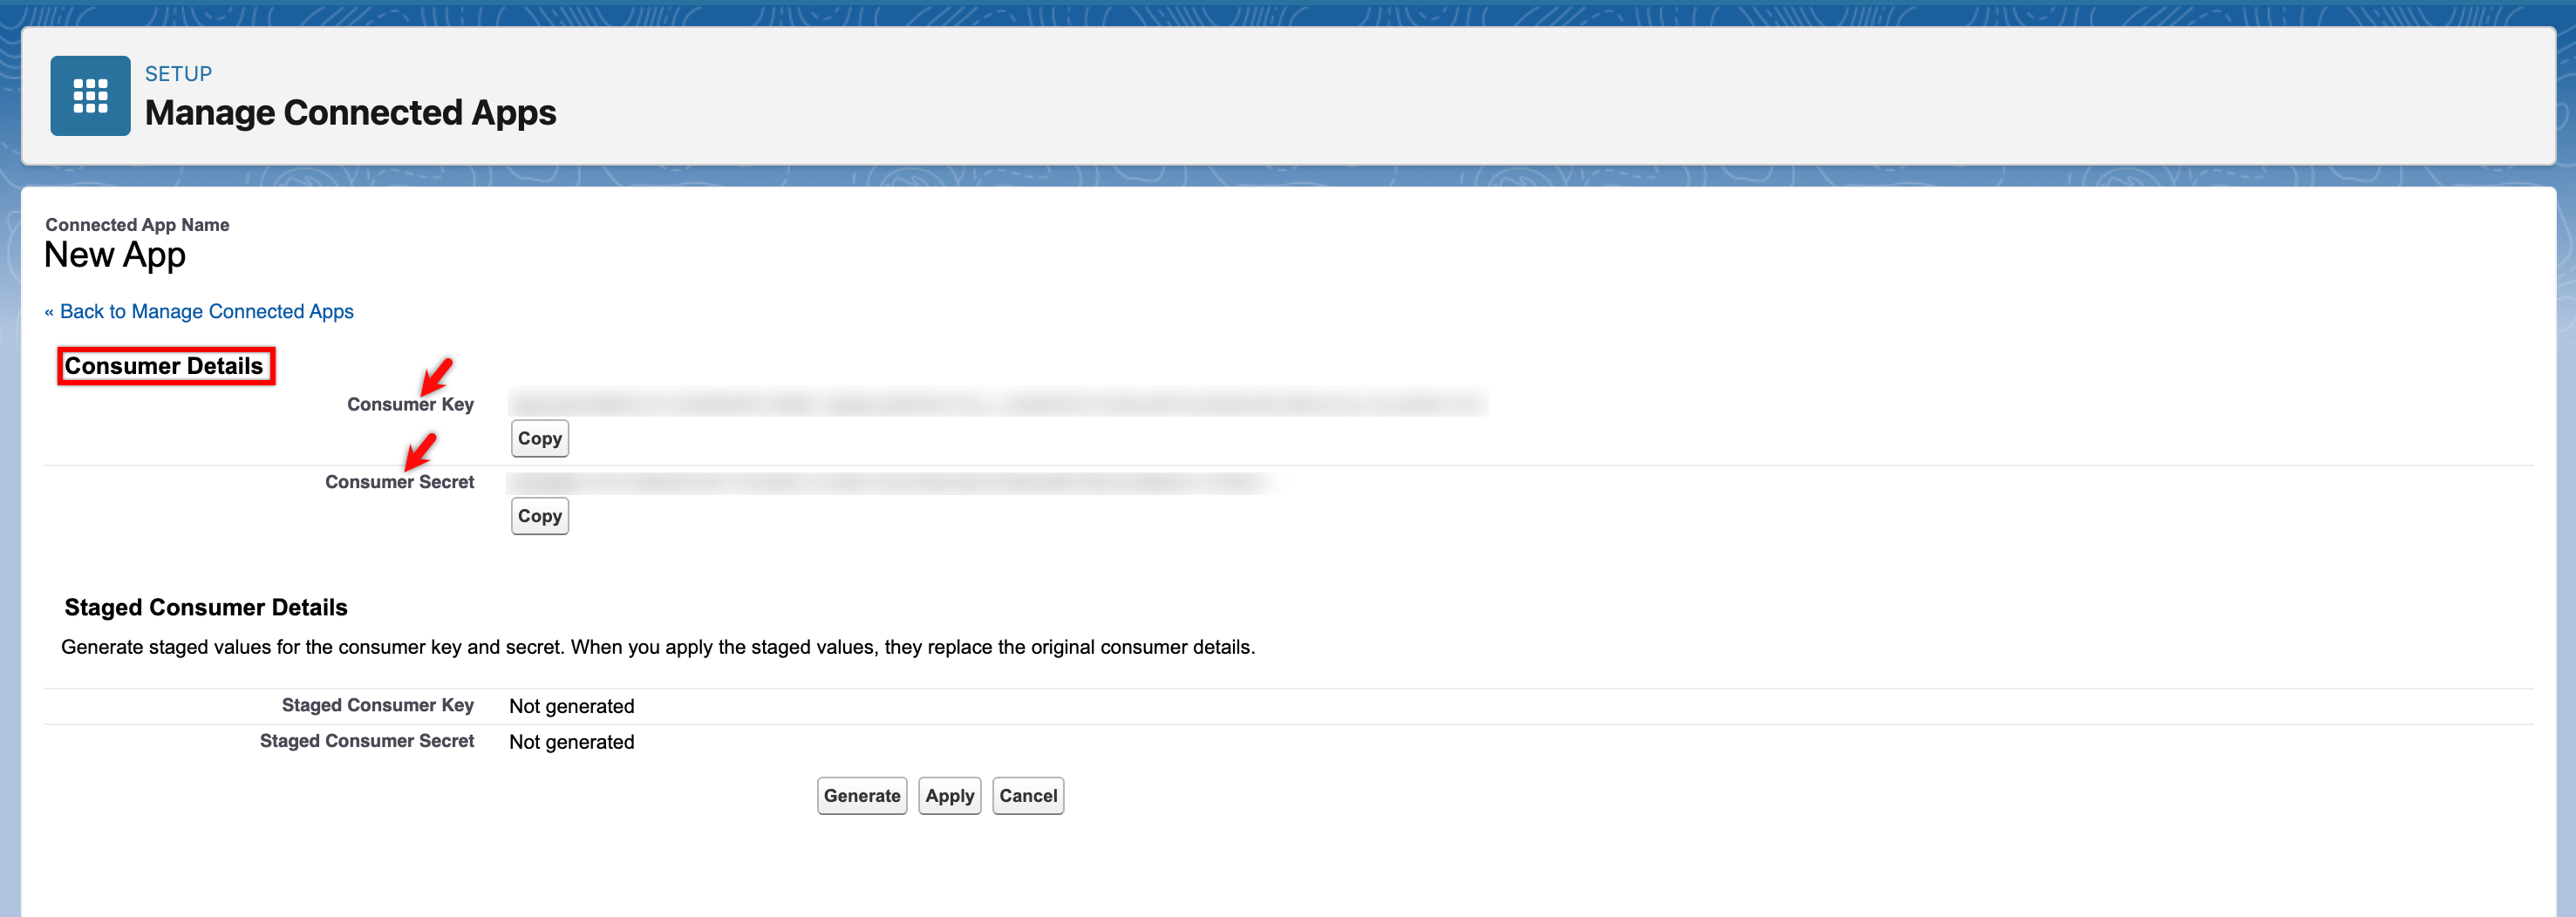
Upon verification, the Consumer Details page will be displayed with Consumer Key and Consumer Secret.
-
For Security Token, go to My Personal Information > Reset My Security Token and click on Reset Security Token. A new token will be sent to admin mail. Please refer to Salesforce for more information.
Refer to the documentation on Salesforce troubleshooting guide for the most common issues while creating a connected app.